Button Design
Welcome to the Button Maker Guide!
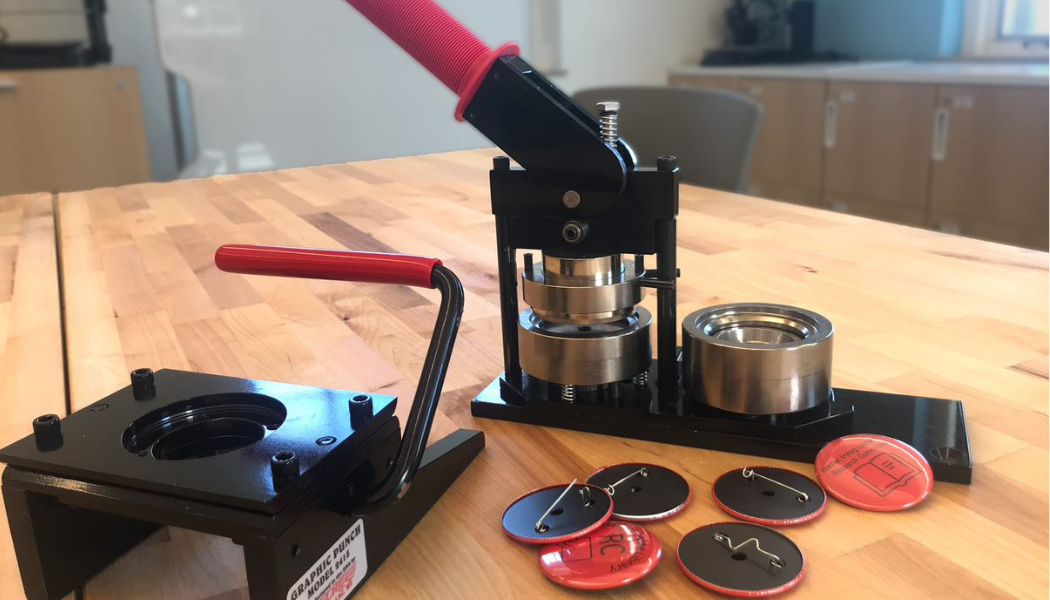
The Button Maker is a quick and easy machine that lets you create your own circular, 2 inch button with any image.
Button Design
You can download our Fabrication Lab Button Template.pdf to ensure your design is the correct size. You can then design your button using various images and overlay them on the template (this can be done in Canva, PowerPoint, Photoshop, and more). Once your design is laid out correctly, you can print your buttons and bring them to the Fabrication Lab.
Another option is to print the template directly and then write or draw on the template.
Visit our next section on "Button Assembly" to see what to do next.
Laminator
Laminator
Checklist:
- Laminator Pouches (8.5"x11" size sheets)
STEP 1
- Press the power button on the front control panel. The control panel buttons will flash.
- The laminator will default to the 3 mil hot setting. This is the required setting for the laminate pouches available in the Fabrication Lab.
STEP 2
- The green indicator light will pulse while warming up and turn solid when ready.
- The laminator will also emit a “beep” when ready.
STEP 3
- Place the document(s) into a fresh laminating pouch.
- Ensure the document is centered against the sealed edge.
- NOTE: If laminating multiple smaller sheets or documents, leave at least 1/2" inch between them to allow proper trimming.
STEP 4
- Feed the pouch flat through the laminator with the sealed edge first.
- Keep the pouch straight and central within the feeder slot, not on an angle.
STEP 5
- When finished, the laminated document may be hot and soft.
- Remove the pouch immediately and let cool on a flat surface.
Last modified on August 11, 2026 11:56
Share