Welcome to the Cricut Maker Guide
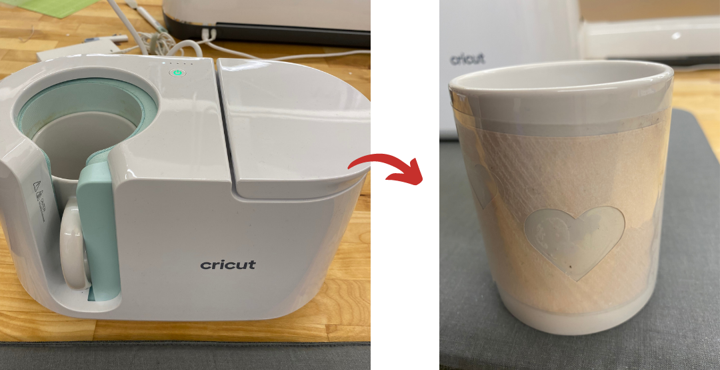
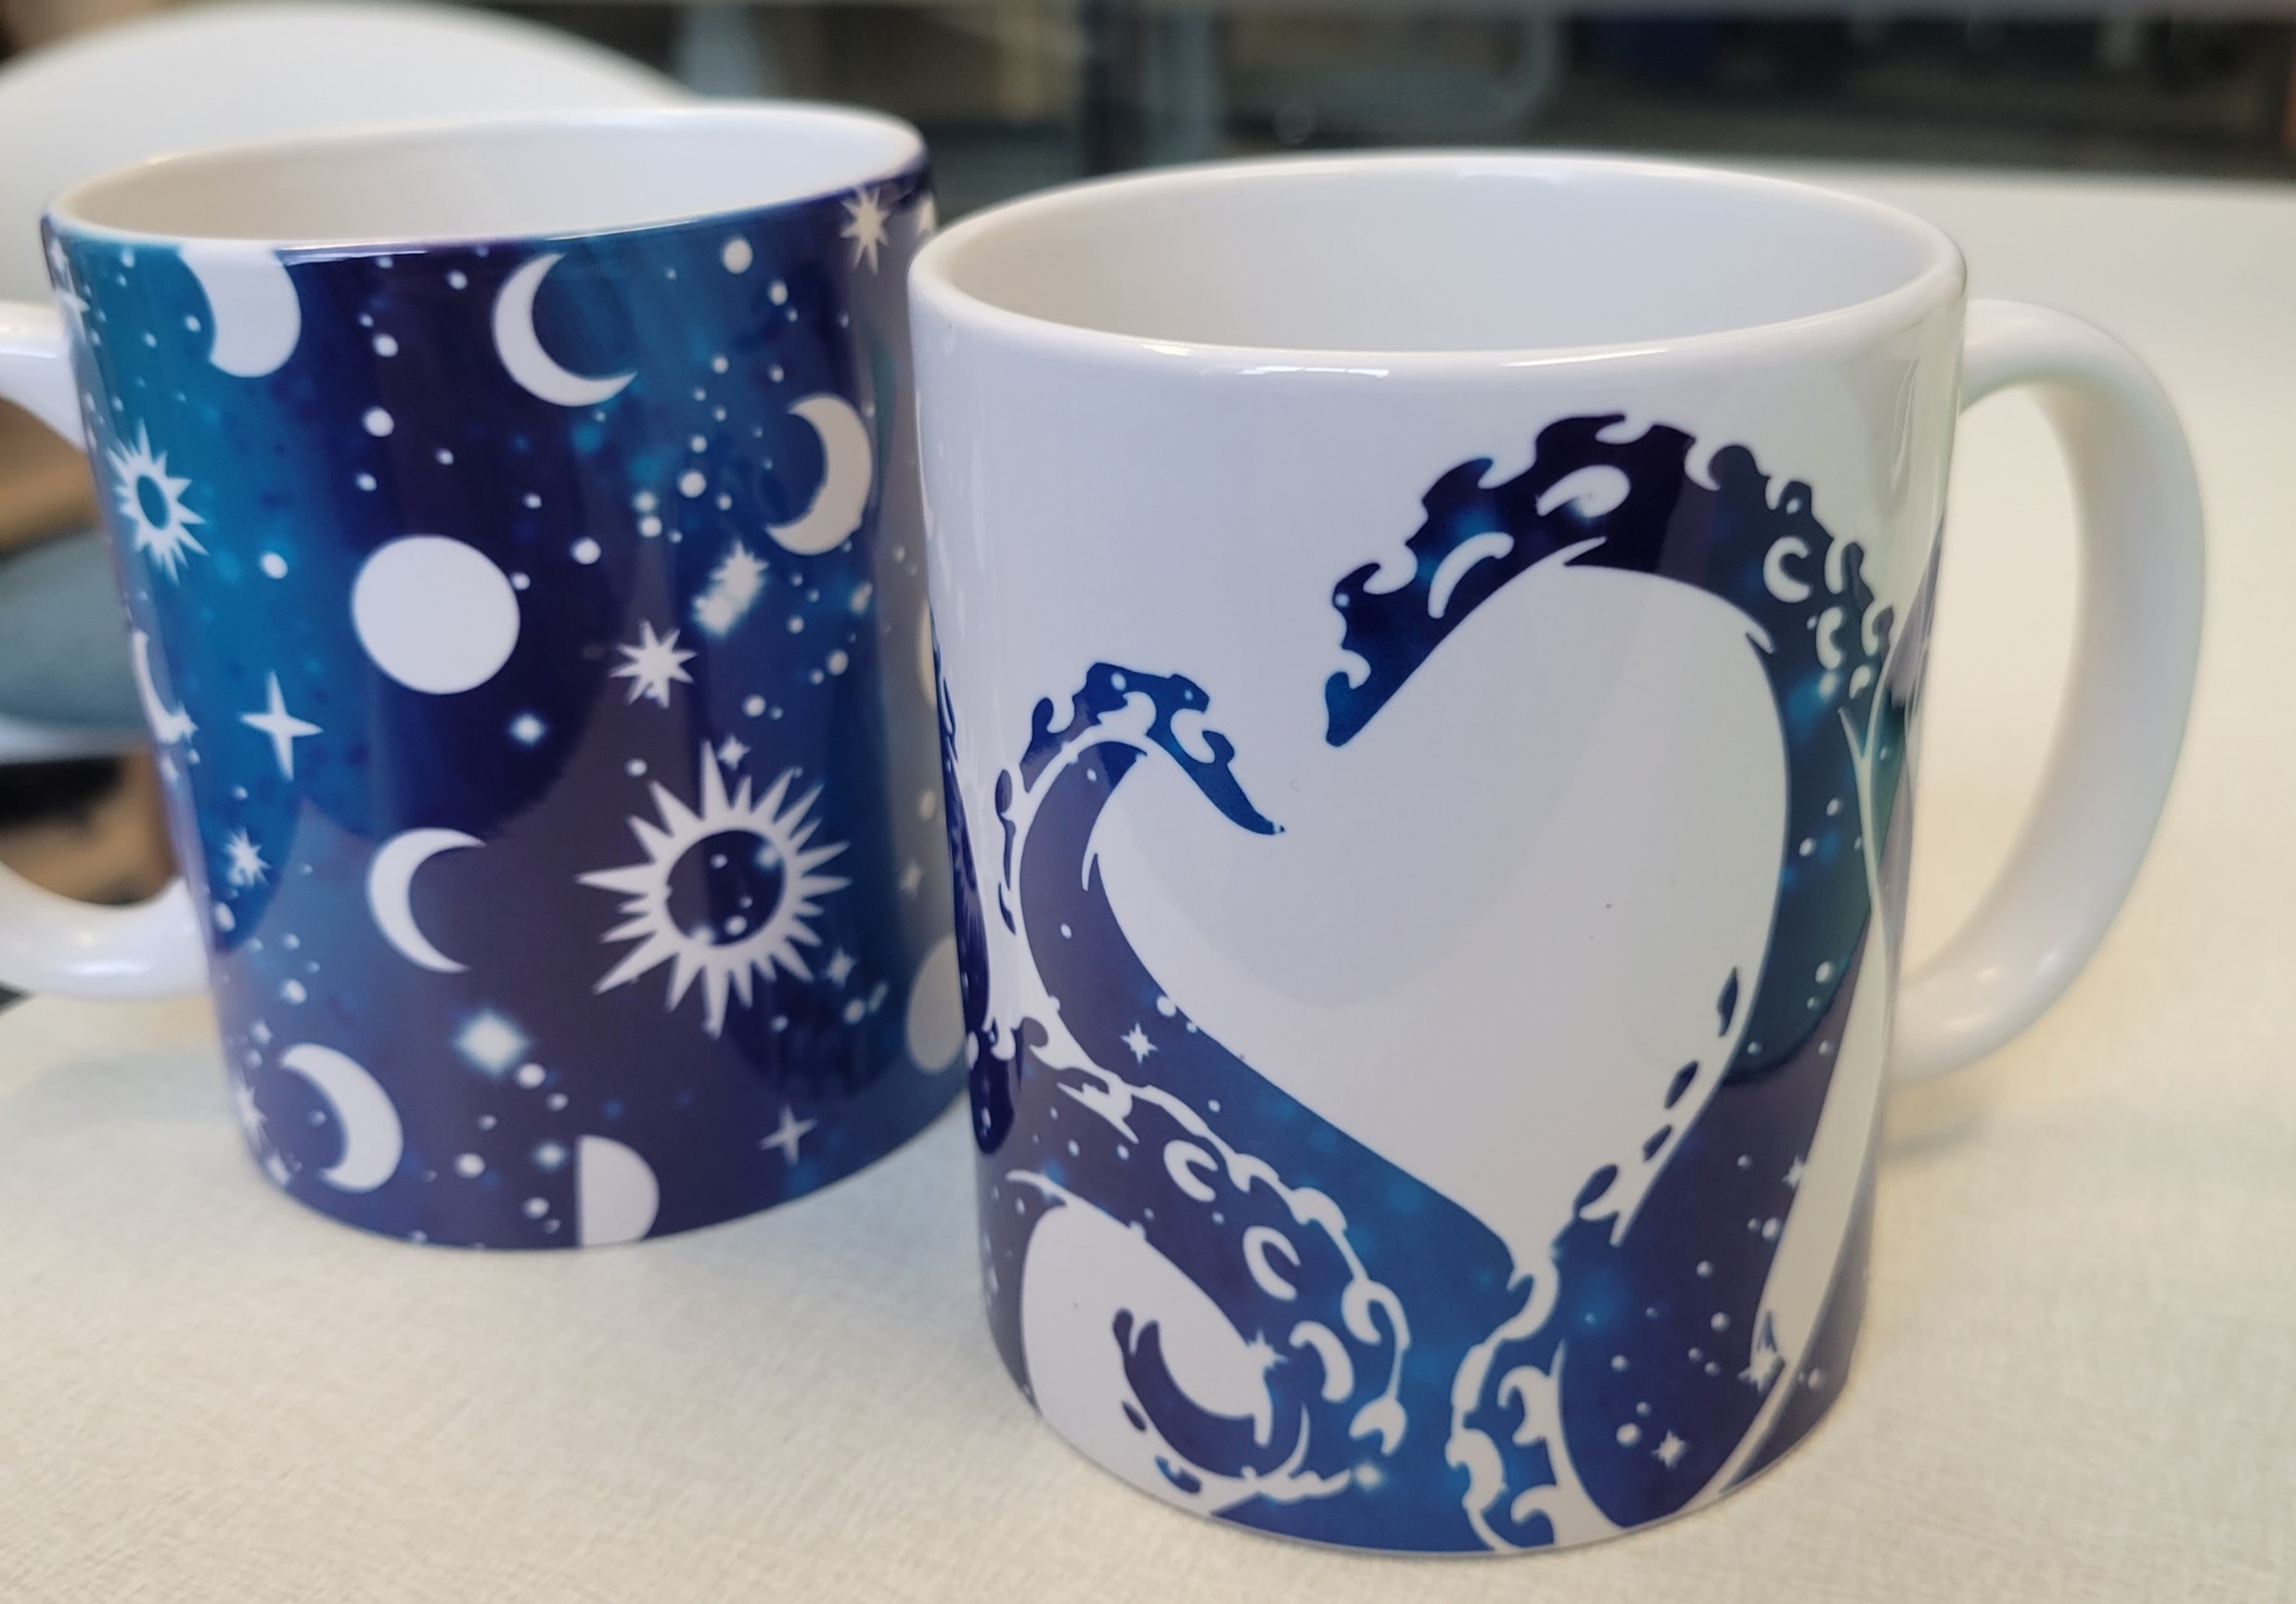
This guide explores all things Cricut! The Cricut Maker is a cutting tool that can be used to create intricate designs on various materials. The Cricut can cut cardstock, paper, fabric, some leathers and wood, and much more! The Fabrication Lab has one Cricut Maker, a mug press used in tandem with the Cricut to create designs on mugs, and an Iron-On, used to adhere designs to fabrics.
Getting Started
Install the Software:
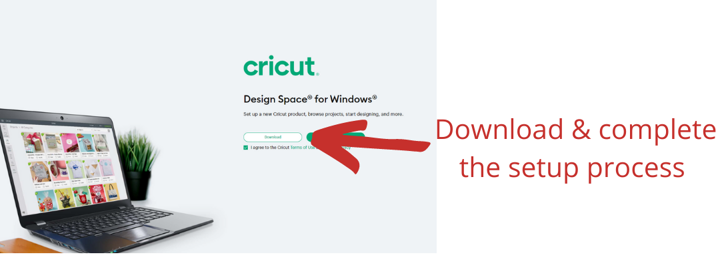
Open up the browser and download the Cricut Design Space. Once downloaded, install the software and log into the Fabrication Lab account. A Fabrication Lab staff member will be able to log in for you. The Fabrication Lab has a Cricut subscription that provides premium content. You are also welcome to create your own account, however some limitations apply when you do not have the subscription.
Product Set-up:
Once you have signed in to an account, you must choose the right machine. Here, you select the 'smart cutting machine' then you select the 'Cricut maker'. Once done, connect the Cricut to your device using USB.
Create New Project:
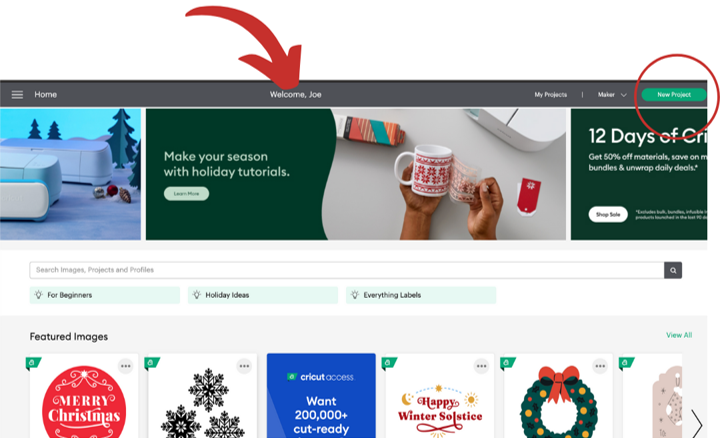
Here you can create your 'new project', or continue working on the previous ones.
Cricut Making
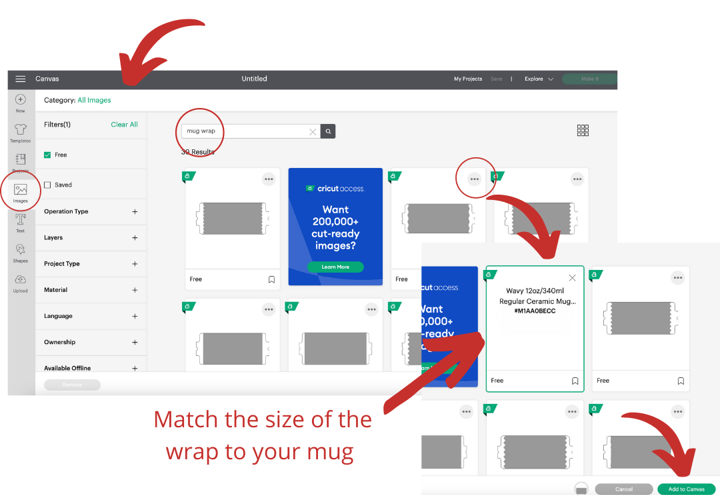
Templates/Wraps:
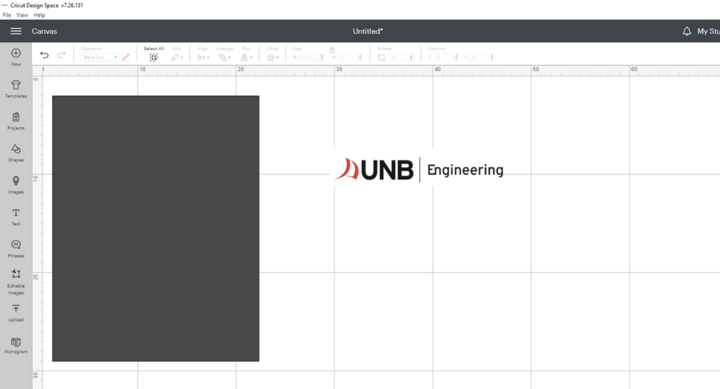
Templates are a great way to make your design special, or can be used as a sizing reference for your own design. Templates are useful for keeping your design in place and under the right size. This is particularly useful for designs relating to mugs or standard sized items.
Make your design:
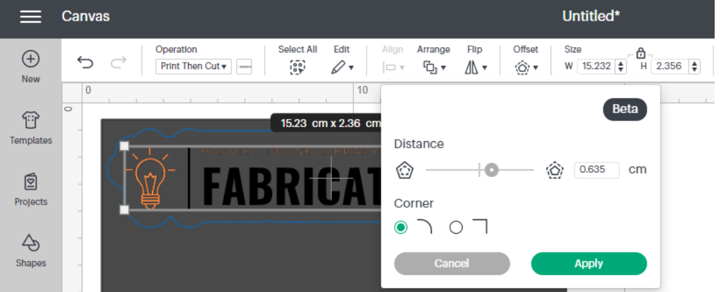
Once the template/wrap is on the canvas, you may now choose to create your own design based on your own liking. You may import shapes, texts or objects. You cannot add complex images, rather, silhouettes, or simple designs are preferred. Remember, the Cricut can cut or draw, but cannot fill-in the cuts or outlines.
Importing Images:
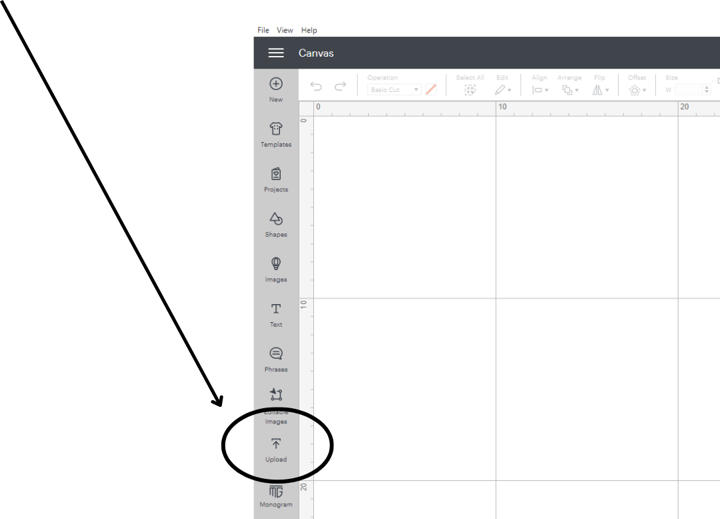
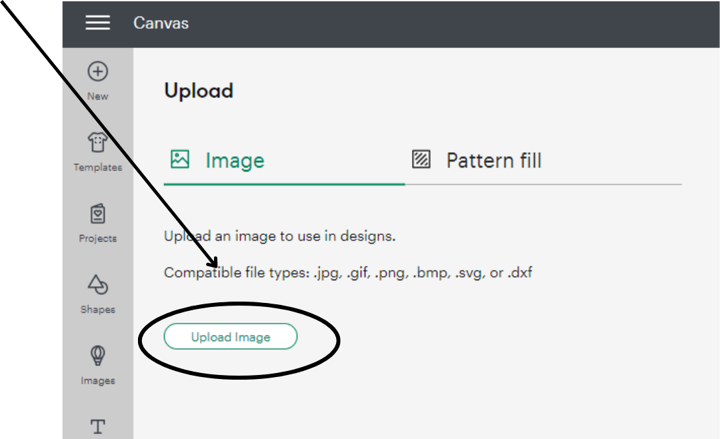
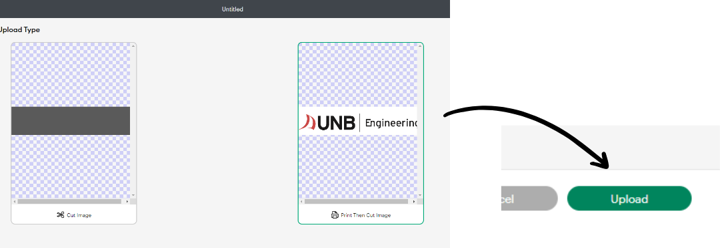
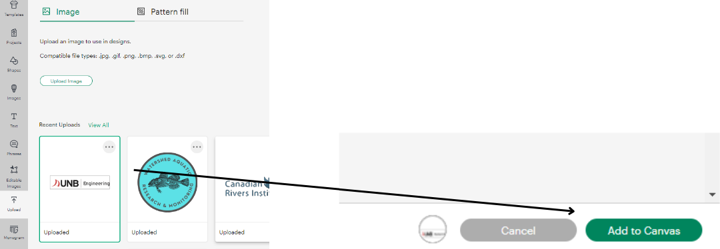
Cricut can only recognize digitally created images. If you have a digitally created image that you would like to import, be sure to utilize third part software to remove the background for your design so that Cricut can recognize the the profiles it needs to cut/draw.
Multiple Objects:
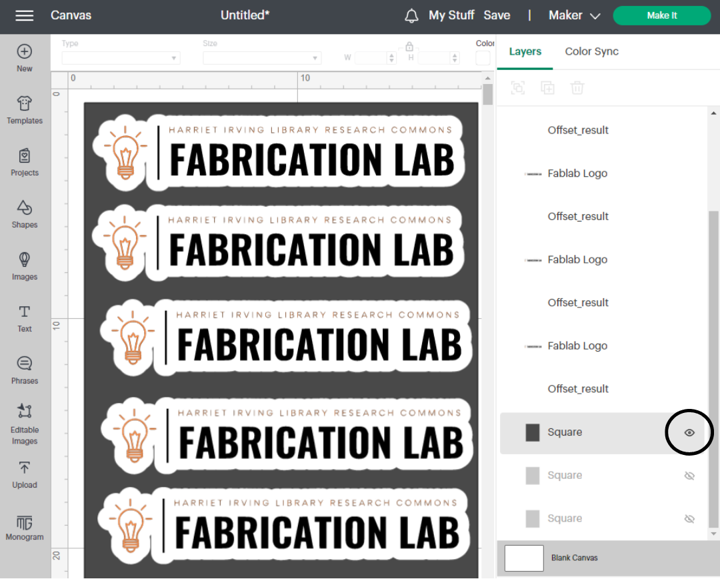
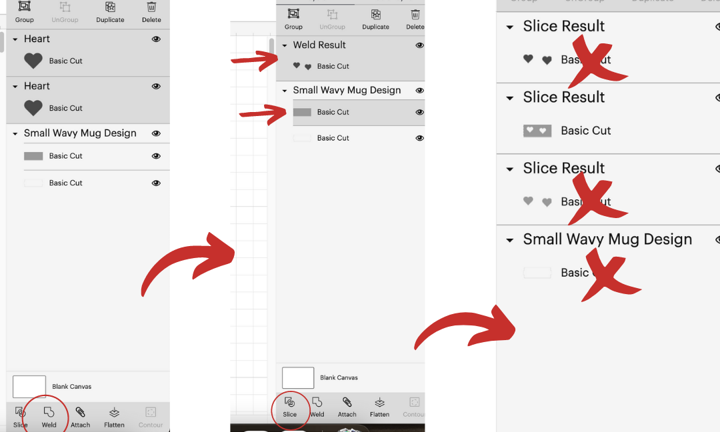
If you have multiple objects brought to the template, you must select them all together and select the 'weld' option on the layer pane (left side) to attach the objects together and create one big object. If the objects are not welded together, they will not be uploaded to the machine as one design rather, they will all be accounted as individual designs. Skip this step if you are only using one image/text or would prefer them to be cut separately.
Slice, Slice, Slice:
You can't cut without making a slice. Once the objects are welded, choose the welded object and the template together (you may utilize the layer pane for that) and press the 'slice' button to cut out your design. You may now delete the extras.
Start the Cut:
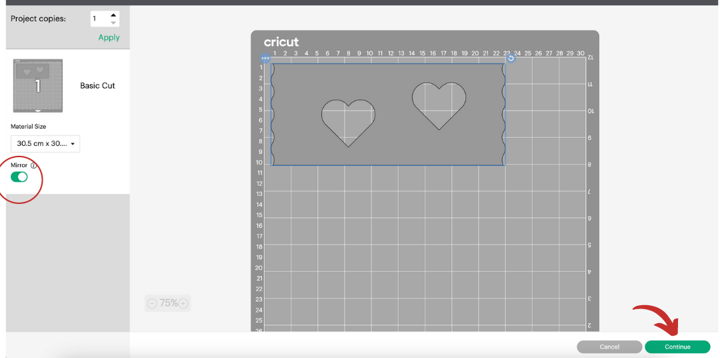
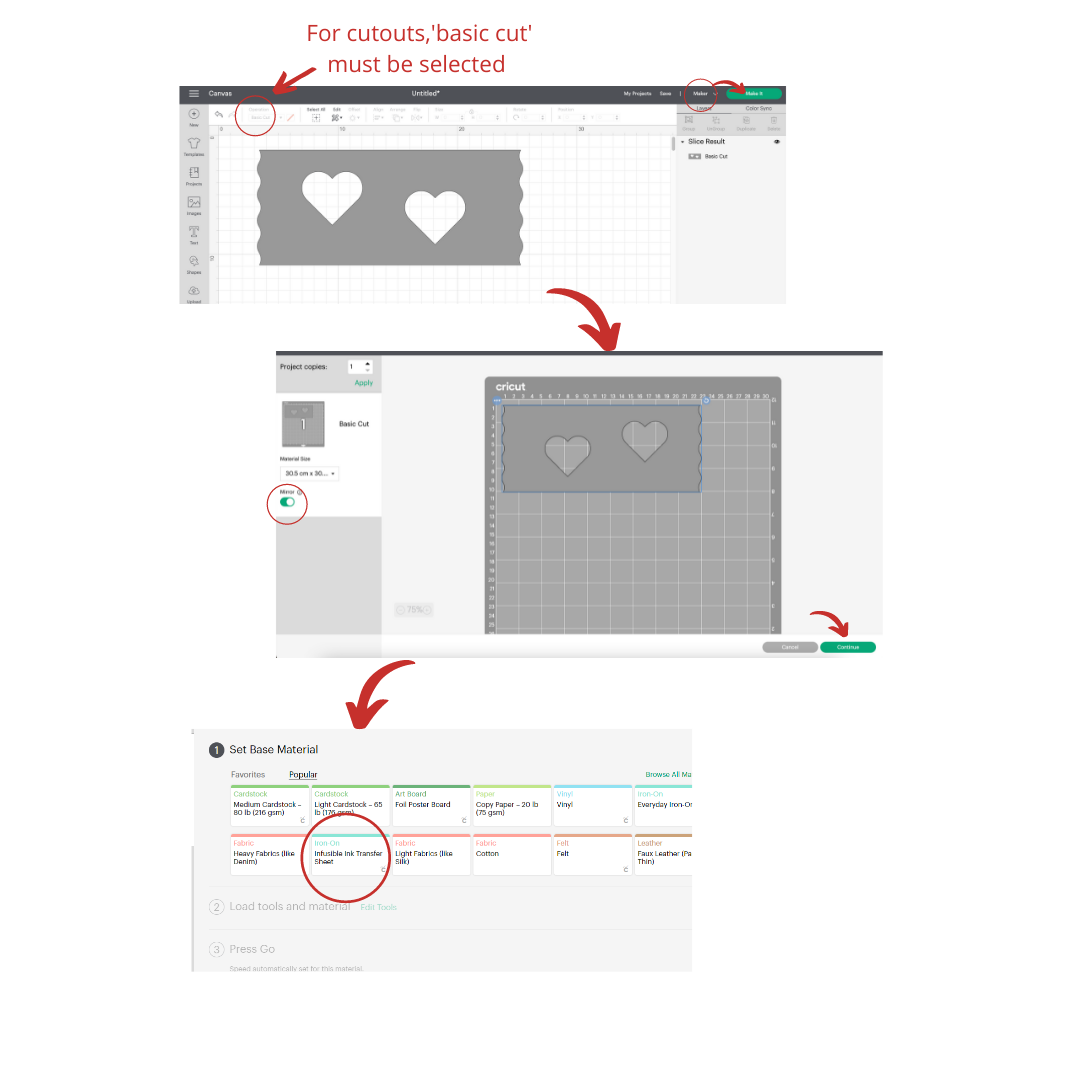
Make sure the correct machine is chosen before moving forward. Now you can press 'make' to move to the next level. Also, make sure the command 'basic cut' is chosen for the operation.
Material:
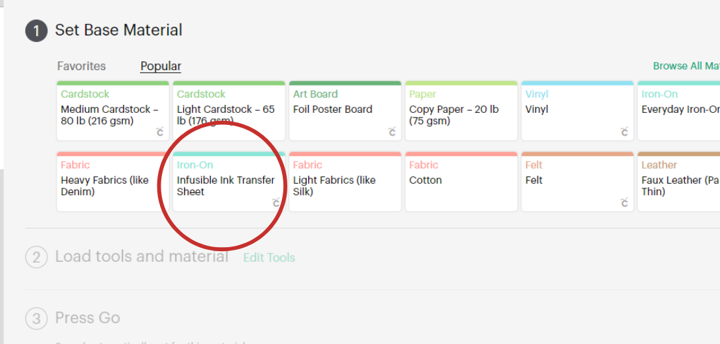
Once you press 'continue', here you must choose the right material for the machine so it can calibrate itself to the correct metrics before cutting. Ensure you have clicked the correct material.
Prepare to Cut:
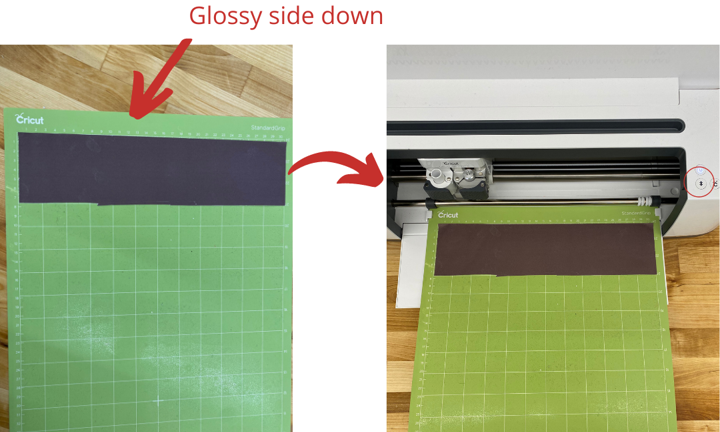
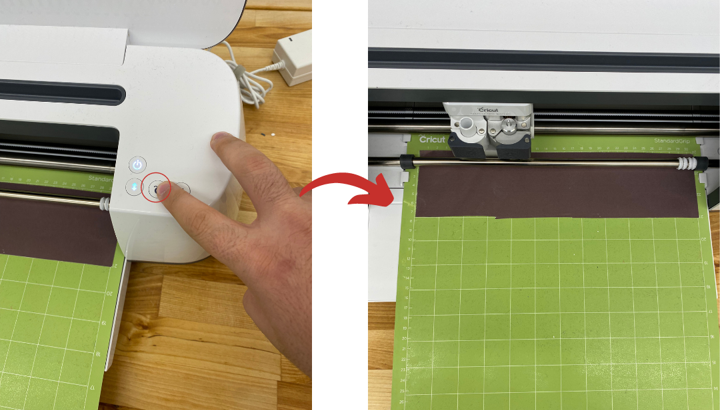
Place your material onto the Cricut mat. Use a wedge to remove bubbles from the sheet. Now you can feed the grip with the sheet attached to it to the machine by pressing on the flashing arrows. When your design is fed to the machine, press the flashing Cricut logo on the machine and wait until your design is done.
Weed:
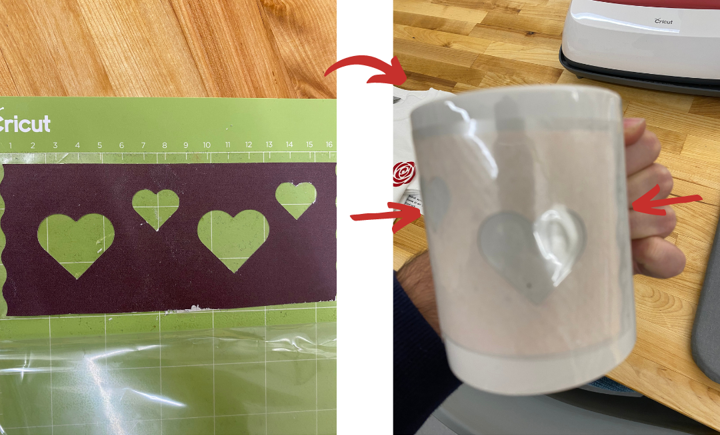
Now that your design is done, use a weeding tool provided in the Fabrication Lab to slowly weed out the extras from your design (parts you will not need). This process must be done carefully to avoid damage to the design.

Once you are done weeding, you have your completed design! Visit out other guides to see what you need to create a mug or fabric design!
