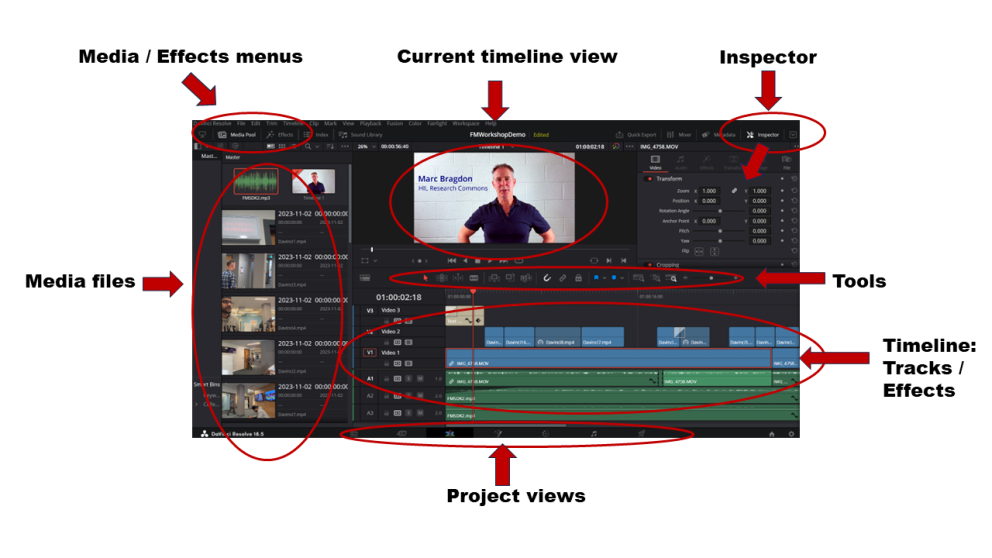
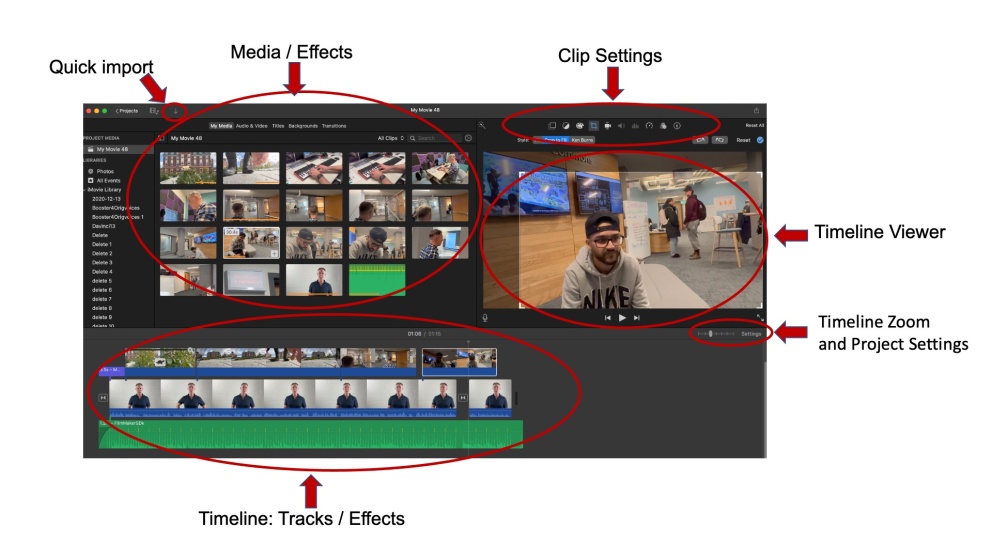
Davinci Resolve offers a powerful, complex video editing environment to a degree that makes iMovie seem very Mickey Mouse, if more user friendly. The learning curve is steeper as a result, but the control it affords over your final product is worth the time (hopefully). Here is a basic overview of controls on the interface for the purposes of the workshop project:
Media / Effects menus: Where to invoke, in the left pane of the interface, libraries of media objects or effects including text and title overlays.
Media Files: All the media objects you have imported into the project and can then select and drag onto the Timeline.
Project Views: Different perspectives for engaging with the video project, including Cut (the default when Davinci is opened, a bird's eye view), Edit (our preferred view for this project) and Color.
Timeline: Tracks / Effects: Where the action is! All your video and audio clips as well as text overlays (appear as clips) and effects (appear within clips), arranged chronologically in video and audio stacks of multiple tracks or channels comprising one or more clips - got that? Overtop you will find a slider for manually advancing or rewinding the video project, and this slider slices vertically down through stacked tracks at the point of play.
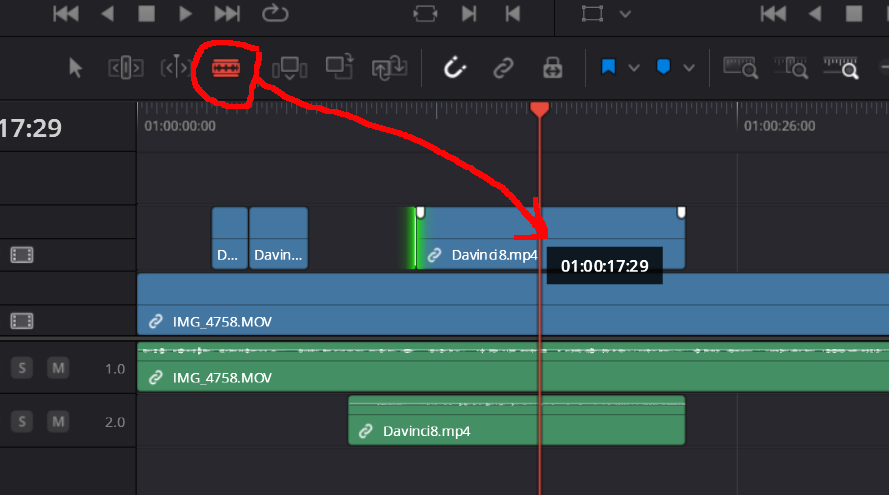
Tools: Change your cursor to accomplish different tasks, including the default pointer icon - red arrow to the far left - and a razor blade icon for splitting clips.
Inspector: Displays properties for selected clips from the timeline, and these can usually be modified for a purpose you have in mind.
Current Timeline View: Displays the video project where the Timeline slider currently is. Below the view are controls for playing, advancing, rewinding, and stopping play.
And now, onto creating your video:
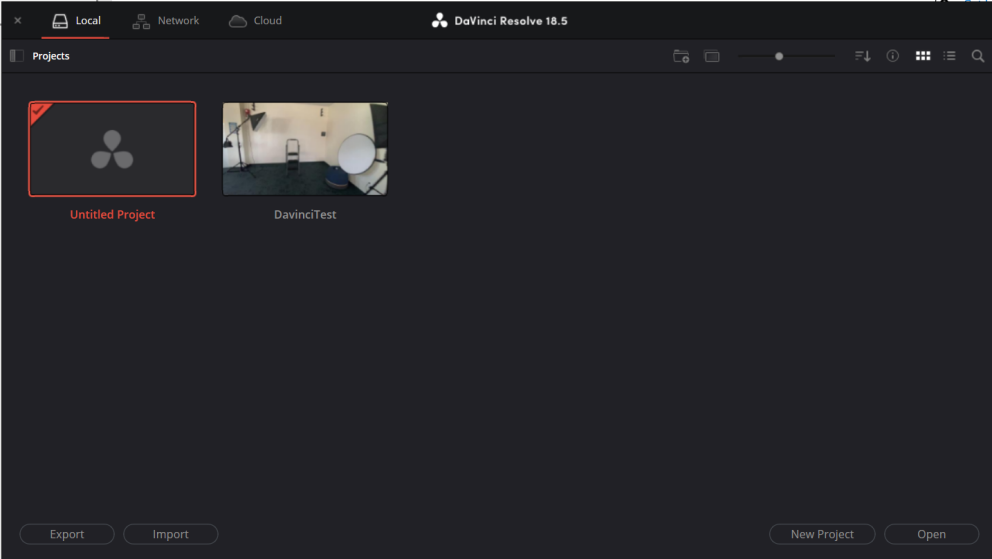
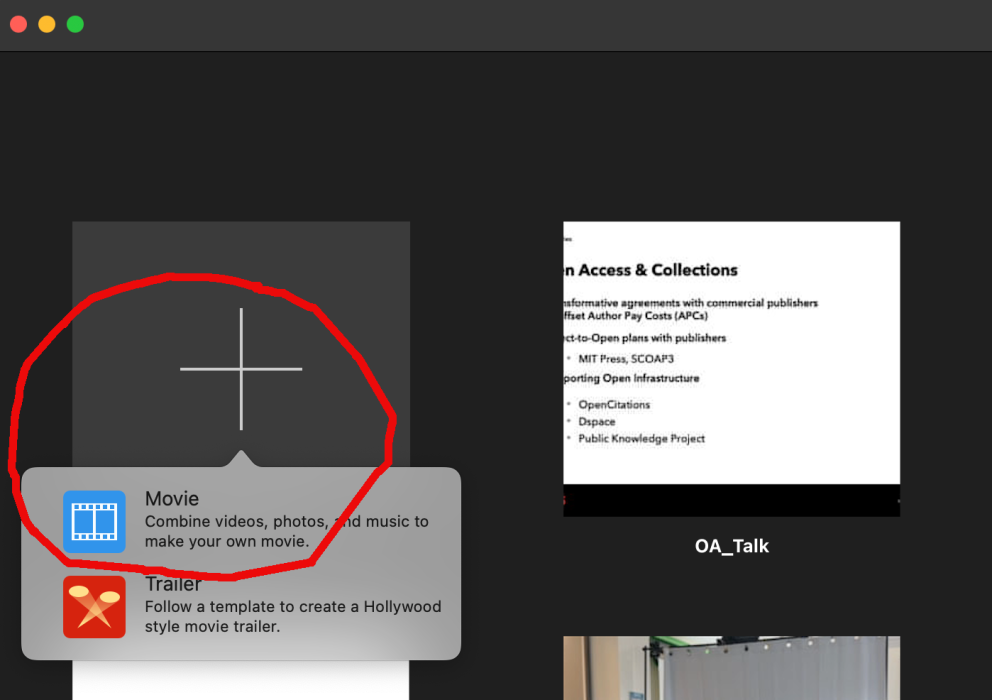
Start a new (Untitled) Project.
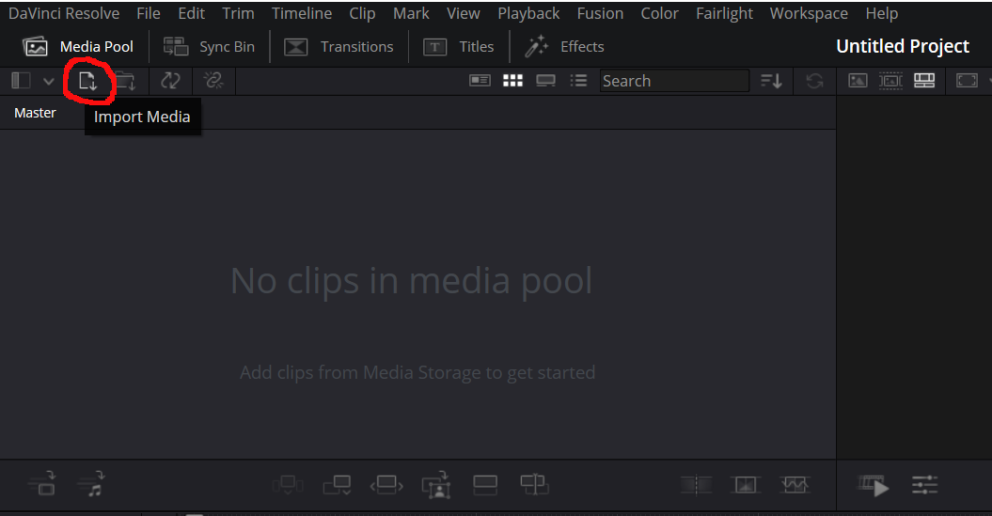
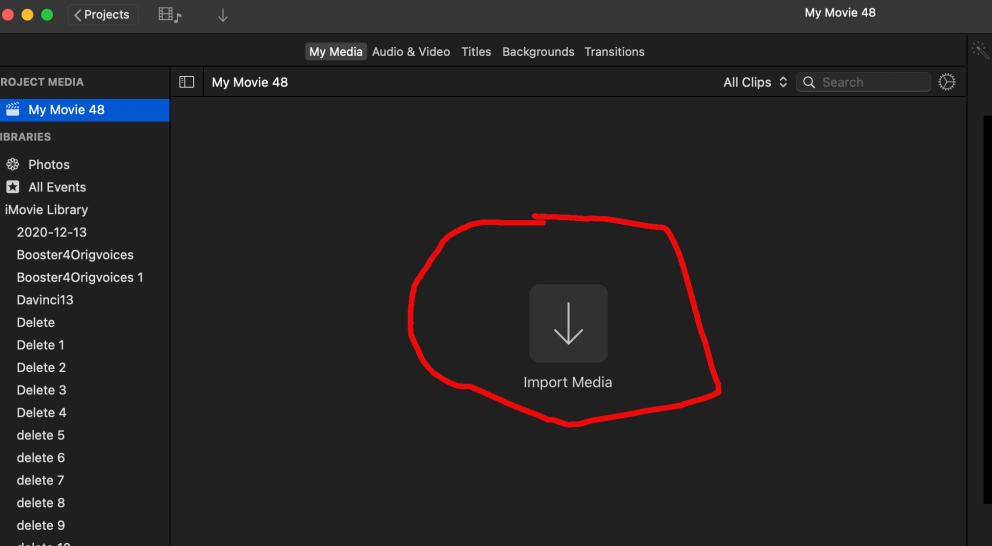
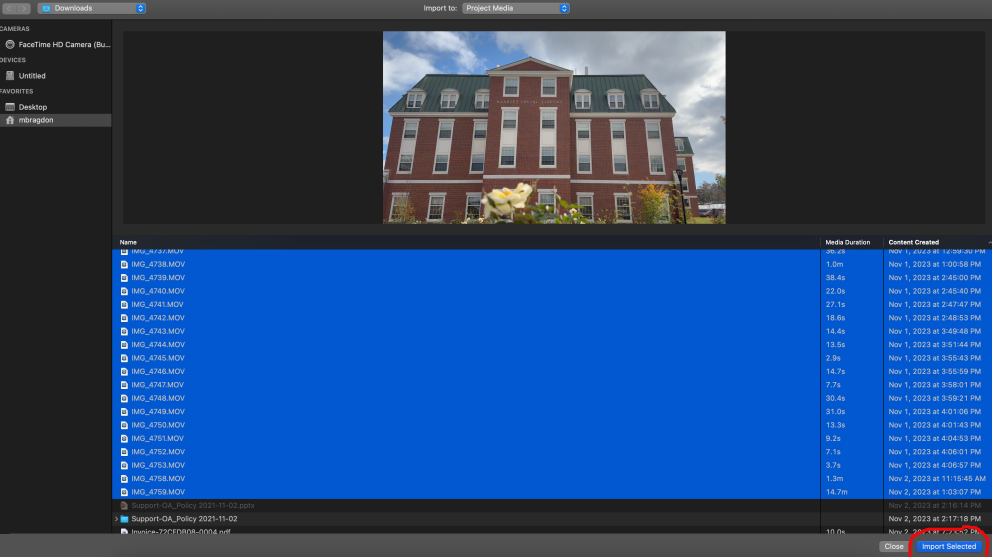
Import media files (video, audio, images):
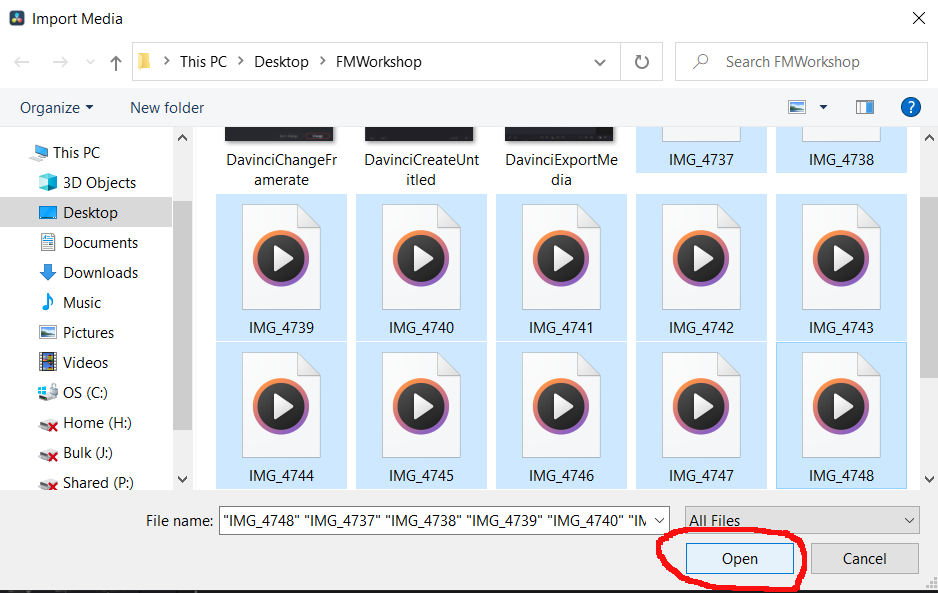
Choose files from the invoked Finder window:
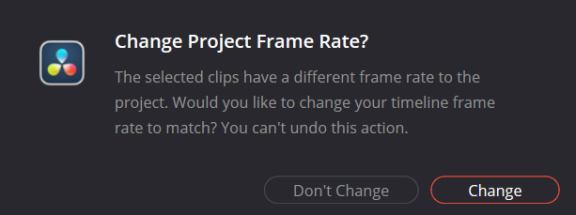
If prompted to change project framerate, go for it:
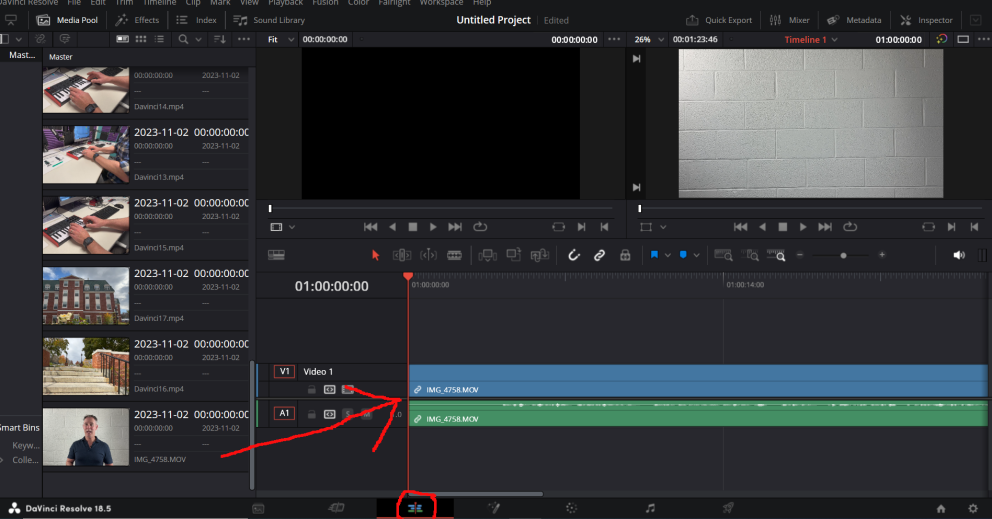
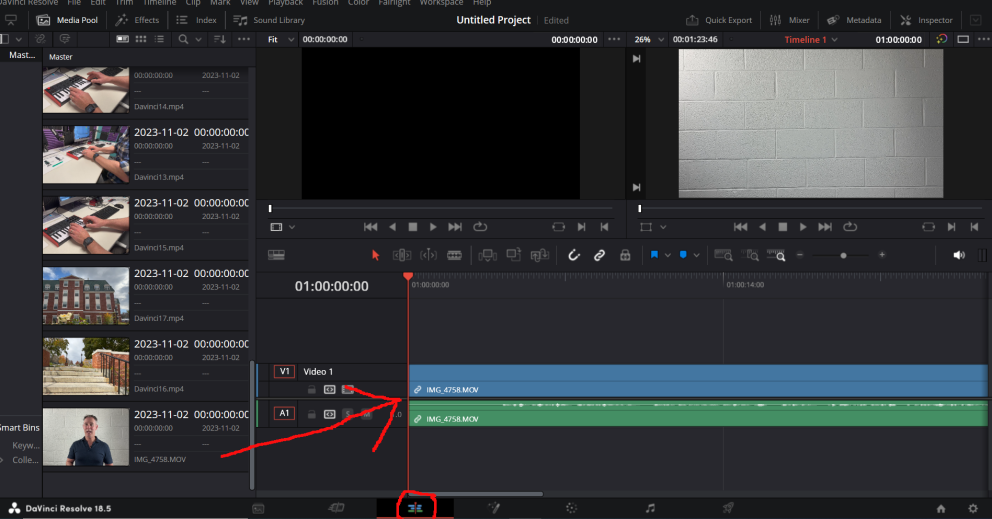
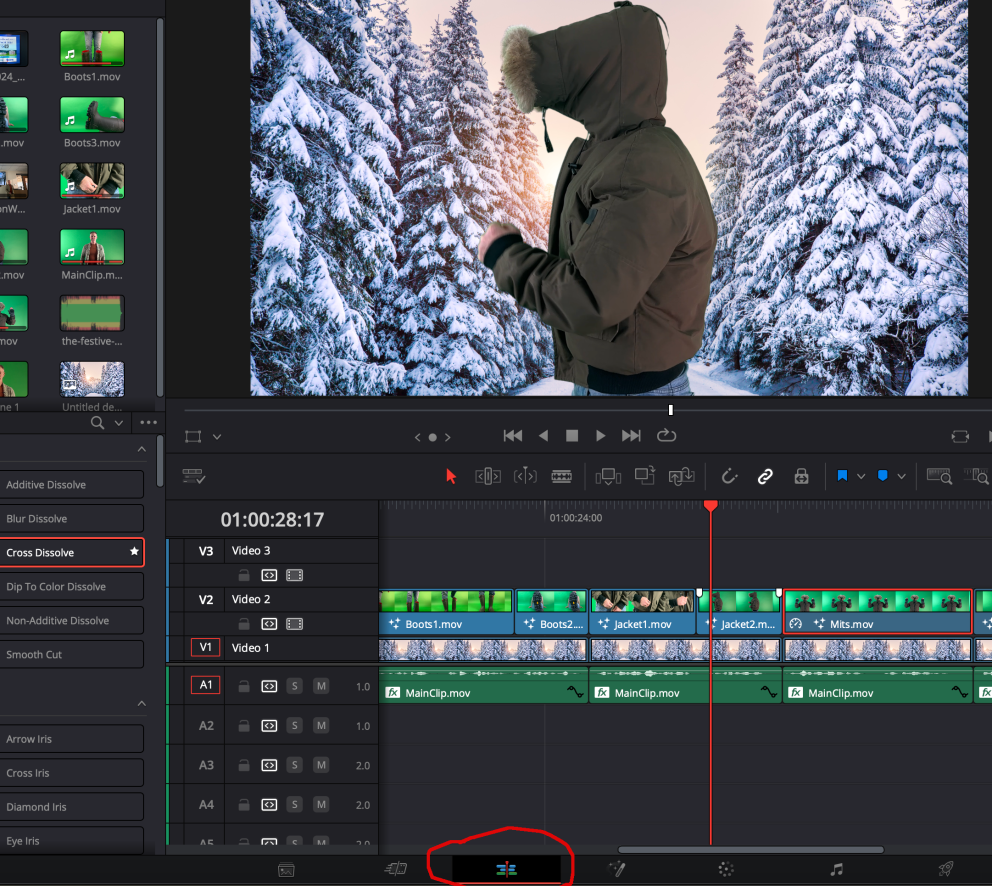
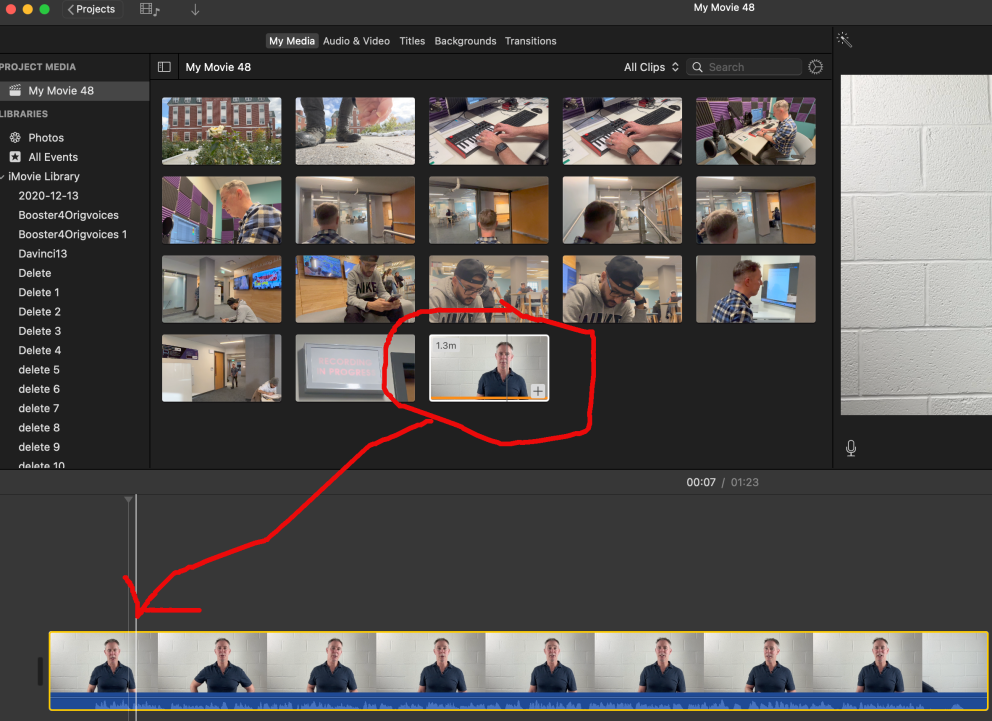
You are currently in Cut (aka bird's eye) view, so toggle to Edit view (circled at bottom, to the right of the Cut view control), then click and drag your first (narration) clip to the Timeline (represented by two interlocked streams, video on top and the audio below):
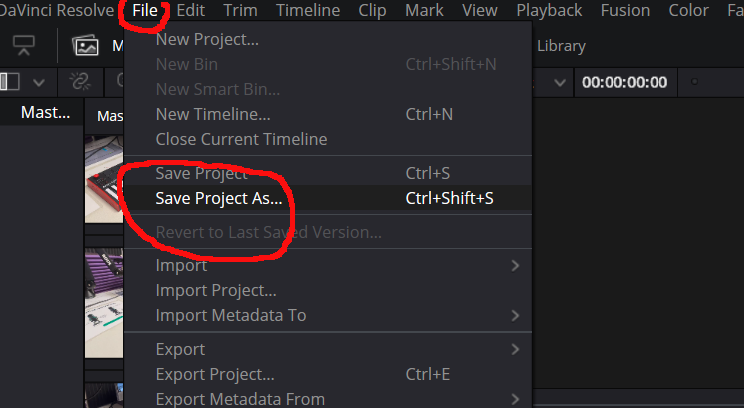
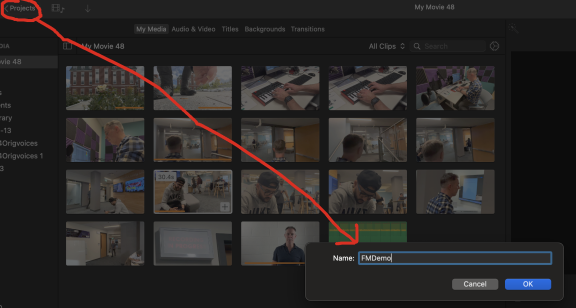
Save your project (and save often):
To trim a clip: place your cursor at the beginning or end of a clip and it changes to double arrow brackets facing opposite directions - <] [>. Then click and drag the beginning or end of the click:
You can click on a clip and drag it around the timeline, so if you trimmed the beginning of your first clip, you are going to want to drag it back to the starting position (1:00:00:00) on the timeline.
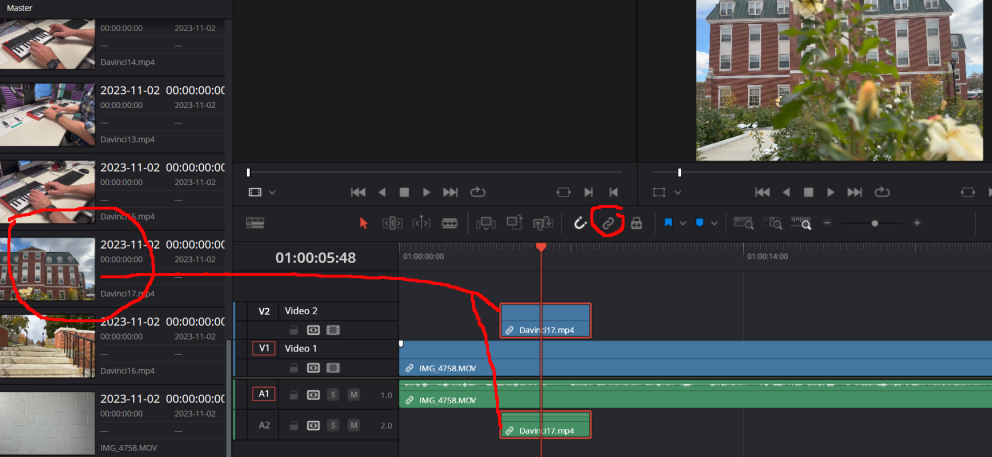
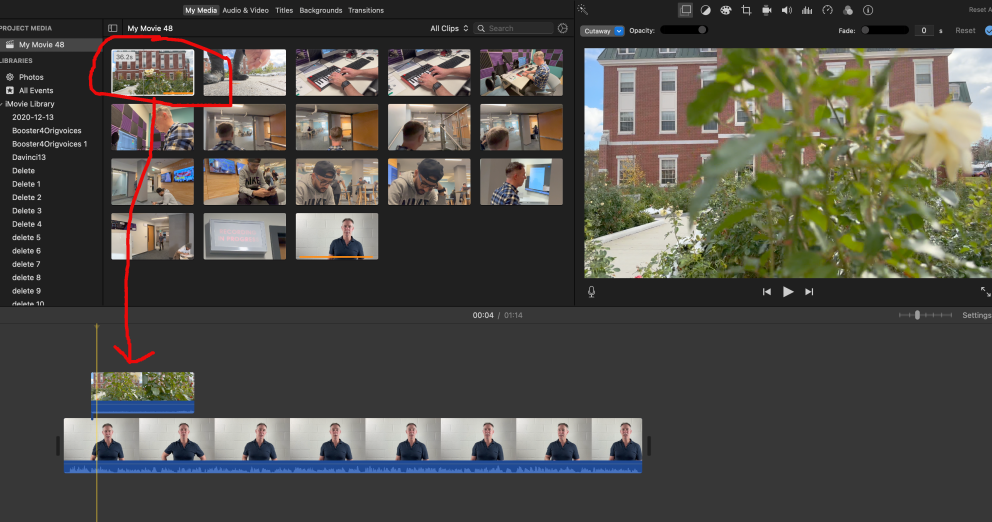
Adding cutaway clips. To cut away from your video narration to illustrative or b-roll clips, you will add these clips above the video narration clip on the timeline - in other words, on its own channel. Video clips that are stacked vertically give visual precedence to the one at the top of the stack, while audio clips simply intermingle. Select the cutaway clip as you did the first clip and drag it above the latter onto the timeline to the point in time when you want it to appear. The added clip (split as in the first case between and audio and video channel) will be represented on the timeline as V2 and A2. Note that you could place clips in sequence in the same row as well.
Working with a green screen.
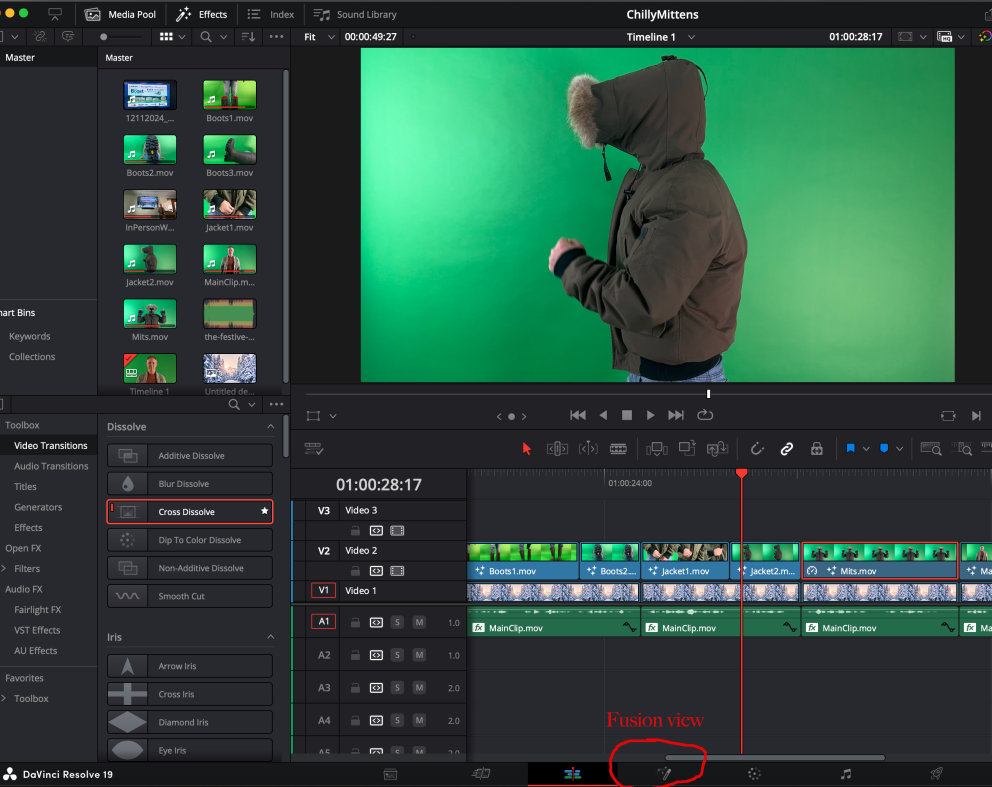
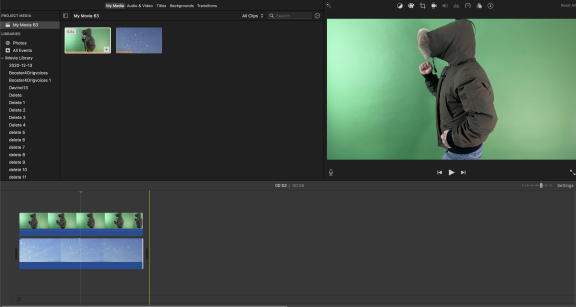
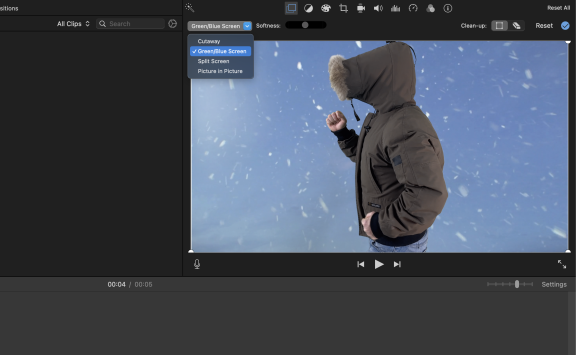
Add the green screen clip above the background clip on your timeline and switch or tab to Fusion view.
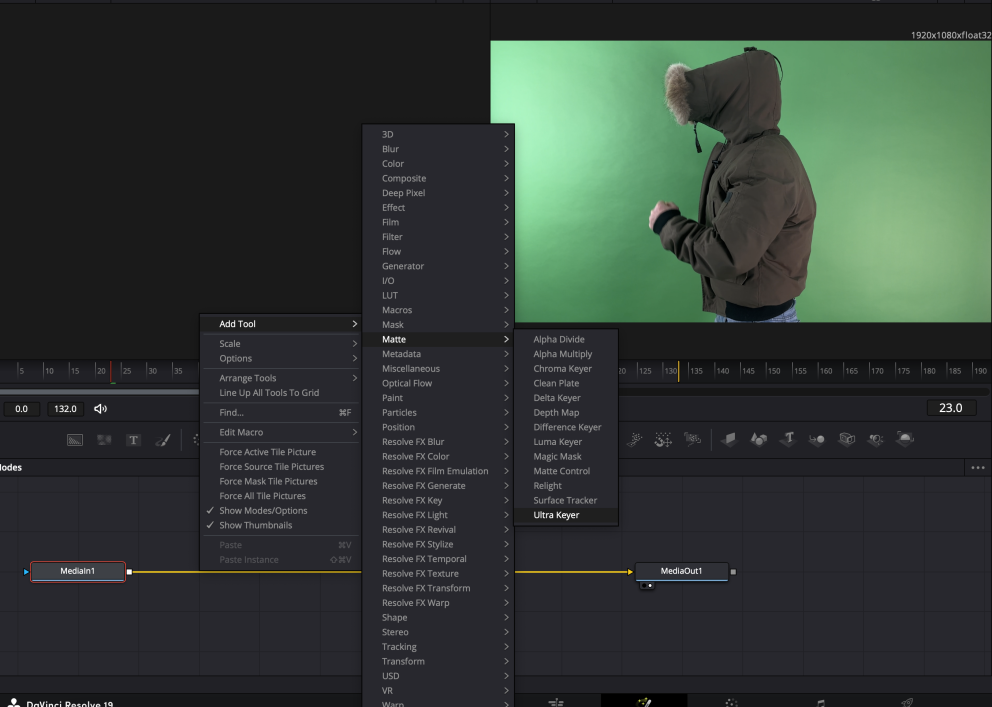
From Fusion view, either <ctrl> clic (Mac), Add Tool -> Matte -> Ultra Keyer, or (PC)...
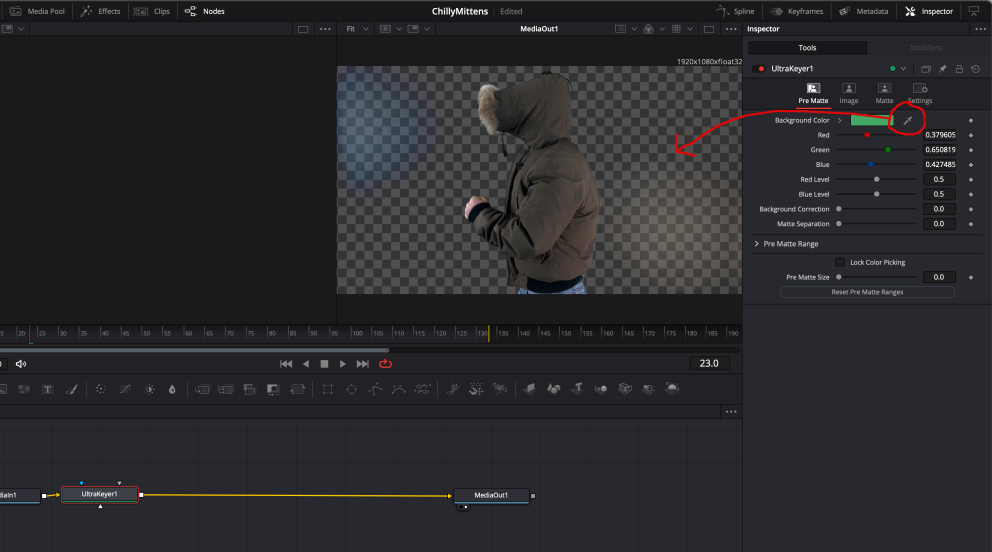
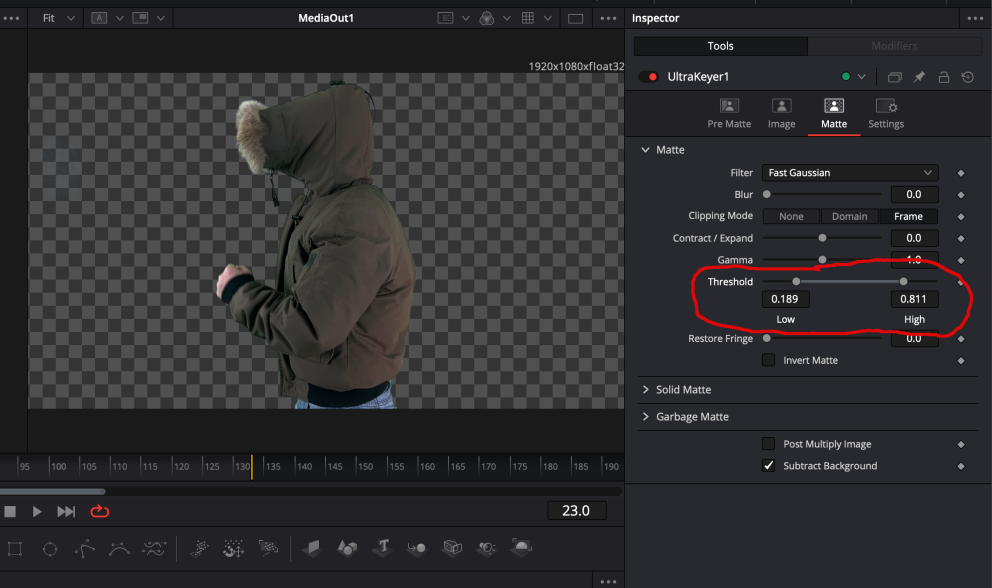
From the Inspector (upper right) -> Pre Matte view, click and drag the eyedropper icon onto the green screen clip's green background (in the preview window).
Your green screen is now a greyish checker pattern. Chances are your green screen was not entirely of uniform colour or else not uniformly lit, amounting to the same thing. The checker pattern reflects this. Adjust the threshold sliders from the Matte view until your checker pattern is even.
Back in Timeline view, you should be in business.
Editing audio
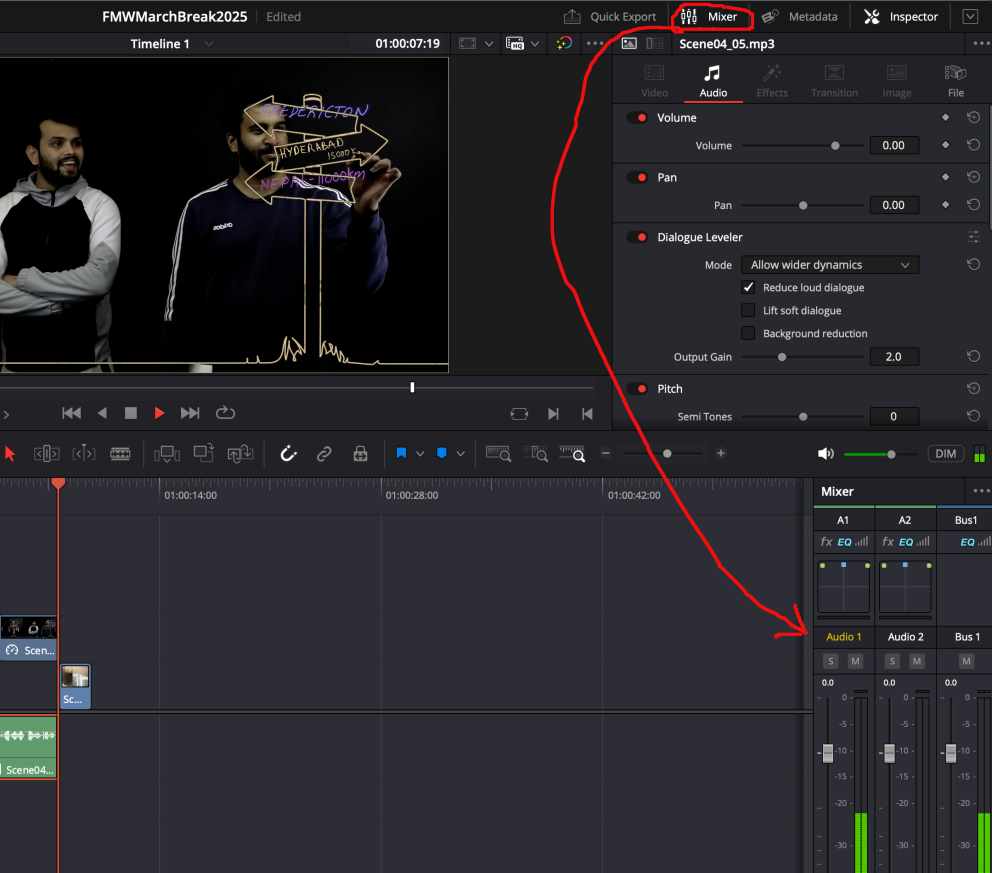
Activate the Mixer to monitor audio levels during playback. -15db to -10db is a good volume range to aim for. Select an audio clip from the timeline to adjust volume, dynamics (Dialogue Leveler), panning, and more through the Inspector's Audio tab.
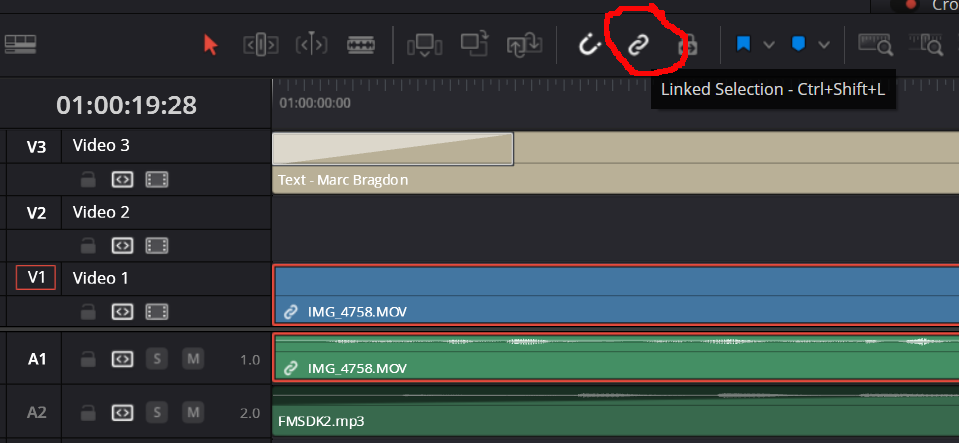
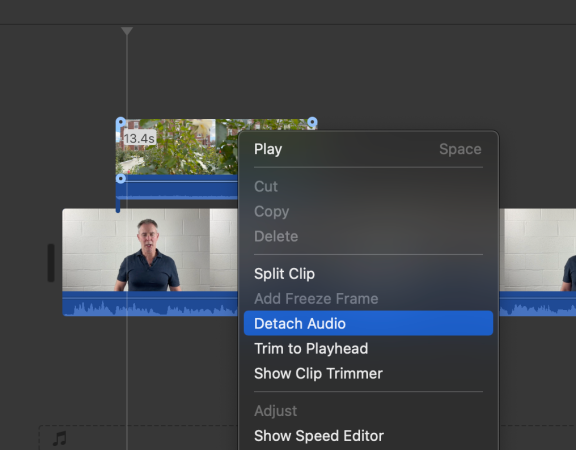
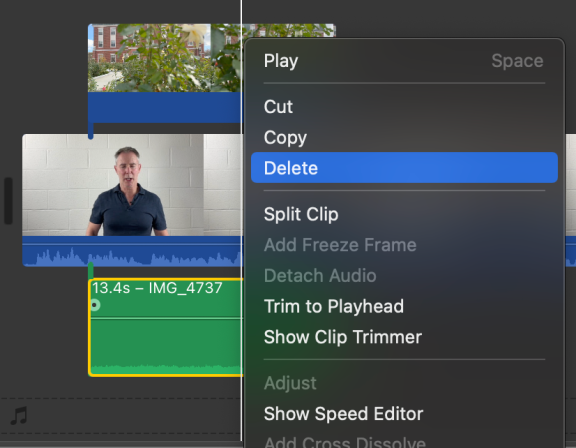
To delete audio from one of your cutaway (overlapping) clips, you may need to unlink it from the associated video first, so select either the associated video or audio and click the Chain link icon. Click outside of the selected clips so nothing is select, then select the clip you wish to delete and hit the backspace button (not the delete button!): Something go wrong? Edit -> Undo.
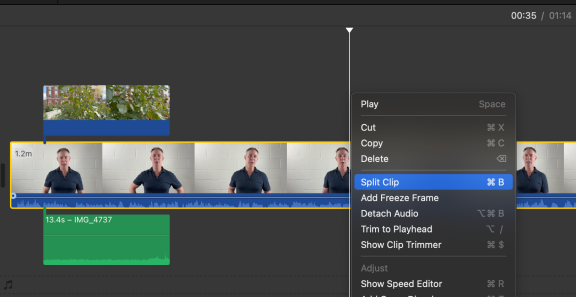
To split a clip (useful to apply an effect or change some aspect of part of a larger clip, for e.g.), choose the Razor tool and click within the clip at the desired position:
To add text
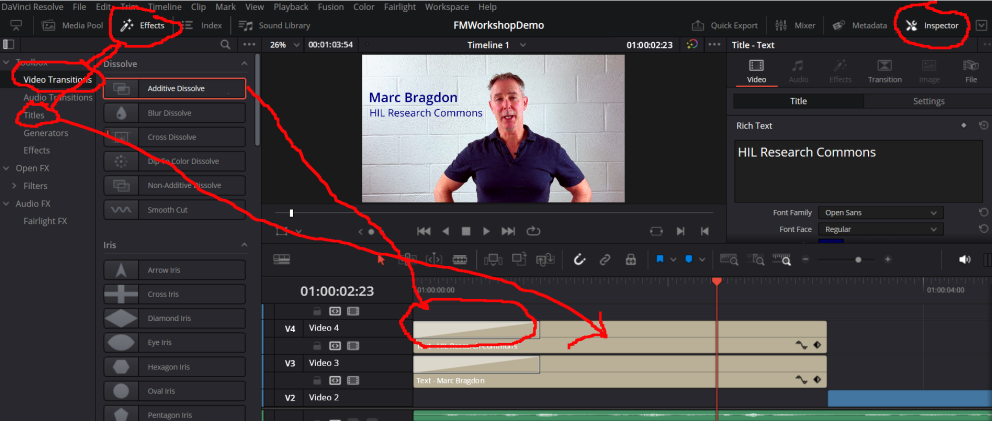
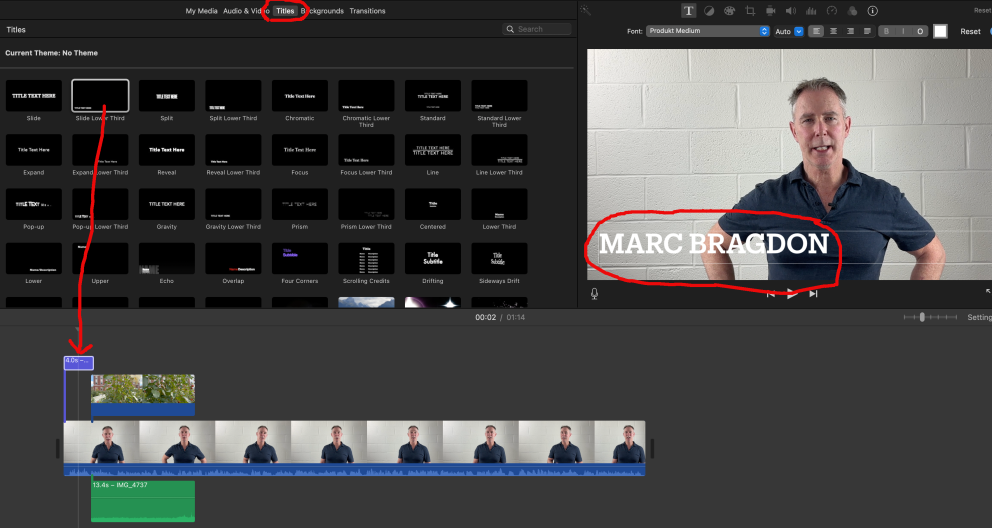
Go to the Effects menu at the upper left, expand the Toolbox, choose Title and then select the desired template (or just Text); the drag it onto the Timeline (make sure it is the topmost Video clip); then go to the Inspector to the upper right to change the text, color, size, position, etc.
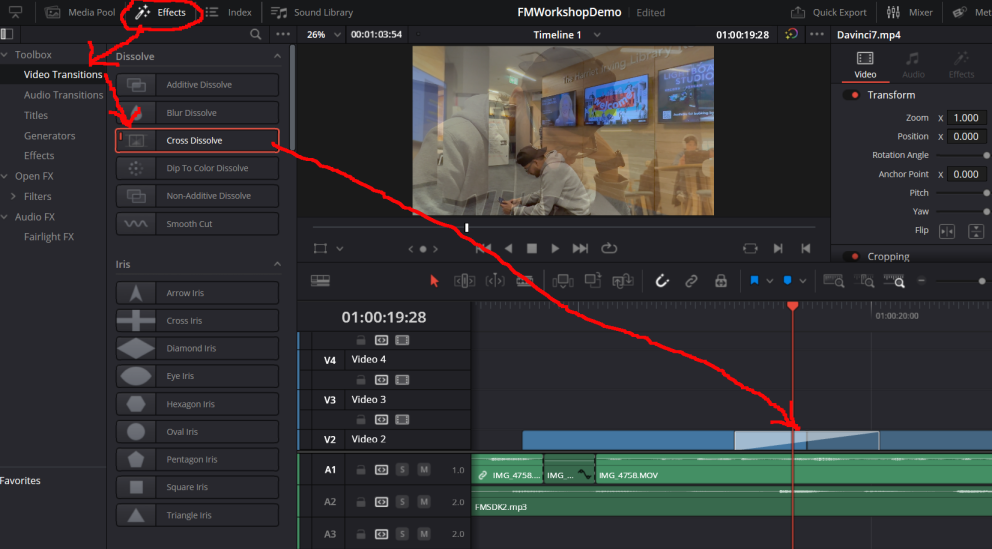
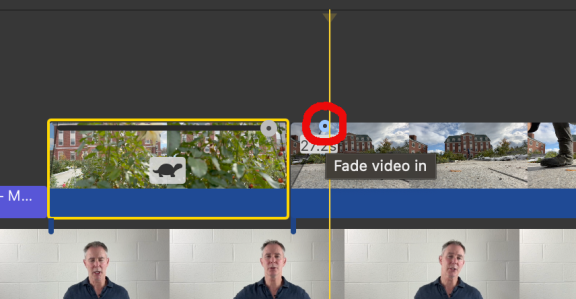
To add a fade in and/or fade out to your text, go back to the Effects menu and, under Toolbox, choose Video Transitions and the Cross Dissolve. Click and drag onto the beginning and/or end of the text clip on the Timeline and, from there, you can click and drag the ends of the effect to prolong or shorten.
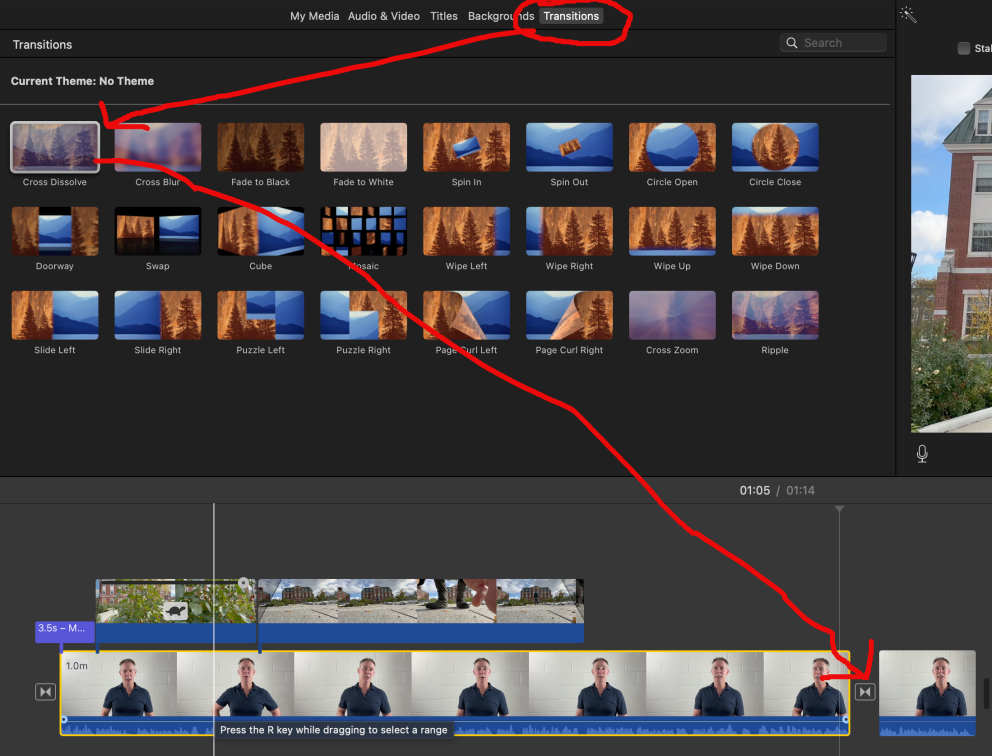
To add a fade in/out (known as a cross dissolve) between clips, go to the Effects menu, expand the Toolbox if necessary, go to Video Transitions, and click and drag Cross Dissolve between the two side by side clips to which you want to add this effect. As with Additive Dissolve above, you can click and drag its edges to effect duration.
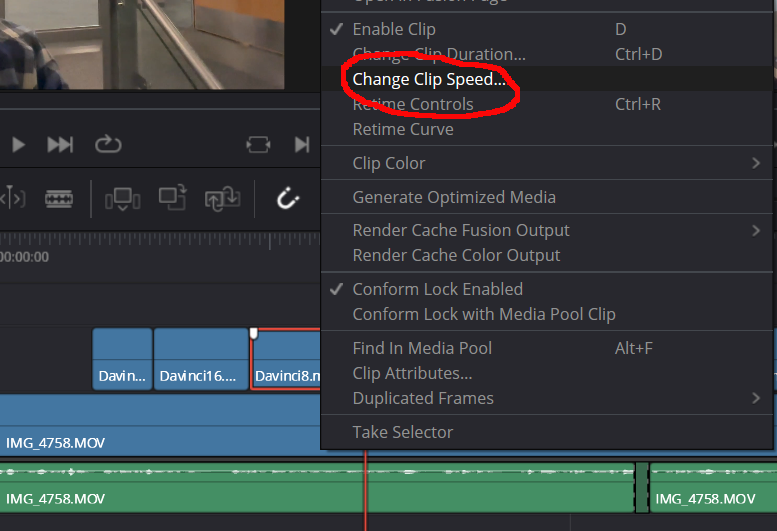
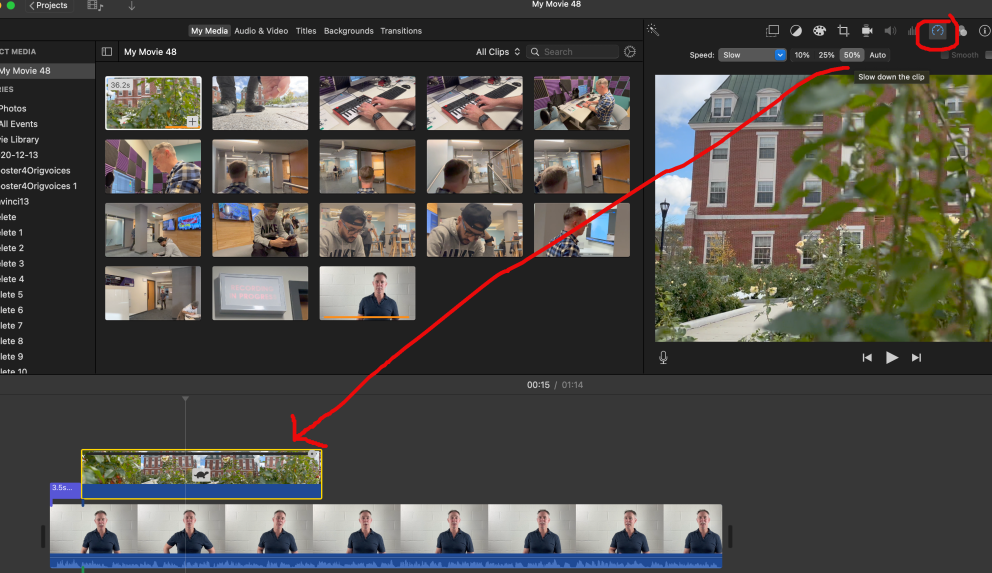
To change a clip's speed, right click on the implicated clip and choose Change Clip Speed:
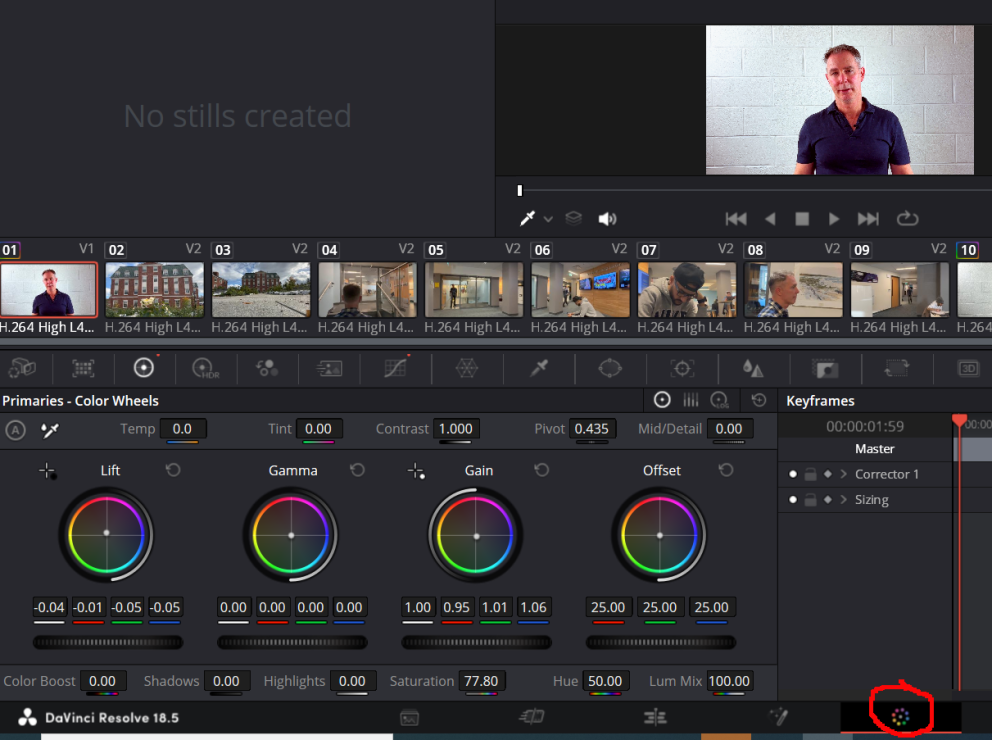
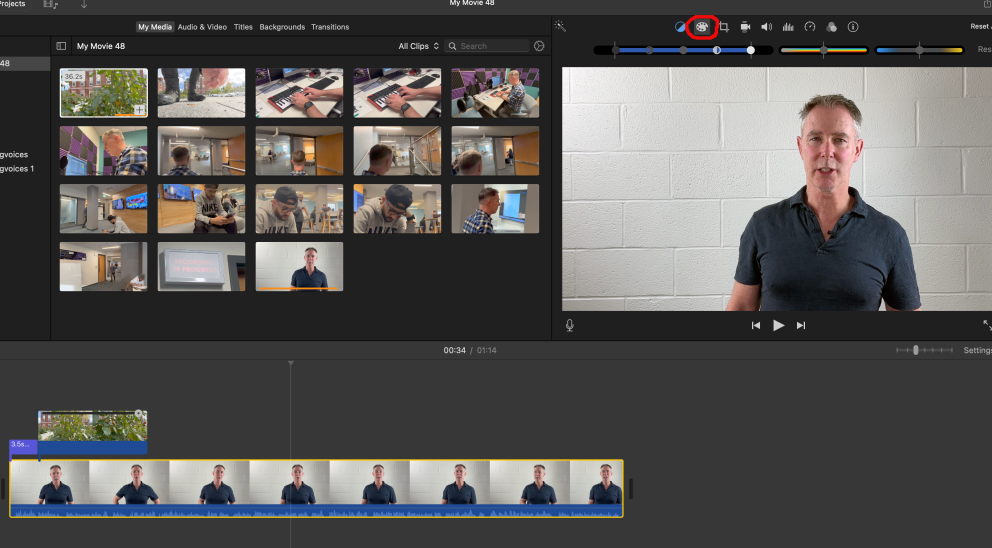
To make colour changes to a clip (e.g., lighten, darken, add contrast, change color cast, etc.), choose the Color view at the bottom of the screen and manipulate any of the three resultant wheels, representing dark, mid-range, and bright colours within the clip. This can be useful if your clip is too somber or washed out, etc.
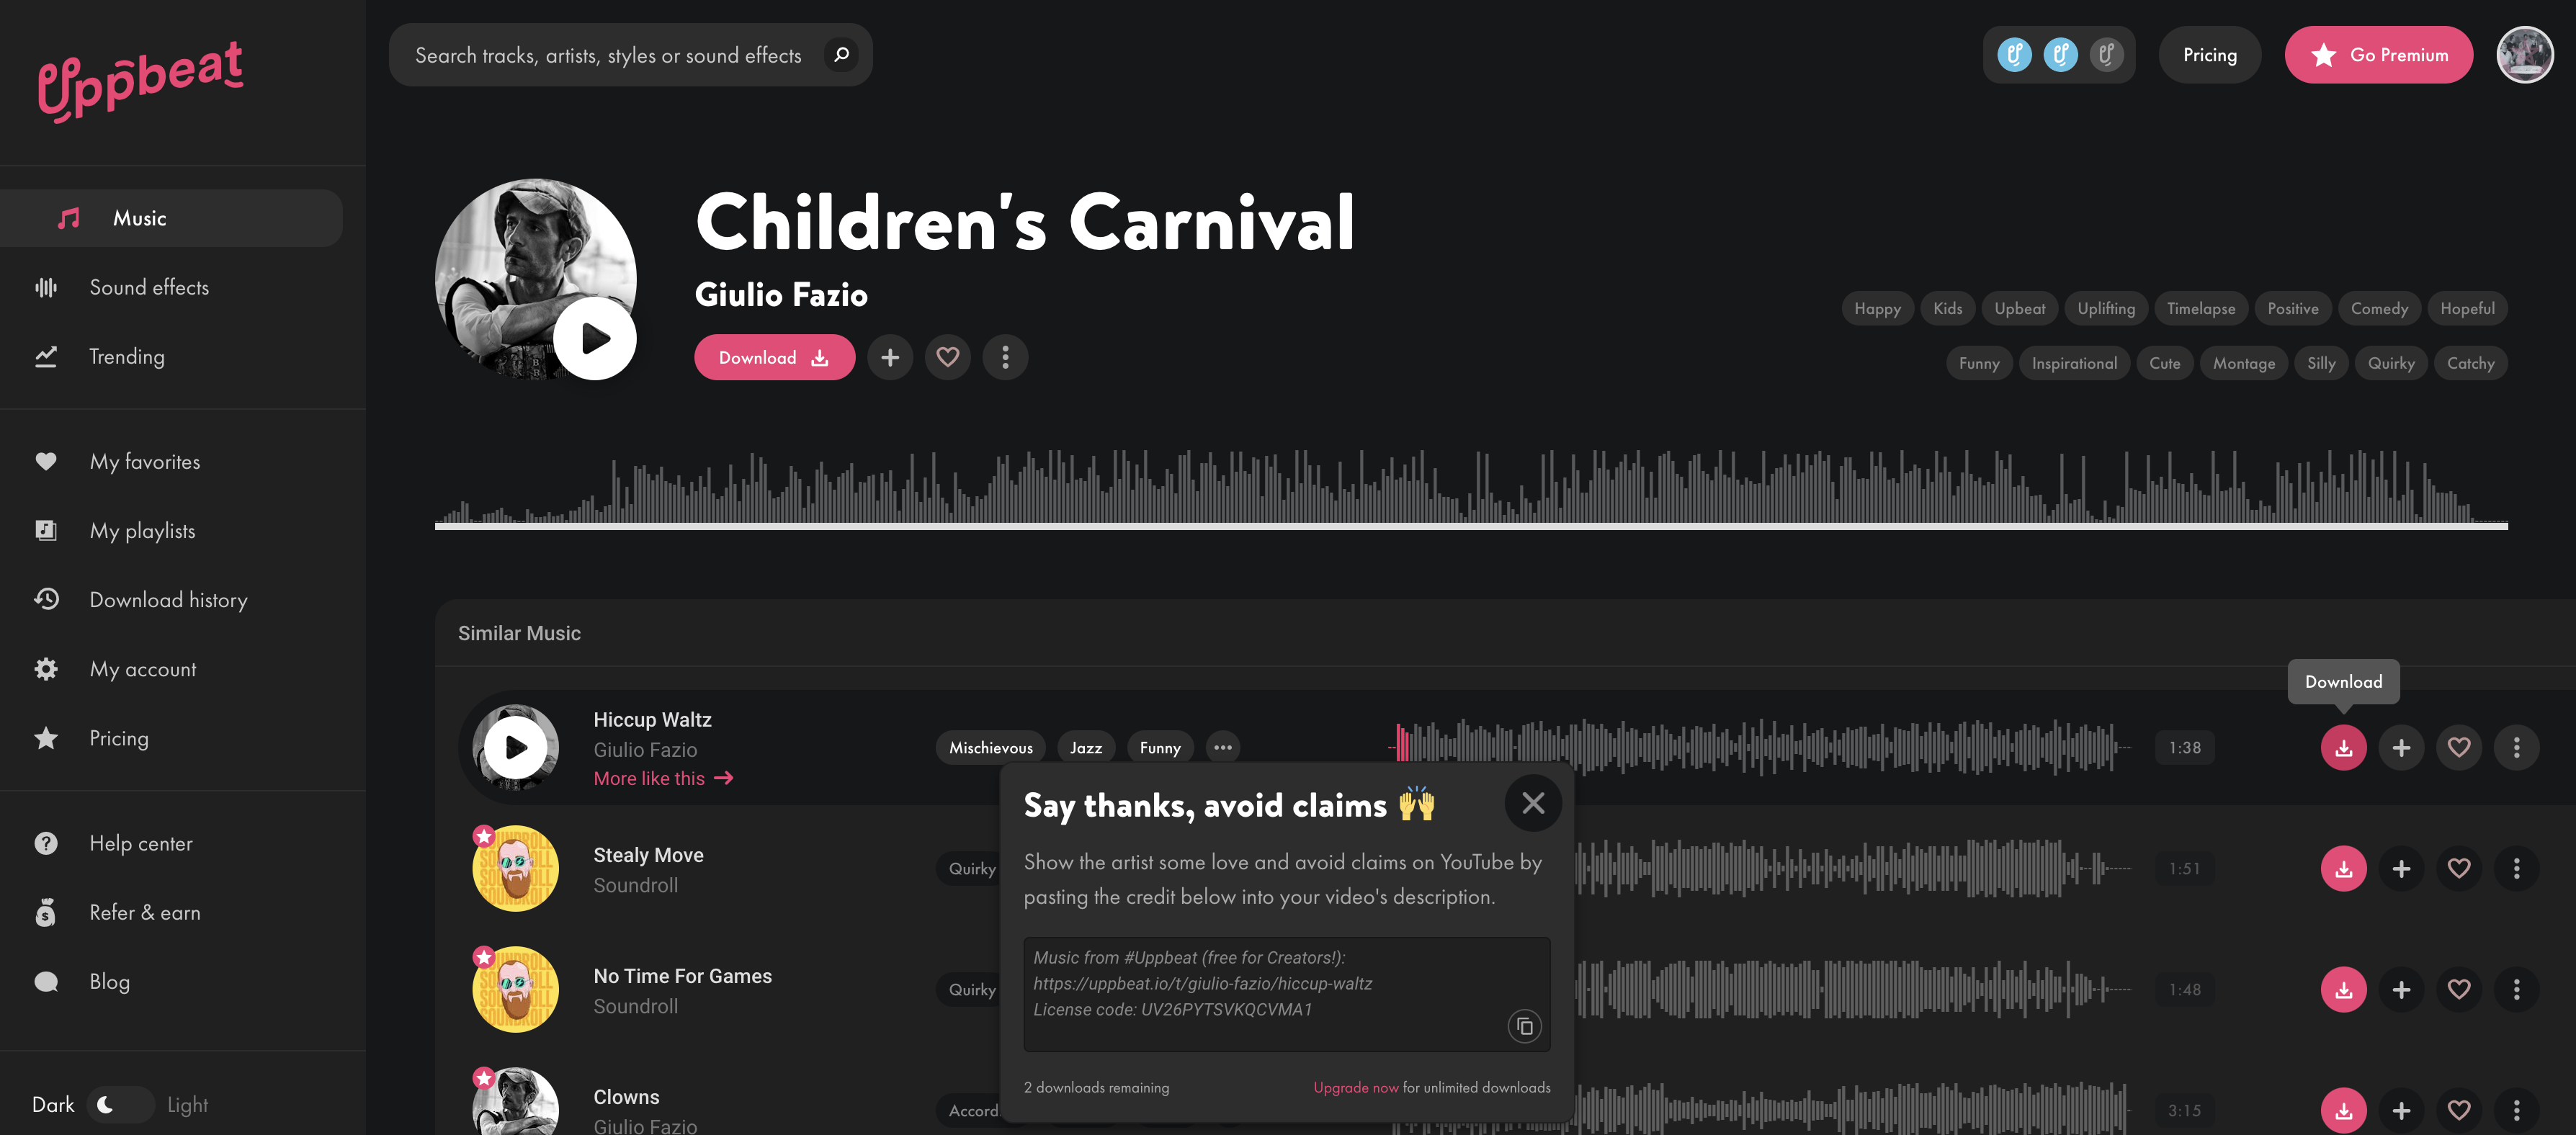
To add music to this project, you could create an account at Uppbeat (you will have to give credit if you post the video online), which permits ten free downloads per month: https://uppbeat.io:
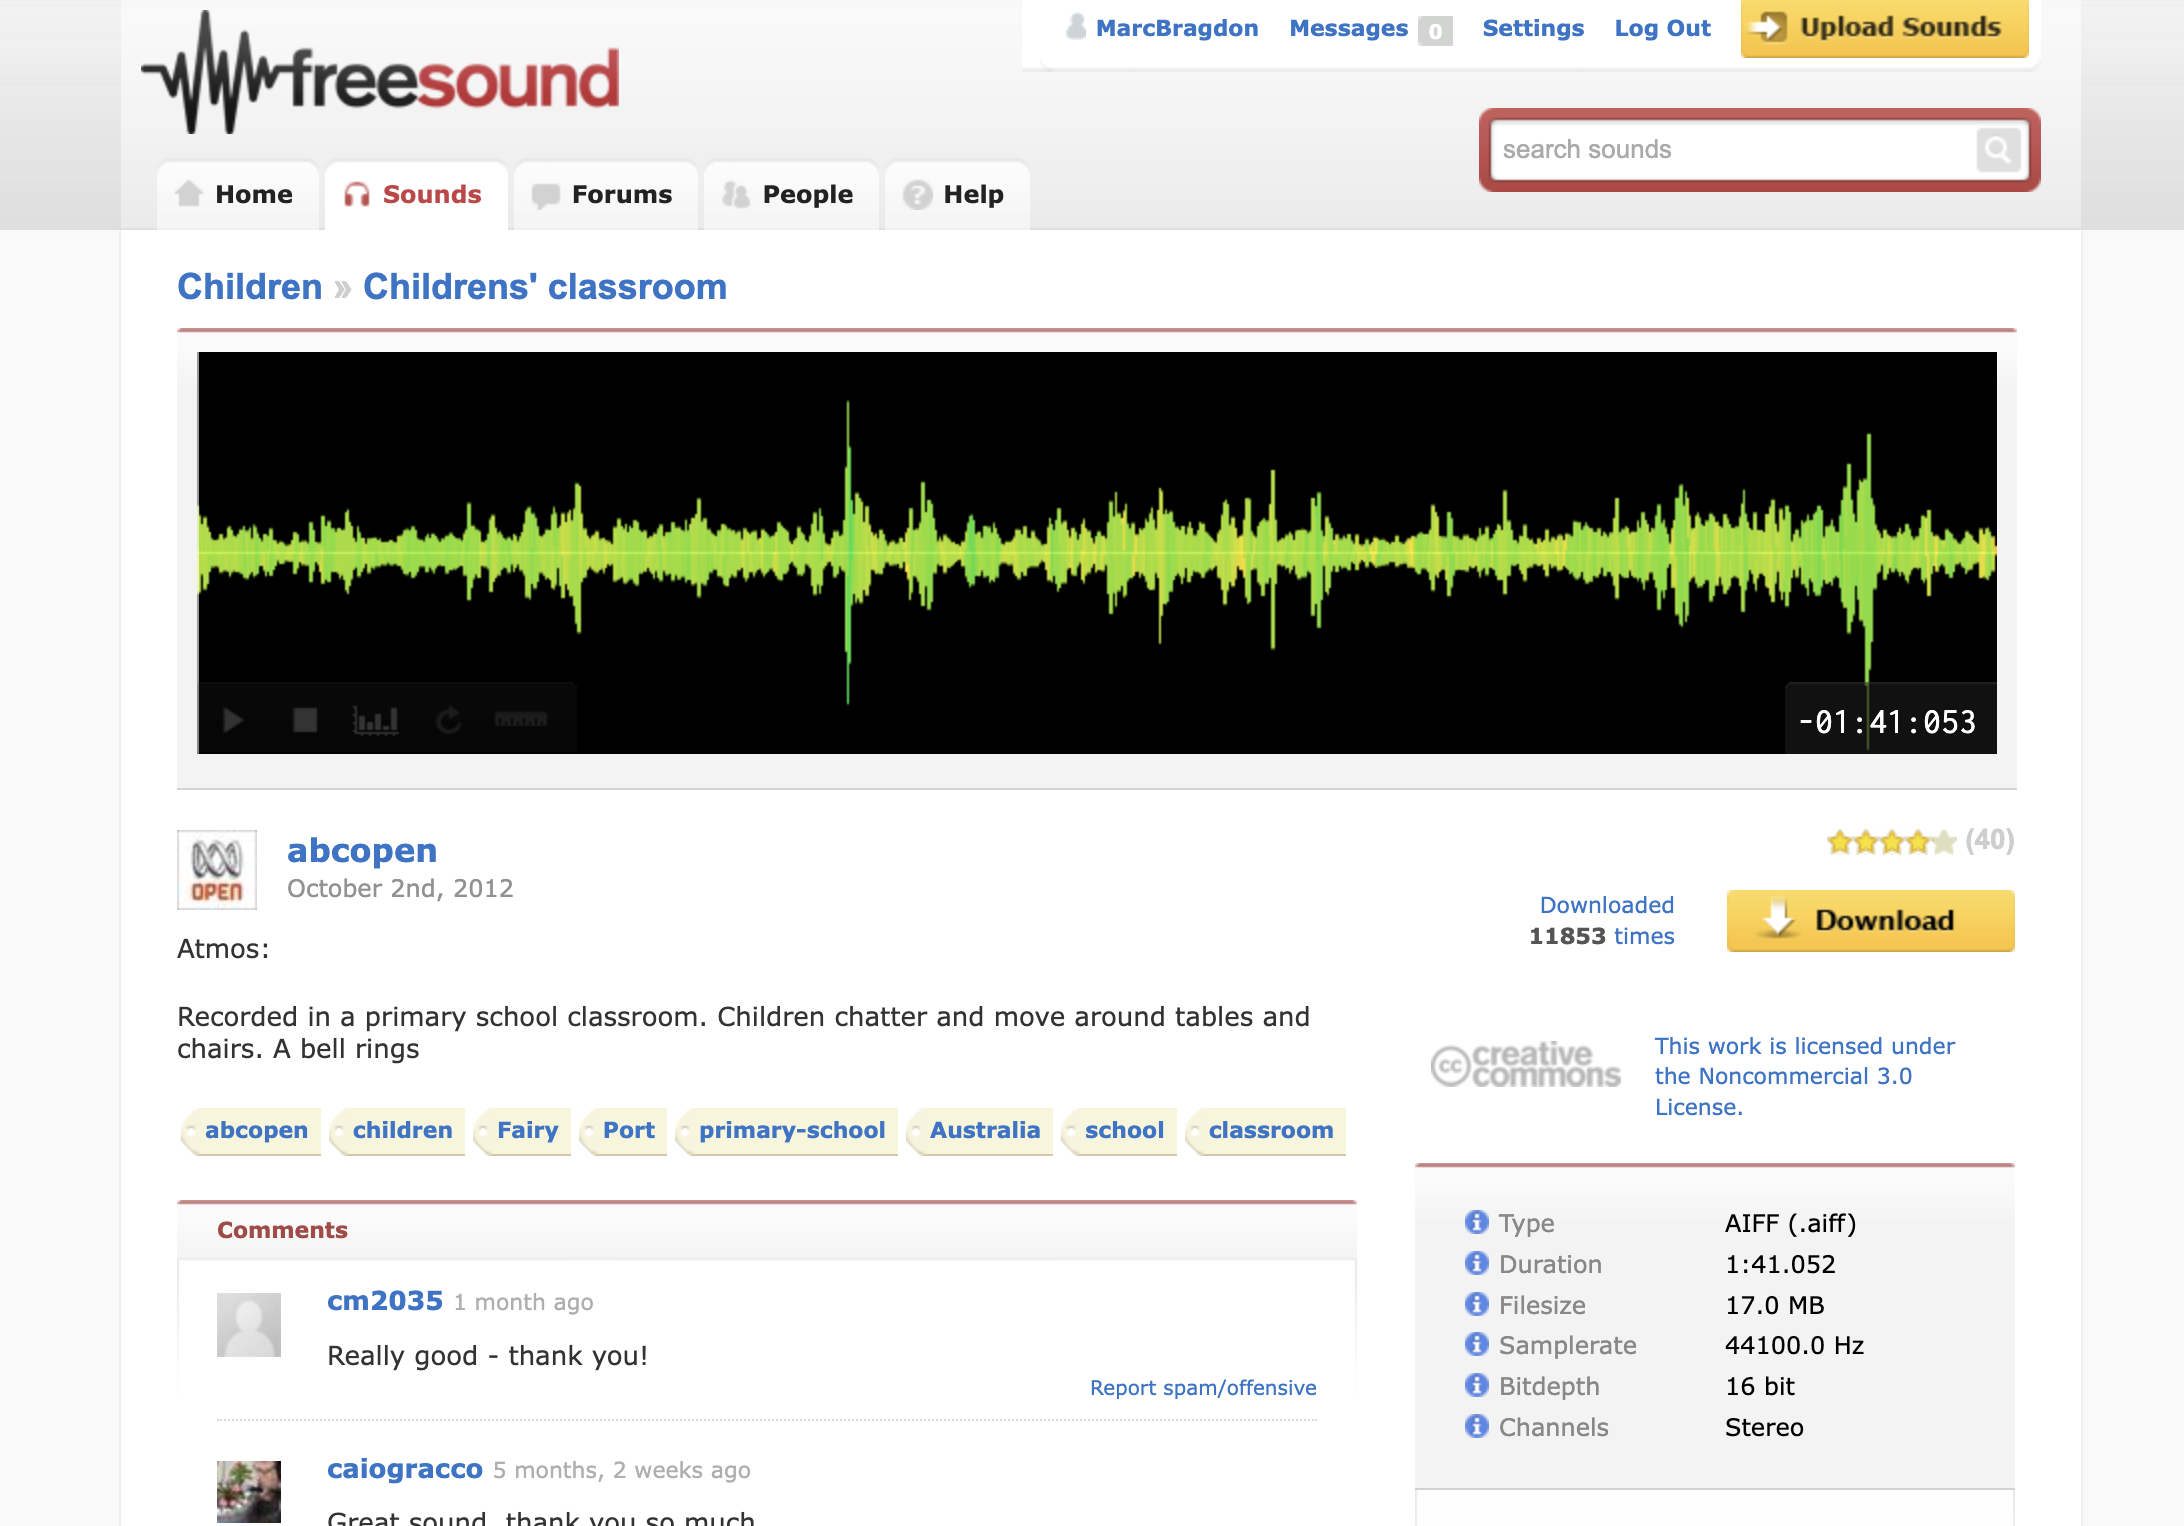
To add sound effects, you could record your own or create an account at FreeSound (you will have to give credit if you post the video online): https://freesound.org:
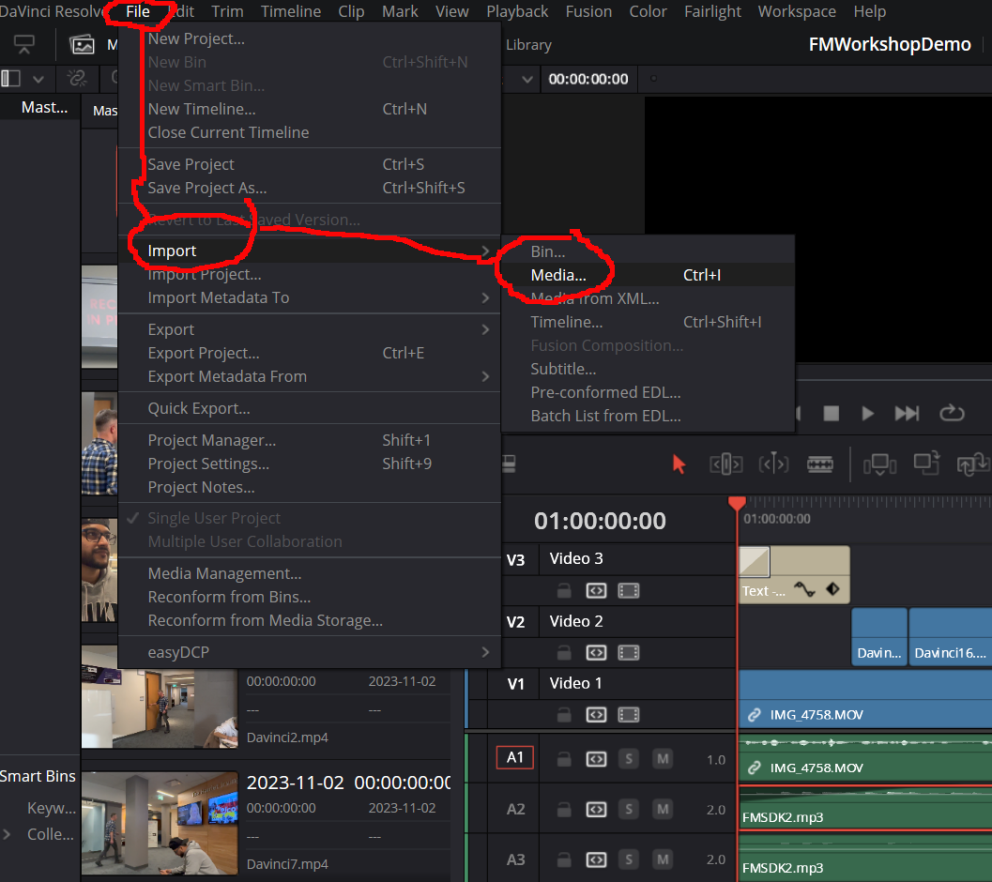
To add these audio files and any others you may wish to use (including images or more video footage), go to File -> Import -> Media, then navigate to the source folder and select the desired media.
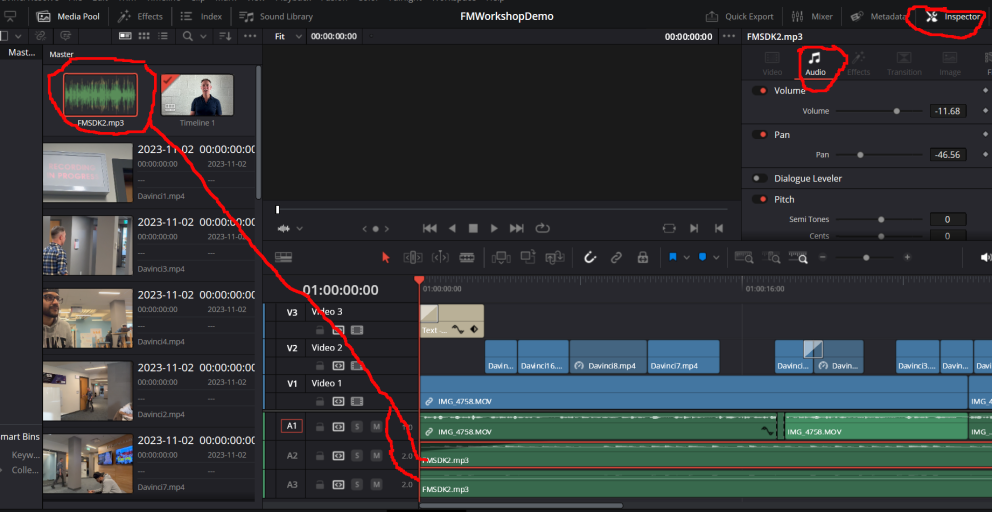
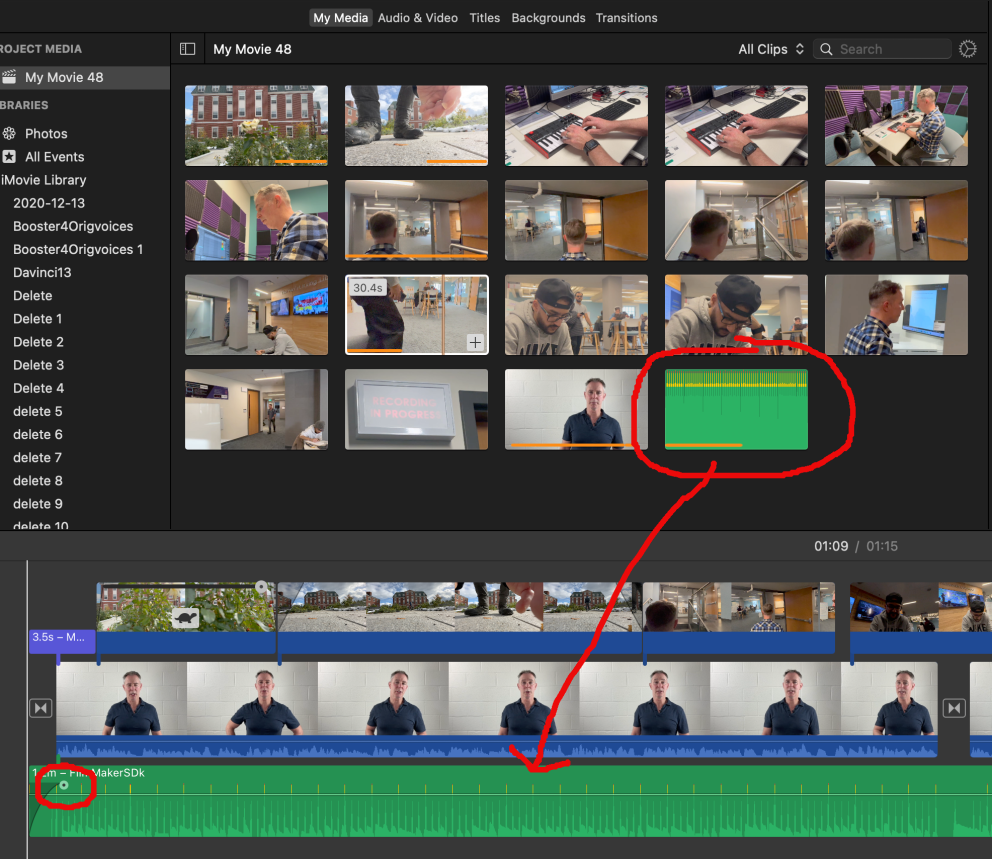
Click and drag the audio track(s) onto the timeline as separate audio tracks on their own channel (row). To change the volume on an audio track, click and drag the soundwave within the track up or down. Another way to change volume and also pan the track is to select it, go to the Inspector - > Audio and make desired changes. In the example below, I have added my soundtrack twice, dropped the volume, and panned them left and right respectively.
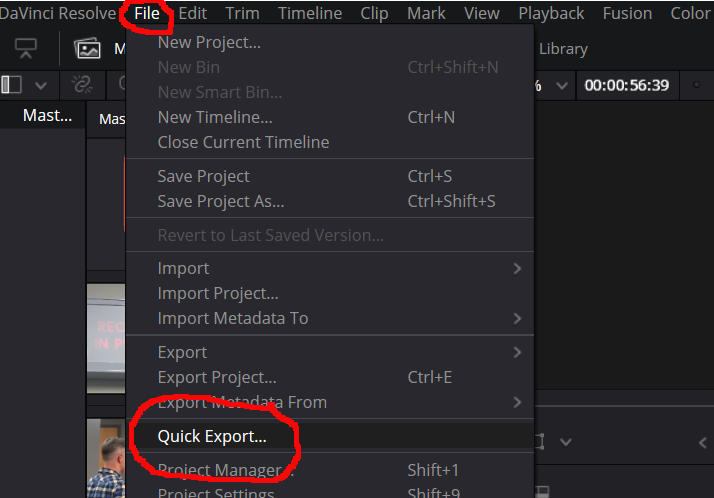
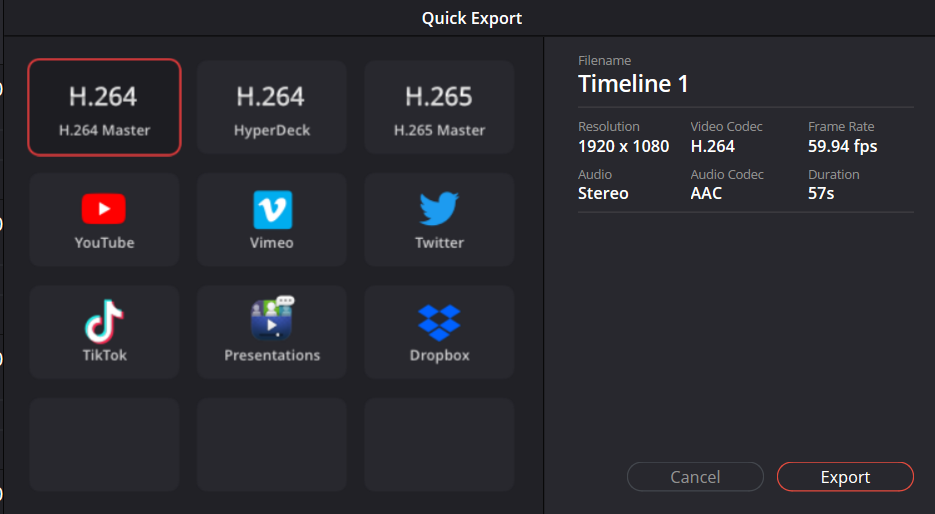
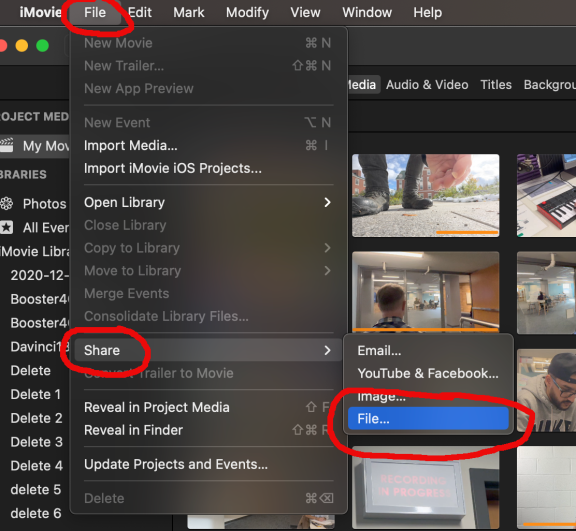
To export or render your project as a video, go to File -> Quick Export.
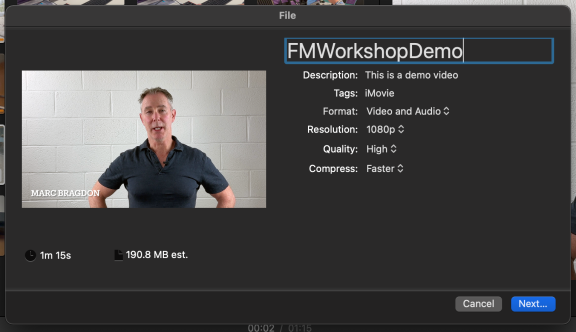
Choose the settings below (probably the default).
And you're done!
