This is an illustrated step-by-step guide to recording, editing, rendering (exporting as mp3) and publishing a basic podcast using GarageBand software, free to Mac users.
Recording
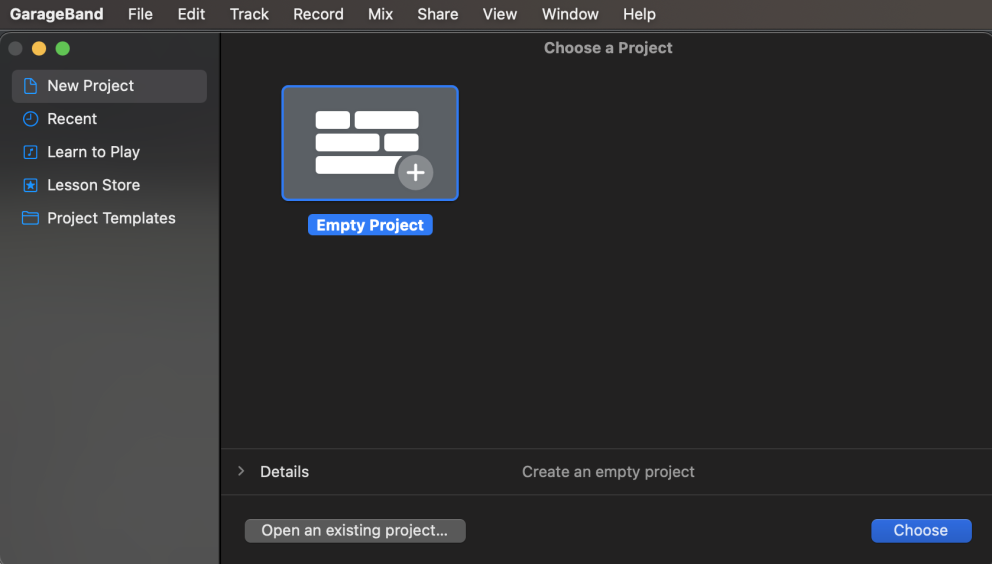
When you open GarageBand for the first time, you will be invited to "Choose" an Empty Project:
If GarageBand opens to a previous project, go to File -> New.
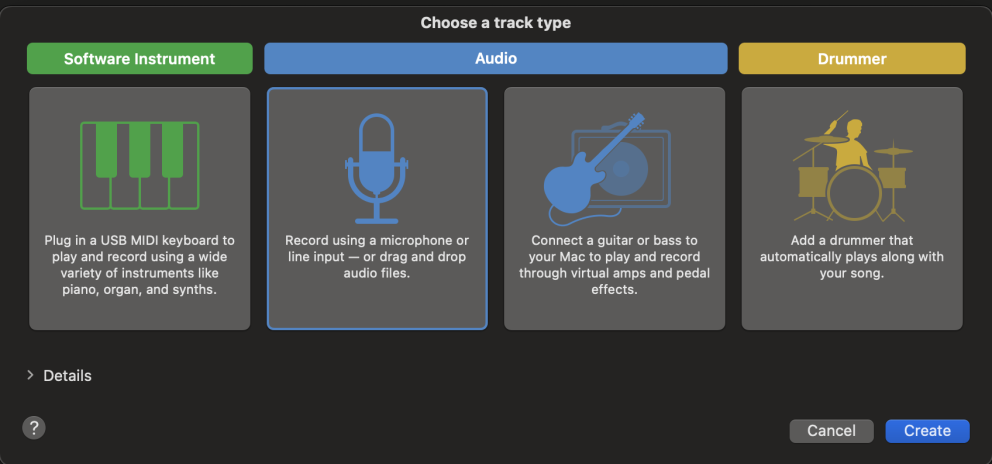
Choose the type of track you wish to record (for our purposes, choose Record using a microphone or line input...):
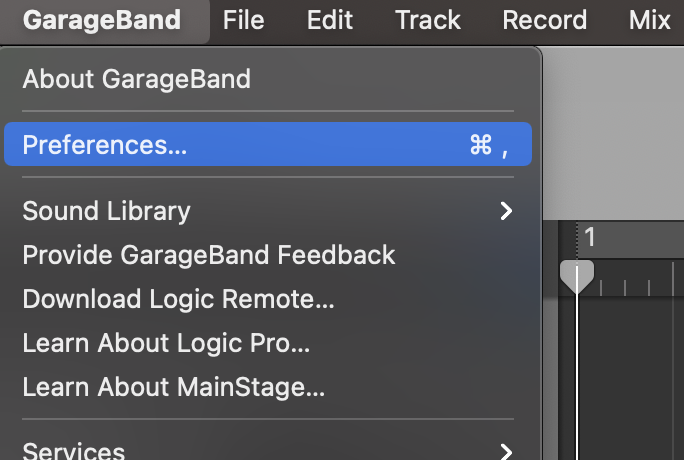
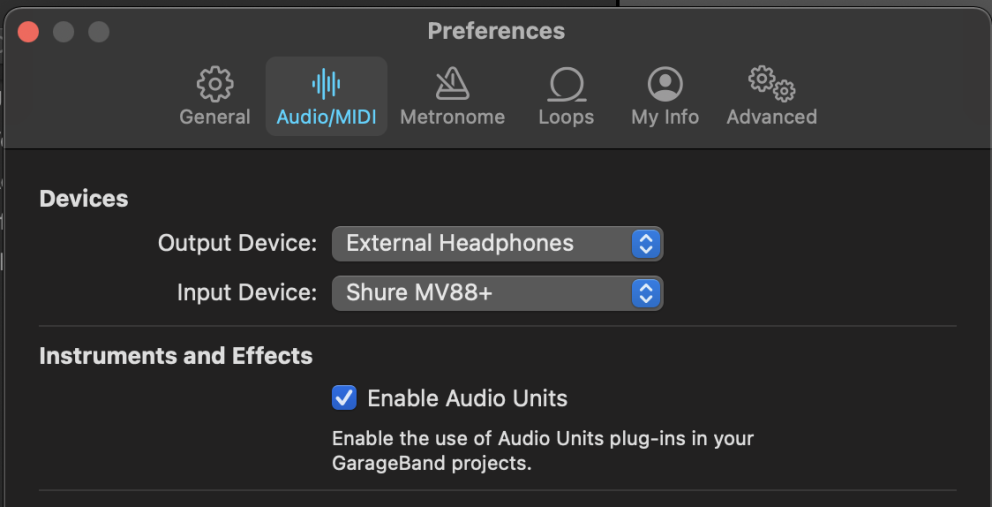
To configure your input (microphone) and output (listening) devices,
(1) go to GarageBand's Preferences:
(2) From the Audio/MIDI section of Preferences, choose the Input Device that matches the microphone you are using (in this case, the Shure MV88+) and the appropriate Output Device (in this case, External Headphones)
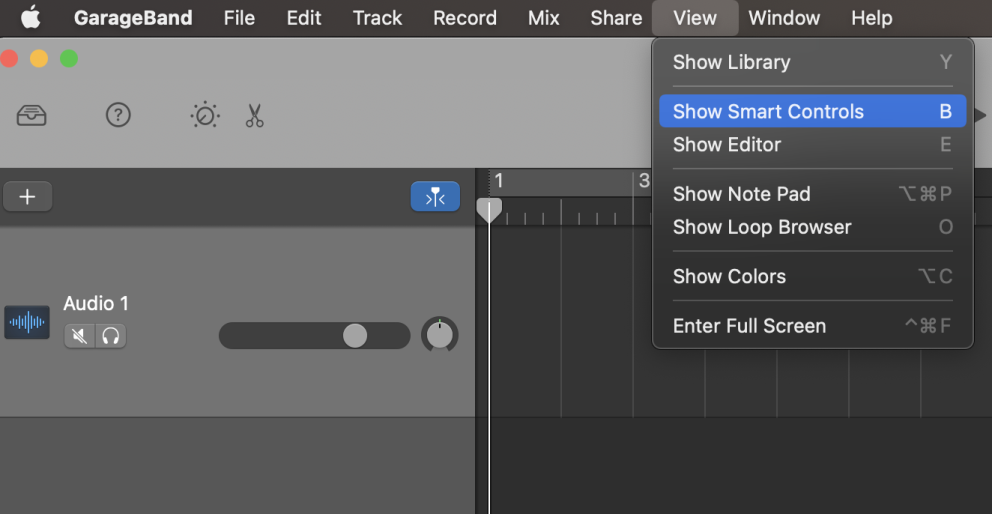
If you do not see a Controls panel across the bottom of your screen (with knobs and such), go to the GarageBand View menu and choose Show Smart Controls:
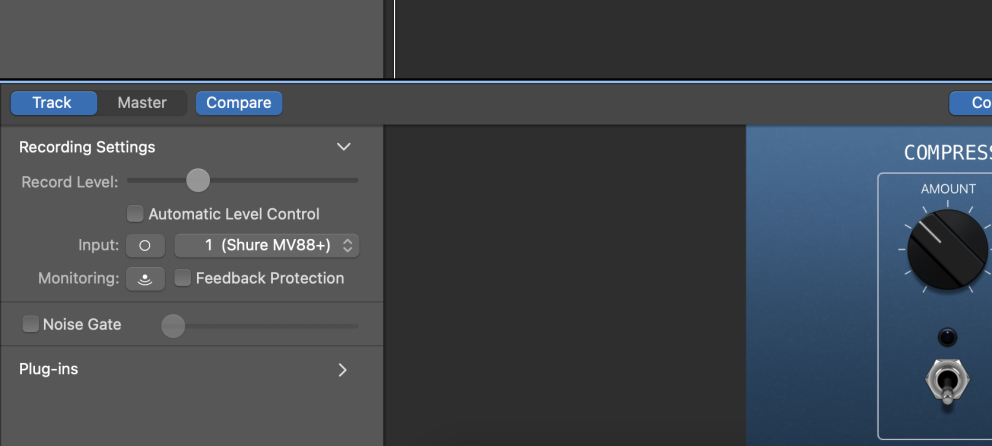
In the Controls panel, bottom left, choose your microphone (in this case, the Shure MV88+) as your track Input, and adjust the Record Level slider if necessary (probably no more than half way - you may have to test the level in playback later and adjust if necessary).
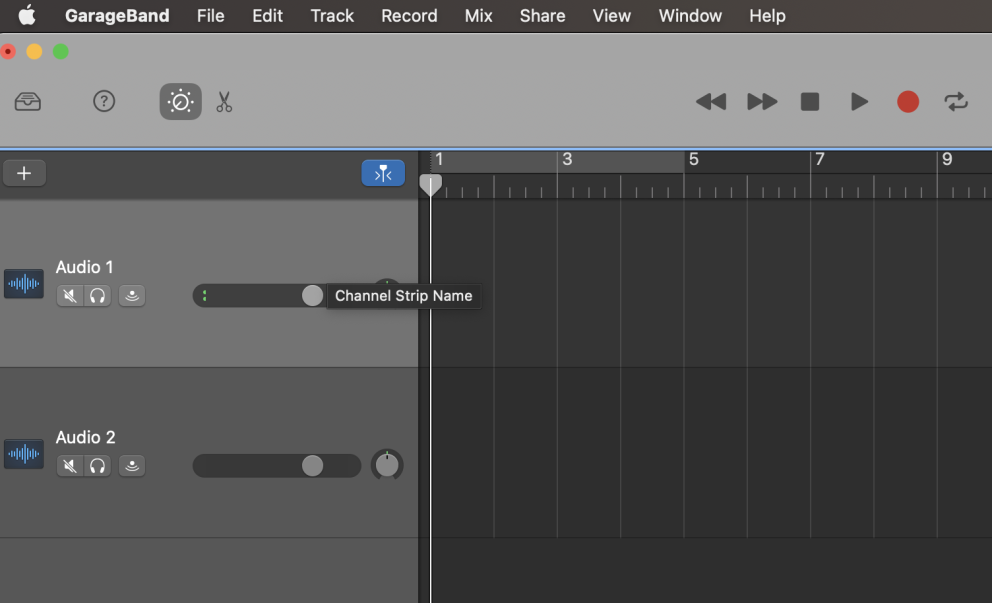
If you have more than one track in the timeline, you will need to select which track Smart Controls apply to by clicking on its "Header" (the left panel of the track):
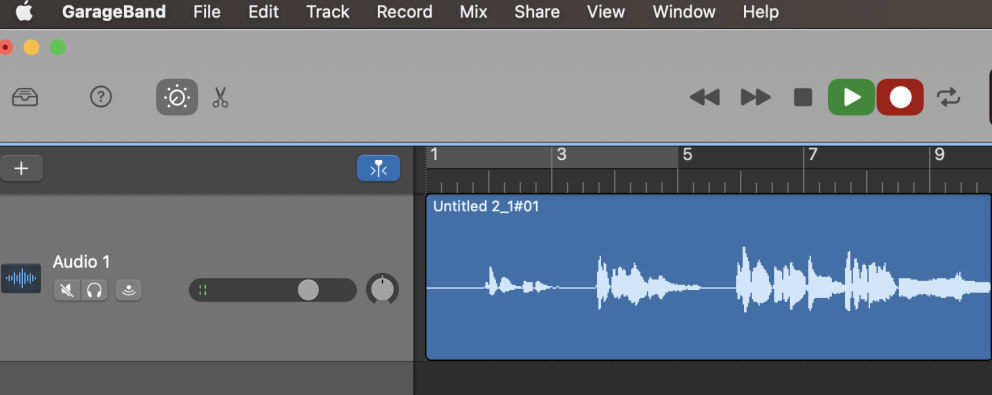
Position the microphone as close to and level with the input source (your voice) as possible. Make sure you know which side or end of the microphone actually captures the input source. This will help reduce unwanted reverb. Press the red Record button from the GarageBand playback options above the track, and the square dark grey Stop button to stop or pause:
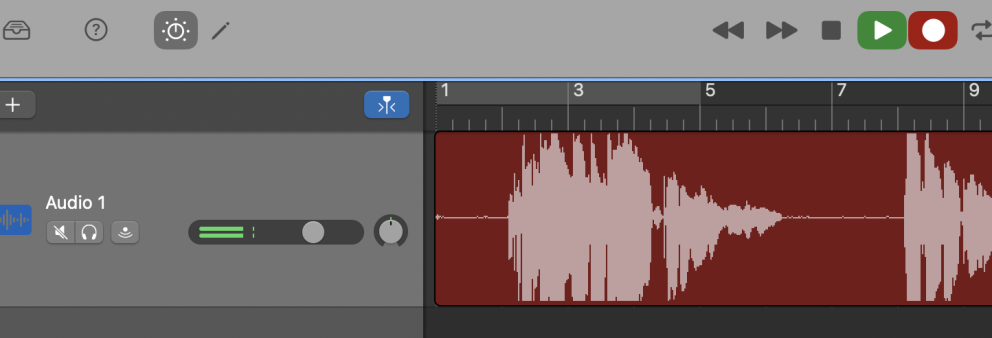
If, as you record, your audio waveform (i.e., visual representation of your input audio) is occupying all available vertical space as illustrated below, this is called clipping and sounds terrible, so either your Record Level or microphone gain is set too high and you will need to turn down one or both (if applicable - not all microphones have gain settings).
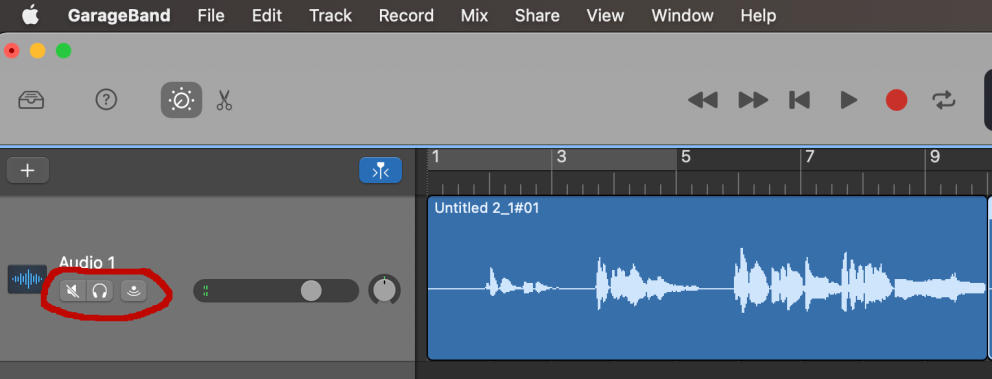
Note the Mute, Solo and Input Monitoring buttons in the left side panel of the recorded track. The first two allow you to Mute or play Solo a track in relation to others. This can be useful if you are recording or mixing overlapping tracks (voice, music, sound effects, etc.) where you want to edit them in isolation or in various combinations. Input Monitoring allows you to hear the track in headphones as it is being recorded. Note that the slider to the right is the monitoring (or playback) volume level, not the track's actual volume (we will get to this later):
To add recording tracks:
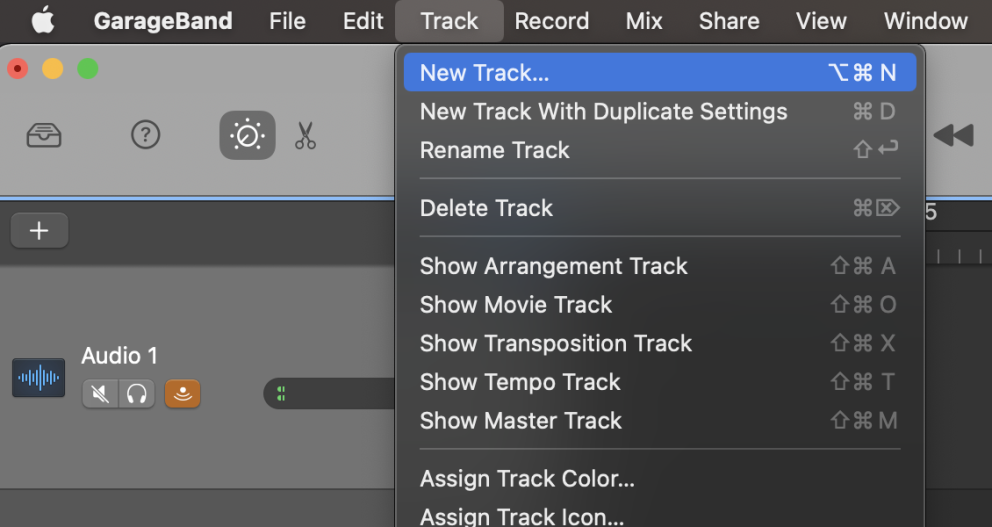
From the Track menu, choose New Track (if you are going to be adding music, digital instruments or loops) or New Track with Duplicate Settings (if you are recording another microphone track):
Save your project (File -> Save) - and be aware that a GarageBand project is not an audio file, but a collection of files and effects that you will later render and export to an audio file (e.g. .mp3 or .wav).
Editing and Sound Design
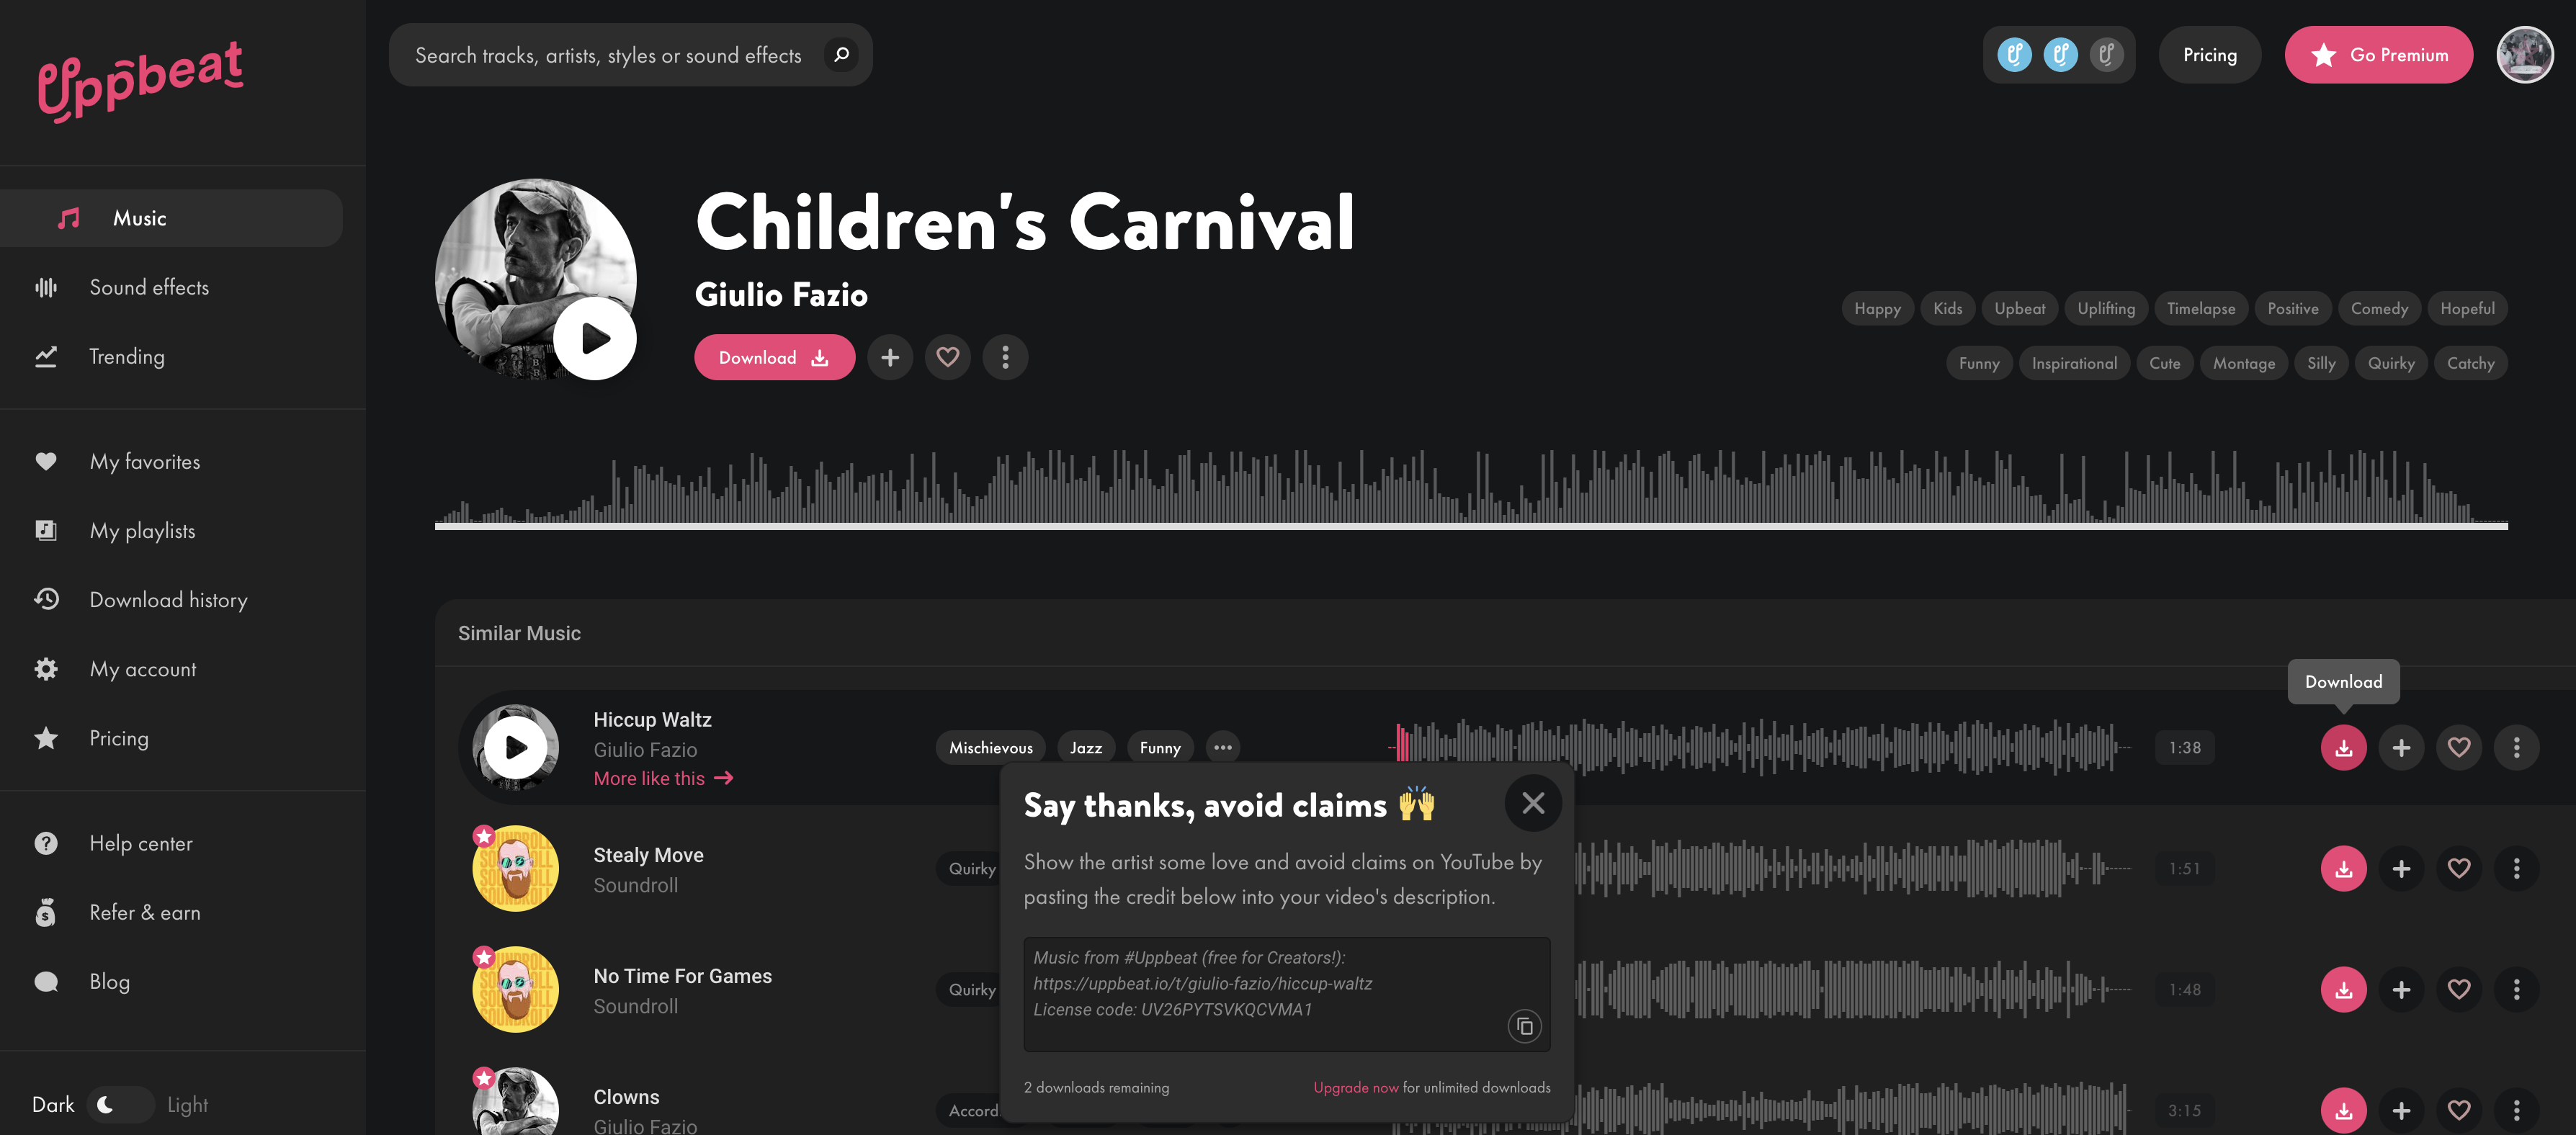
To add music to this project, you could create an account at Uppbeat (you will have to give credit when you post the podcast online): https://uppbeat.io:

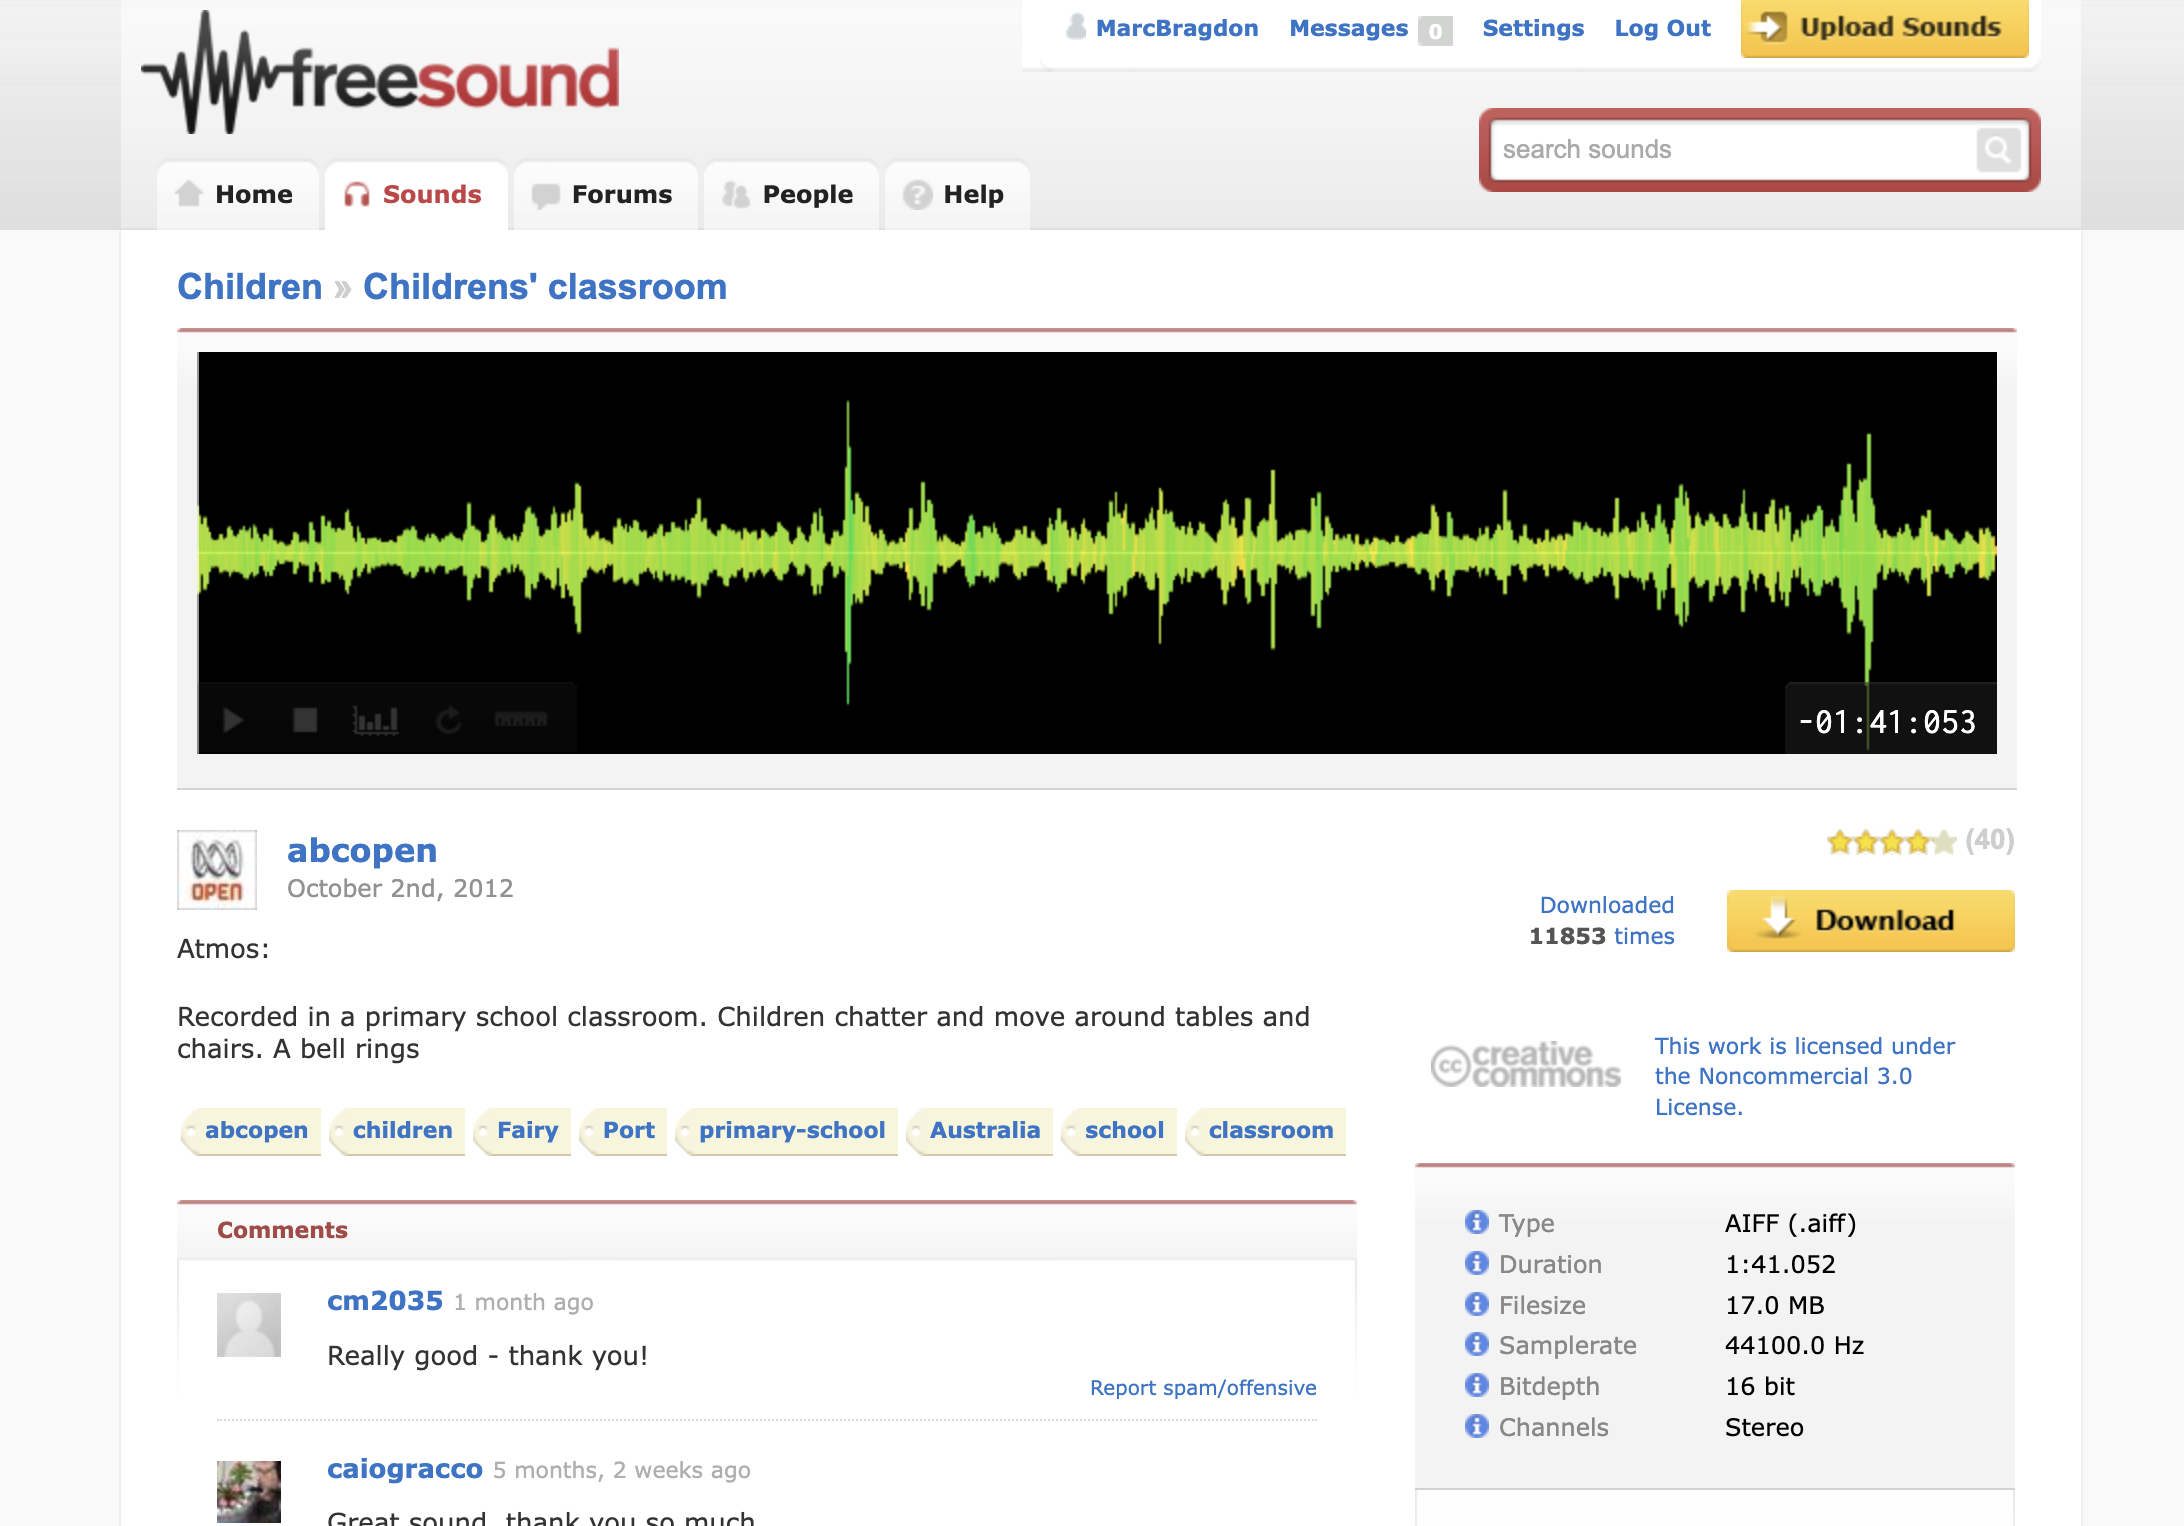
To add sound effects, you could record your own or create an account at FreeSound (you will have to give credit when you post the podcast online): https://freesound.org:

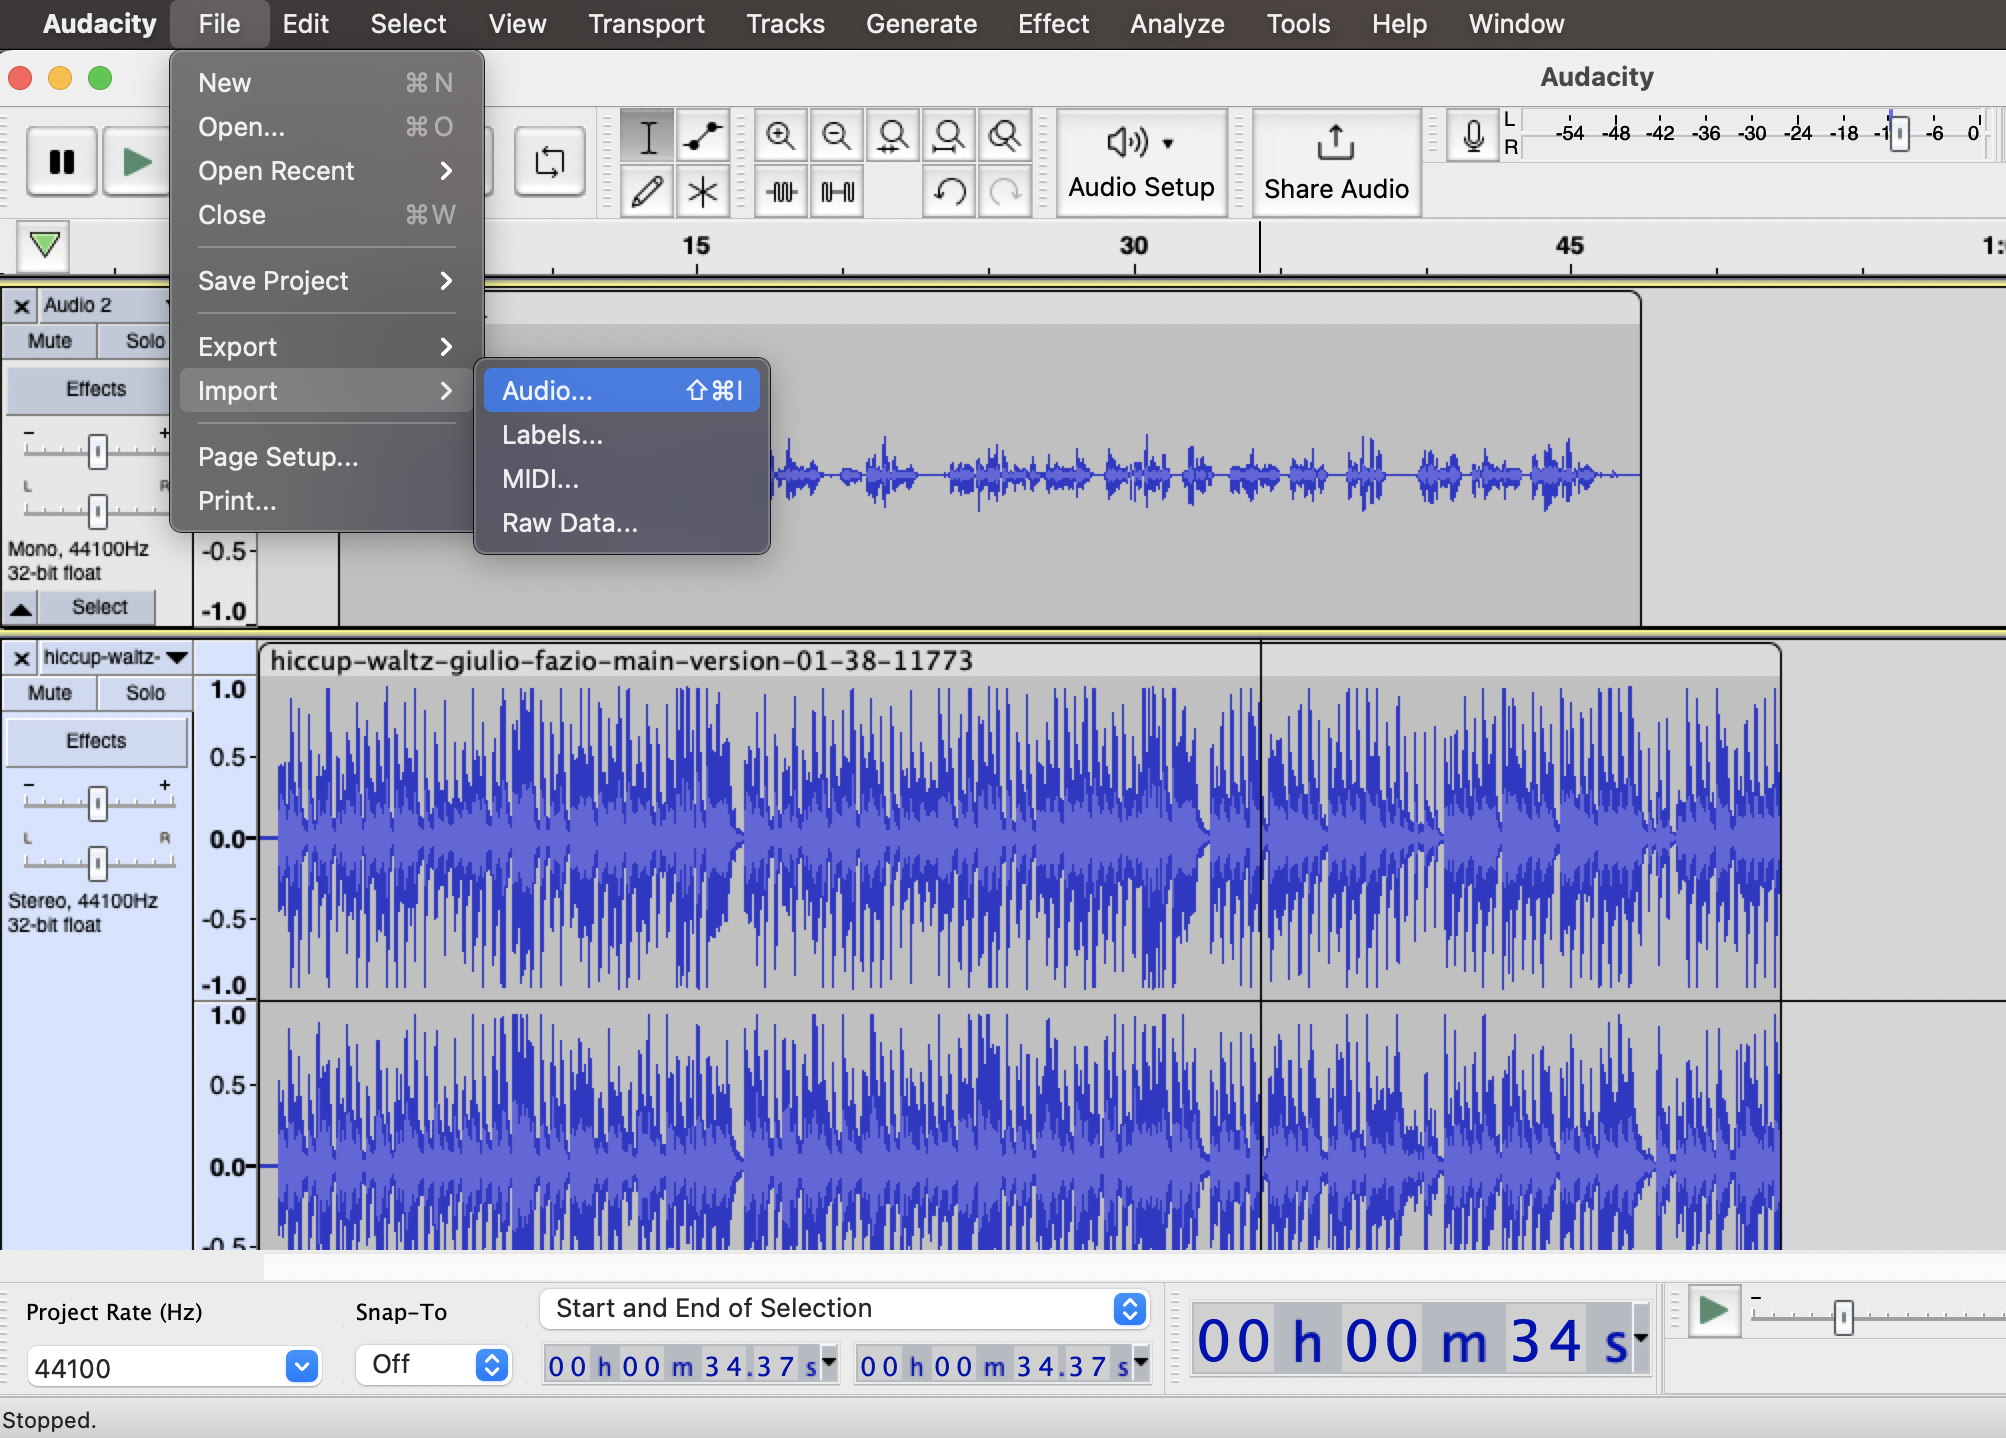
To import audio files from downloads or other folders, click (select) and drag the file into the GarageBand project:
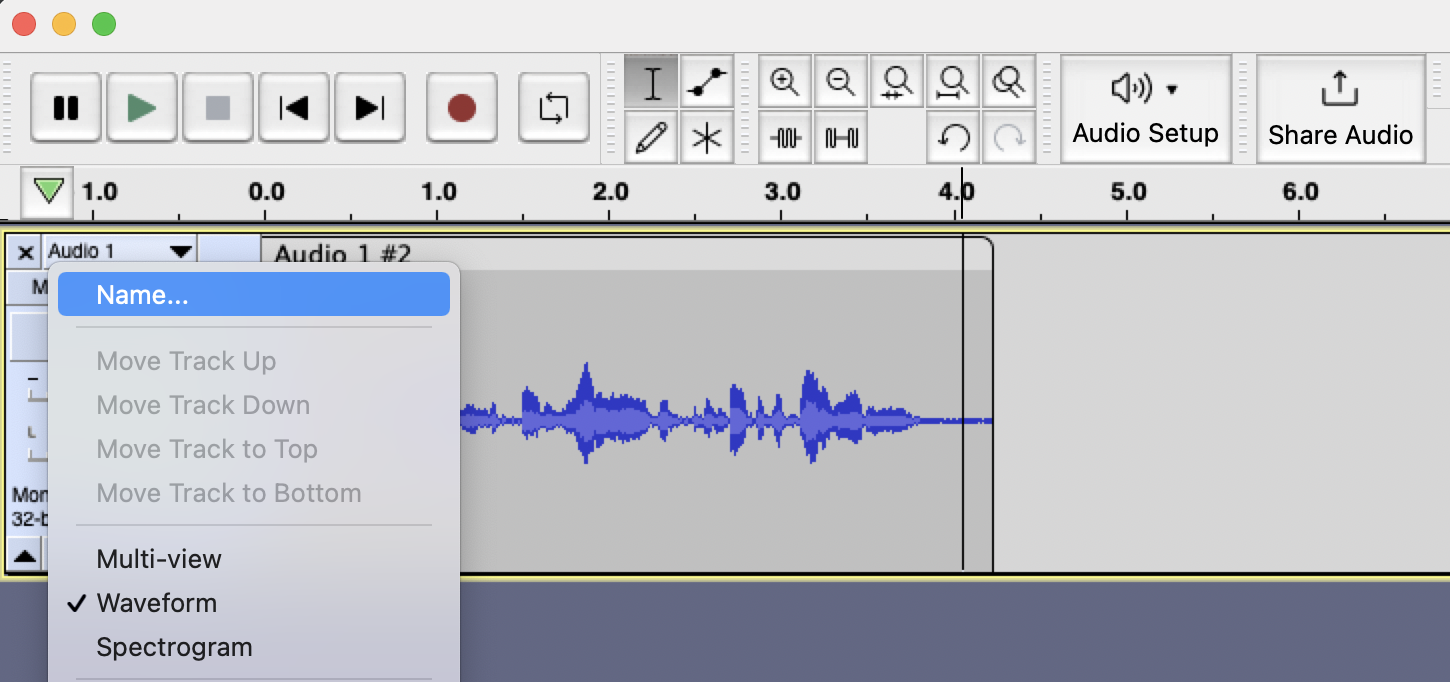
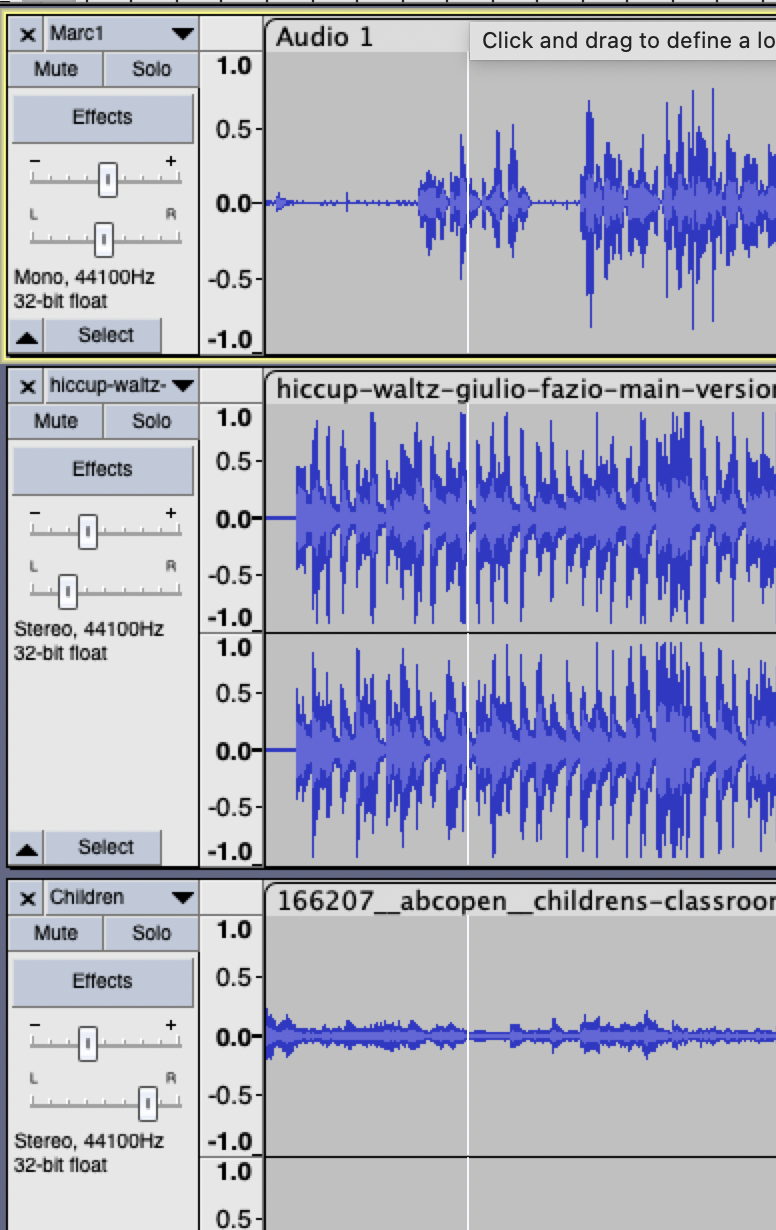
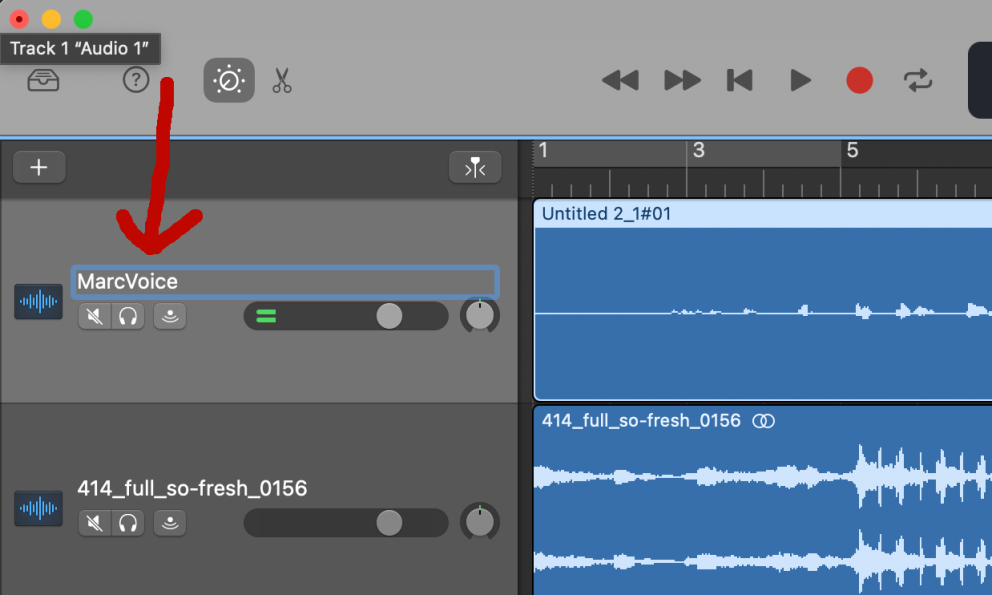
Rename your tracks so that you can identify what's what at a glance by clicking on the name to the left of the track:
Essential actions:
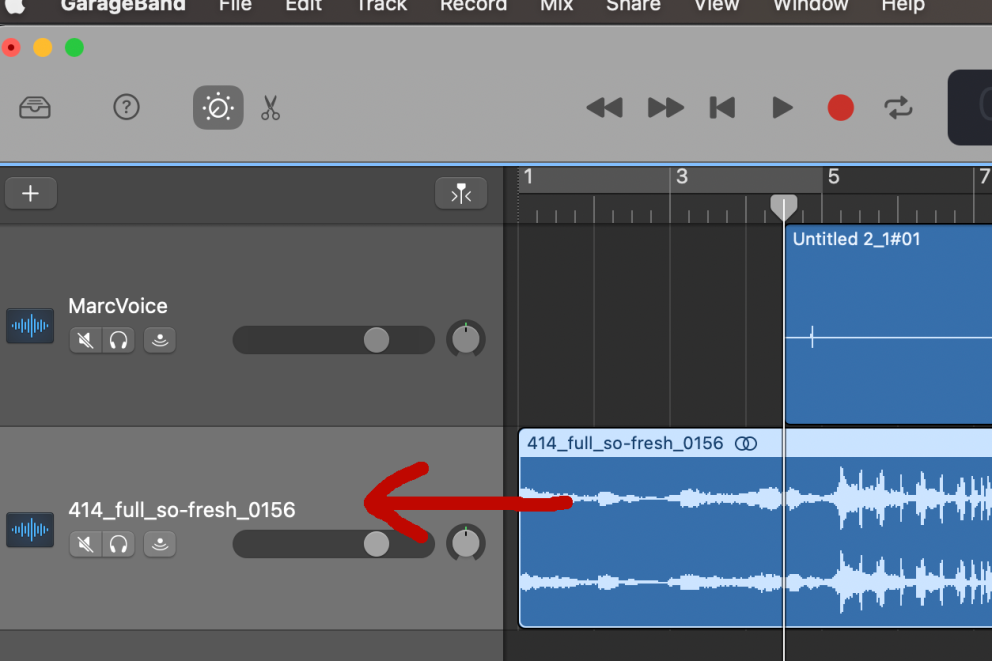
To select a track, click on its grey non timeline region to the left and it will appear a lighter grey than other tracks:
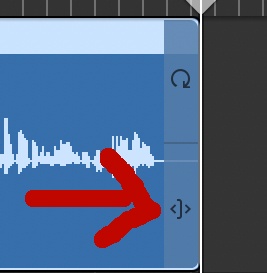
To trim a track, place your cursor over the beginning or end of the lower half of a track so the cursor becomes left and right pointy brackets on either side of a square bracket < [ >, then click and drag the chosen margin to trim:
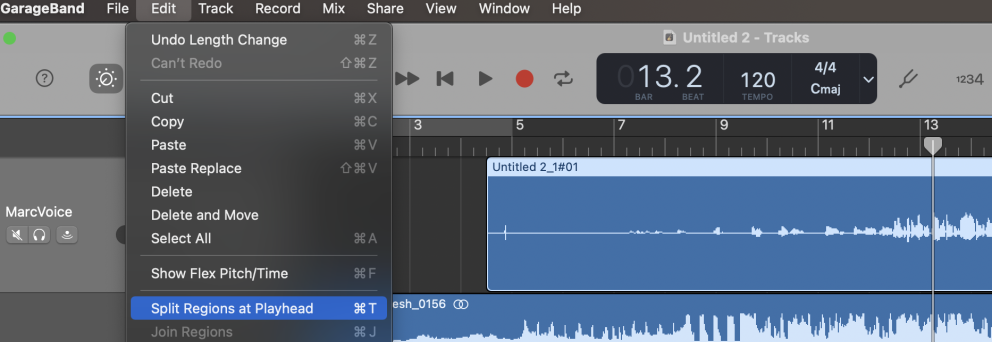
To split a track (whose resultant fragments can then be moved by placing the cursor in their lighter grey headers, where the cursor turns into a hand), place the cursor where the split should occur and then choose Edit ->Split Regions at Playhead:
To cut a passage of a track that you want to delete or else move elsewhere (to another track, for e.g.), follow the process for splitting the track at both the beginning and end of the intended selections as explained above. Then click in the now independent passage to select it and do what you need to do (e.g., to delete, hit the backspace button, to move it, click and drag, etc.)
Mixing
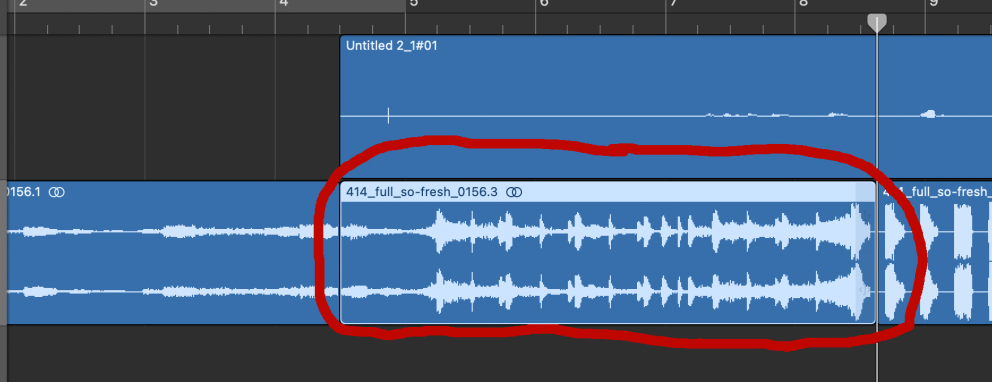
GarageBand allows you to mix a project by adjusting individual tracks' and regions of tracks' volume as well as create fades in and out. This is done through "Automation" - Press both the command button and letter a at the same time to invoke automation. Tracks will dim and a yellow through line will appear in each track. You can click and drag the yellow line up or down to raise or lower track volume, and you can click on points on the yellow line to create markers that will isolate actions between markers along the line. . This requires a bit of exploration to get the hang of, but a quick tip for raising just a region of a track's volume is to create double markers on either side, drag the yellow line between upward or downward as desired, and adjust (drag) the points on either side to create fades:
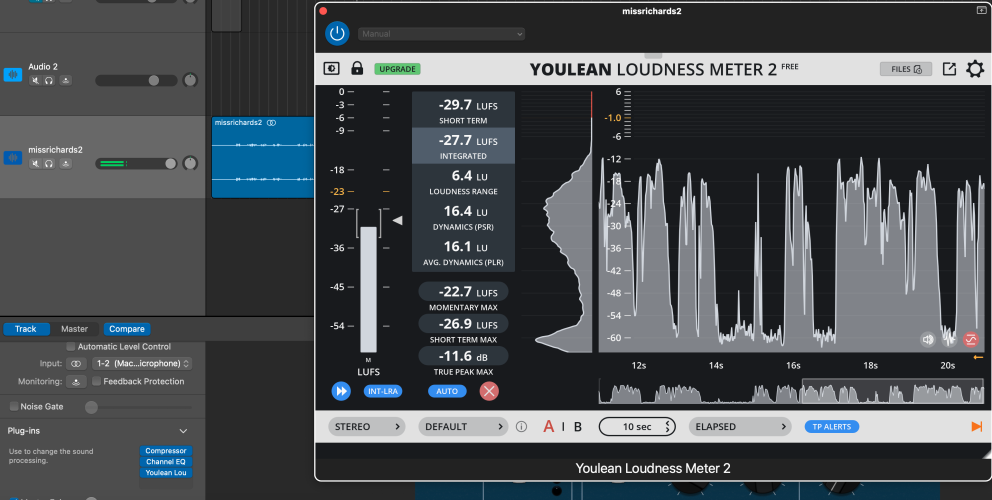
A good baseline output volume level might be between -15db and -10db. One limitation of GarageBand is the absence of living metering or measuring of volume output, but you can download metering plugins, such https://youlean.co/youlean-loudness-meter. Once installed (run it from your Downloads folder), the meter can be activated from the Plug-ins for the selected track:
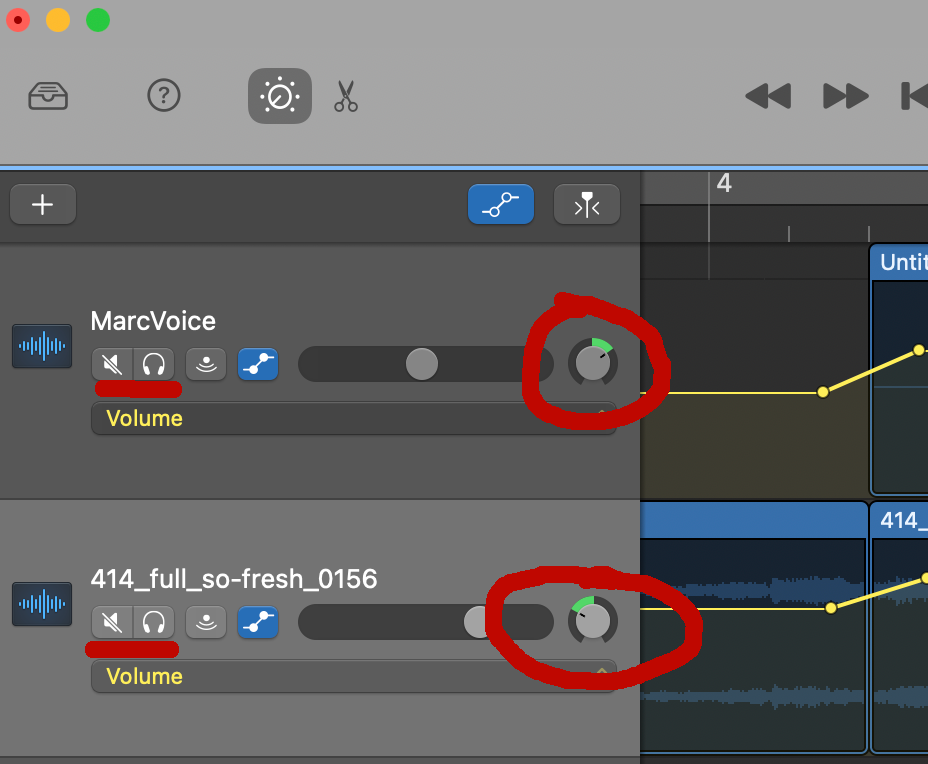
Adjust left-to-right audio panning (L/R) of tracks relative to one another so that the end product sounds full and well balanced. You might, for example, centre a narrator's voice while panning music or effects to the left or right, or you may have two people in conversation sonically situated to the left and right of one another, simulating a real world situation. You can also Mute a track or play it Solo (muting all others) during playback while editing. These controls are found to the left in individual track displays:
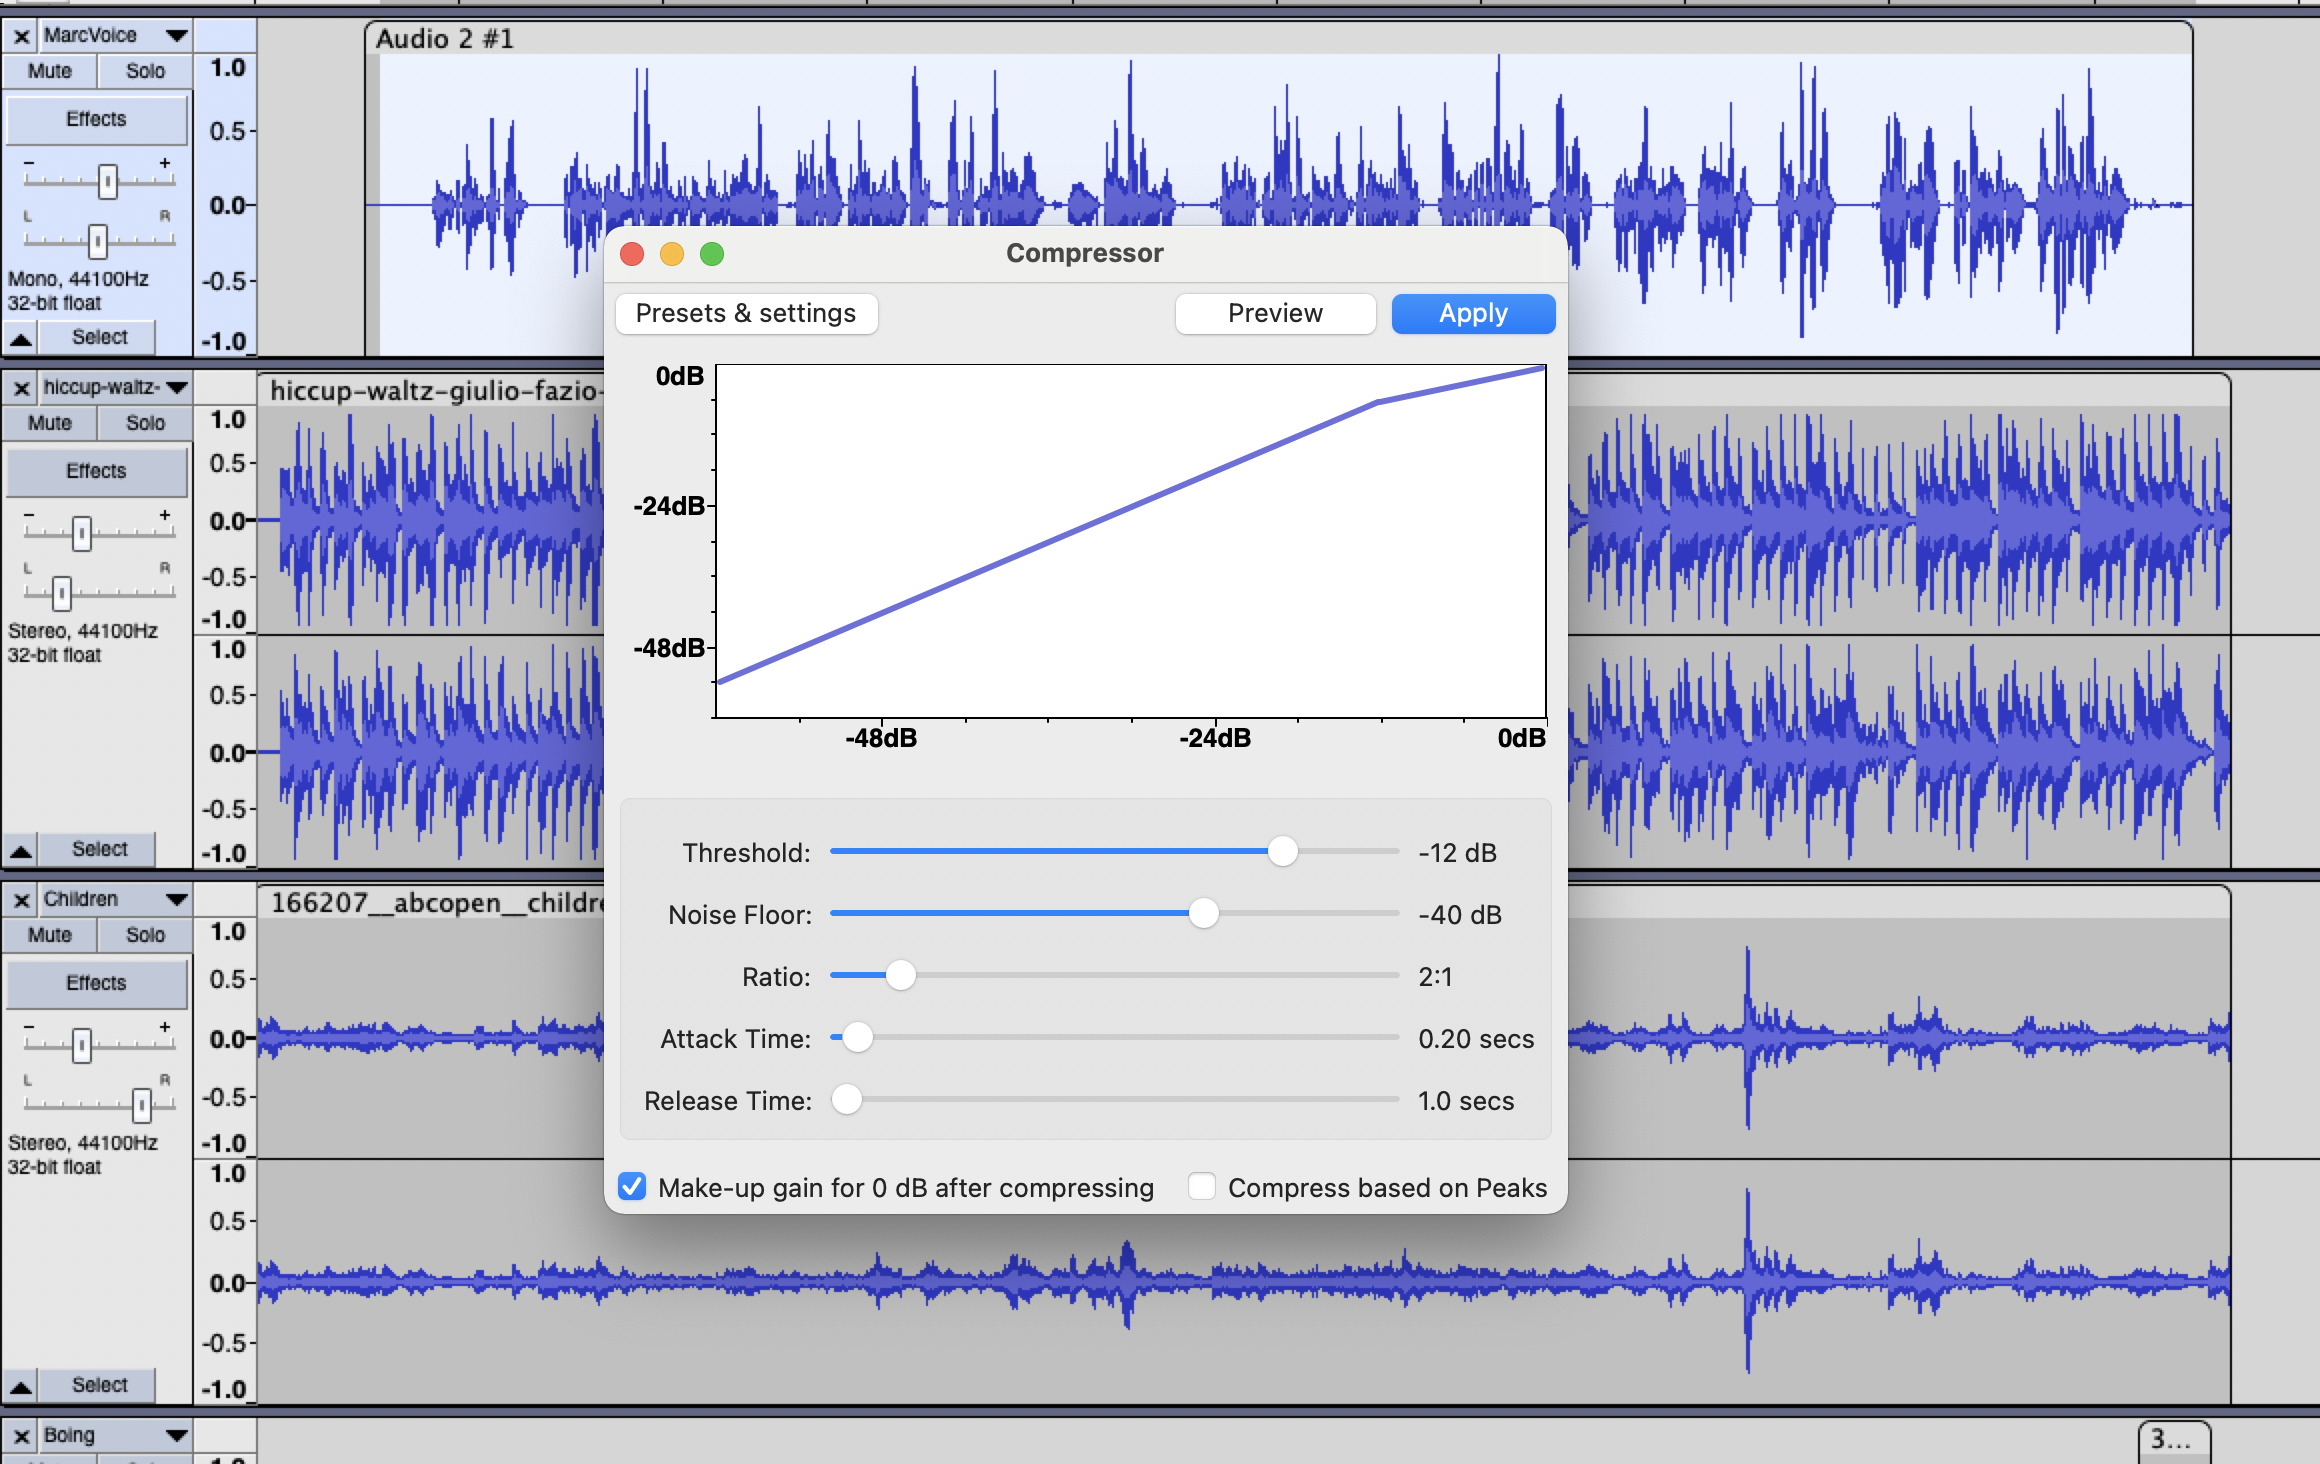
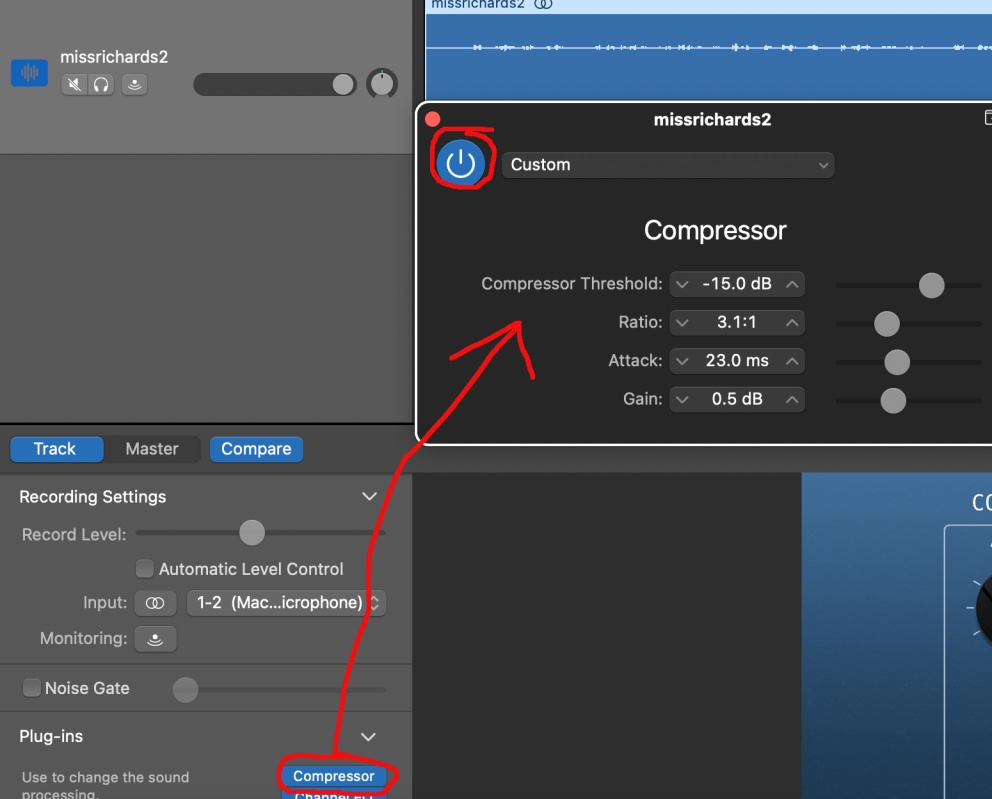
Compression is used to reduce the dynamic range of tracks with loud and quieter elements so that both can be heard evenly and clearly. Compression allows a fair bit of control but requires trial and error and some understanding to use correctly. GarageBand comes with a compressor plug-in (remember to select your track first):
Threshold identifies the dB level above which compression or limiting of the audio signal will be applied. Standard practice is to choose the floor of your target range (e.g., if your range is -15dB to -10dB, then choose -15dB).
Ratio is the gain reduction applied to the audio that exceeds the threshold. The higher the ration, the more the compression. 2:1 or 3:1 is typically fine for vocals.
Attack refers to how quickly the compression kicks in (useful for percussive sounds)
Gain refers to overall signal boosting to offset overall compression.
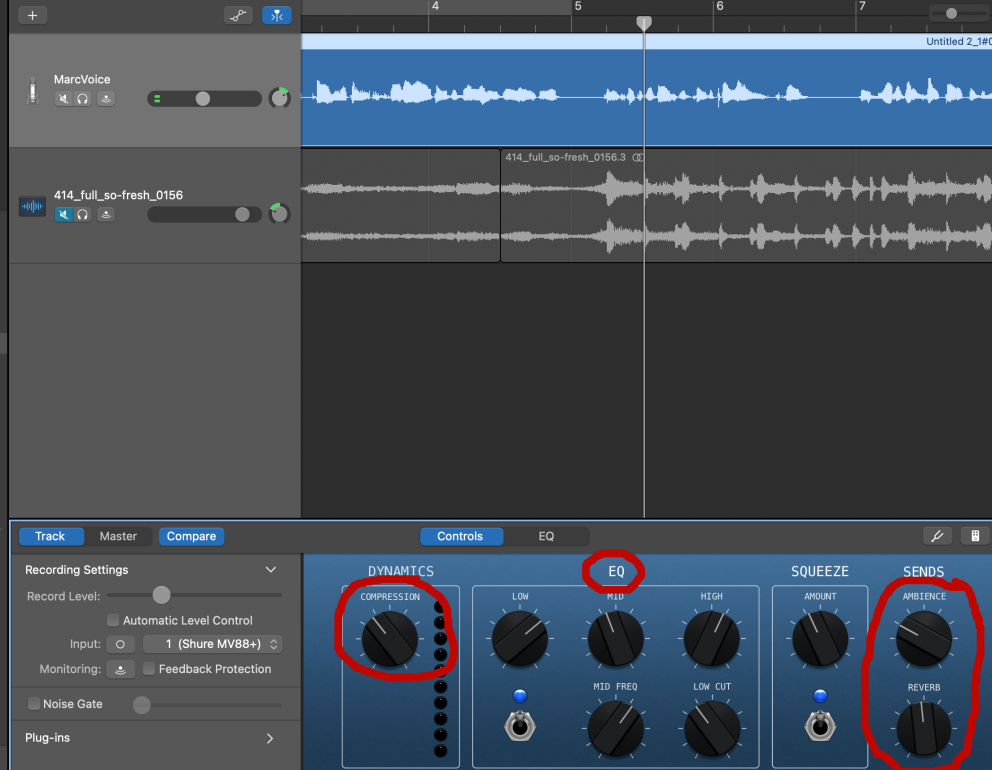
Reverb can add spaciousness or natural (to the intended setting) ambience to a recording where these may have been compromised in the recording process. Alternatively, you may have recorded in too spacious or echo-prone a space and wish to taper off the resultant reverb.
GarageBand's Controls at the bottom of the dashboard allow you to experiment with how the track sounds with more or less reverb and ambience, the latter being a specific, lighter form of reverb application (note too you can play with compression and equalization, explained below, from the Controls):
Equalization (EQ) manages the overall balance of frequencies (the tone) in a track. You can adjust low (bass), mid, and high (treble) ends of frequencies generally, for example, using GarageBand Controls as illustrated above.
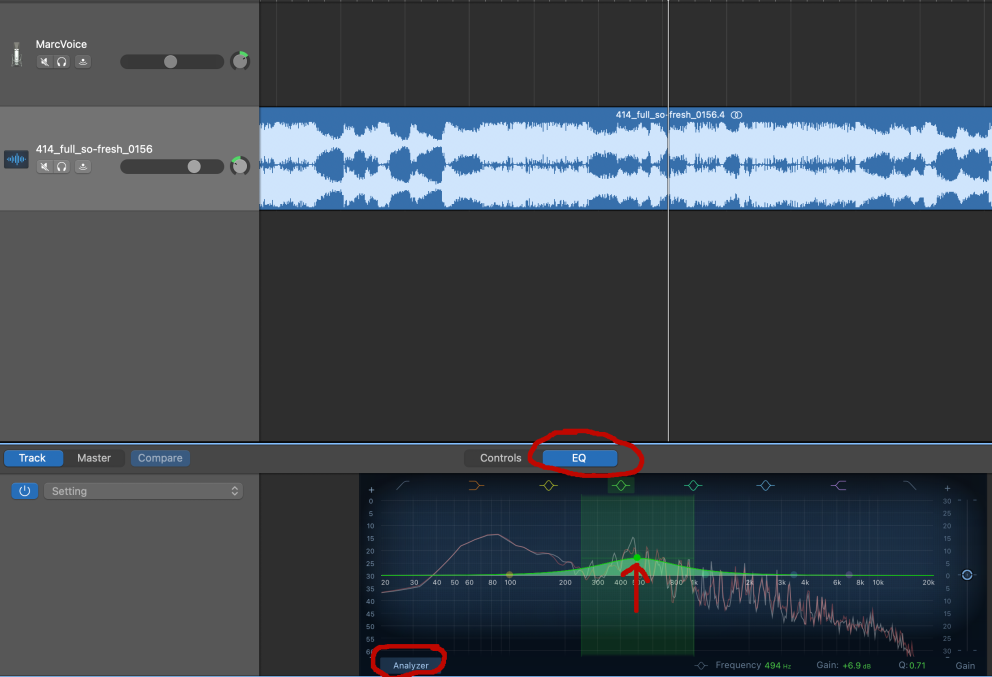
You can exert far more control over a track's tone, however, by toggling to the EQ interface when a track is selected, clicking the Analyzer button to the bottom left to analyze the track's frequency distribution during playback, and selecting frequency regions in the interface to boost or suppress by selecting the points that appear upon mouse over and dragging them up, down and sideways:
EQ can take time to understand and use effectively in balancing a voice track on its own and in relation to other voices, music, and sound effects. One thing to remember is that two tracks with similar tones when played simultaneously will be difficult to distinguish clearly from one another, and so adjustments to dominant shared frequency ranges in one or the other can balance the overall mix. To learn more: https://youtu.be/wjYeKBCYlmY?si=Gu_mcLAEP5rTAQ9V
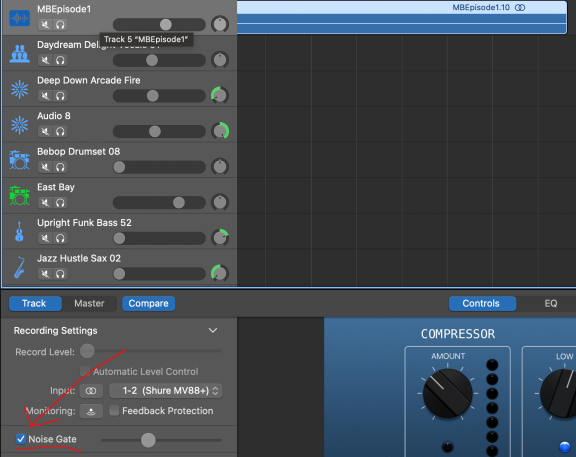
To reduce background noise (room hum, for e.g.) on a track, activate the track's Noise Gate and try moving the accompanying slider to the right and left during solo play back to gauge the effect:
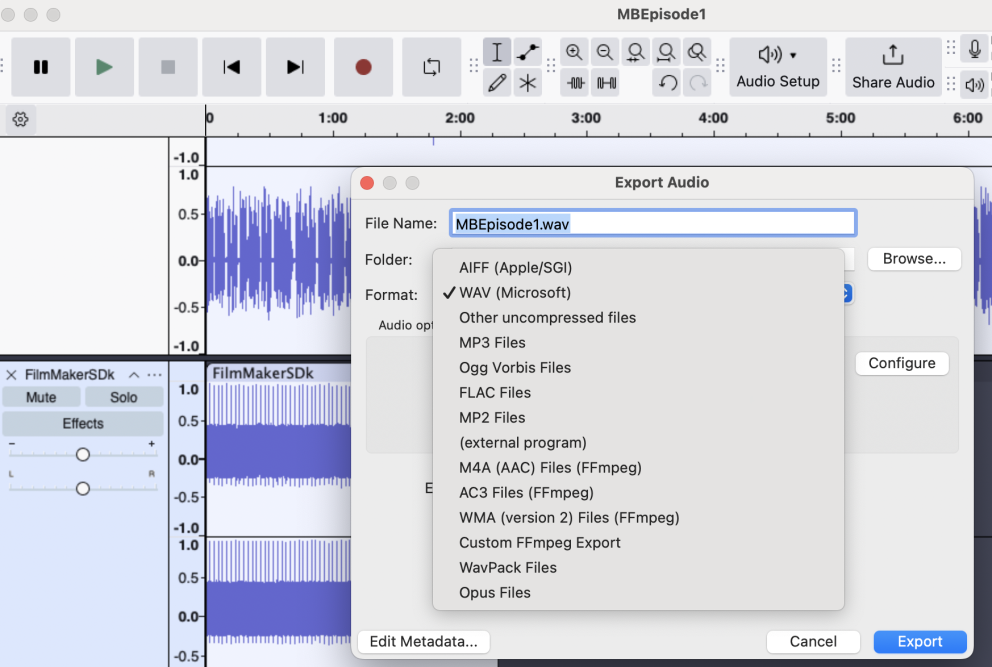
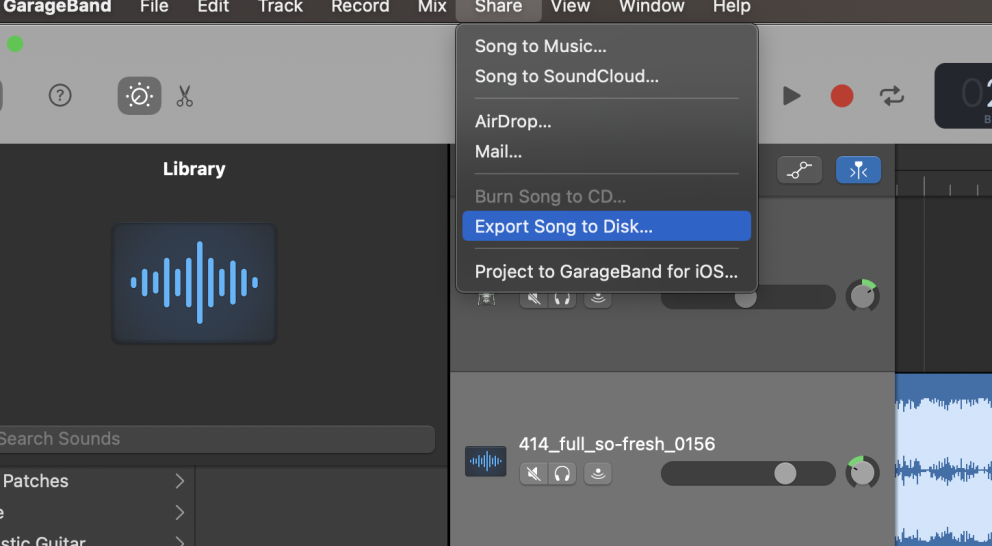
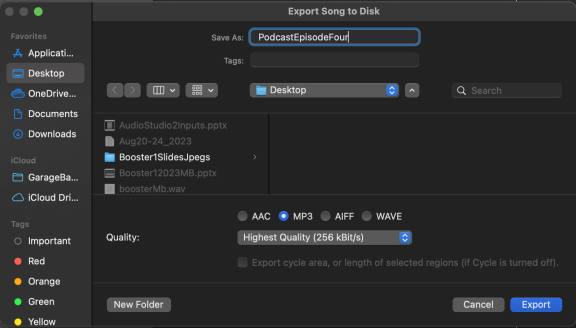
Render your GarageBand project as a MP3 or Wave file. Note that .wav files are less compressed, if at all, and will sound more full when uploaded to a podcasting platform such as Spotify::
Create an account at Spotify for Podcasters (https://podcasters.spotify.com/) or another hosting service and upload your podcast:
