Getting Started
Welcome to the Lightboard Studio Guide
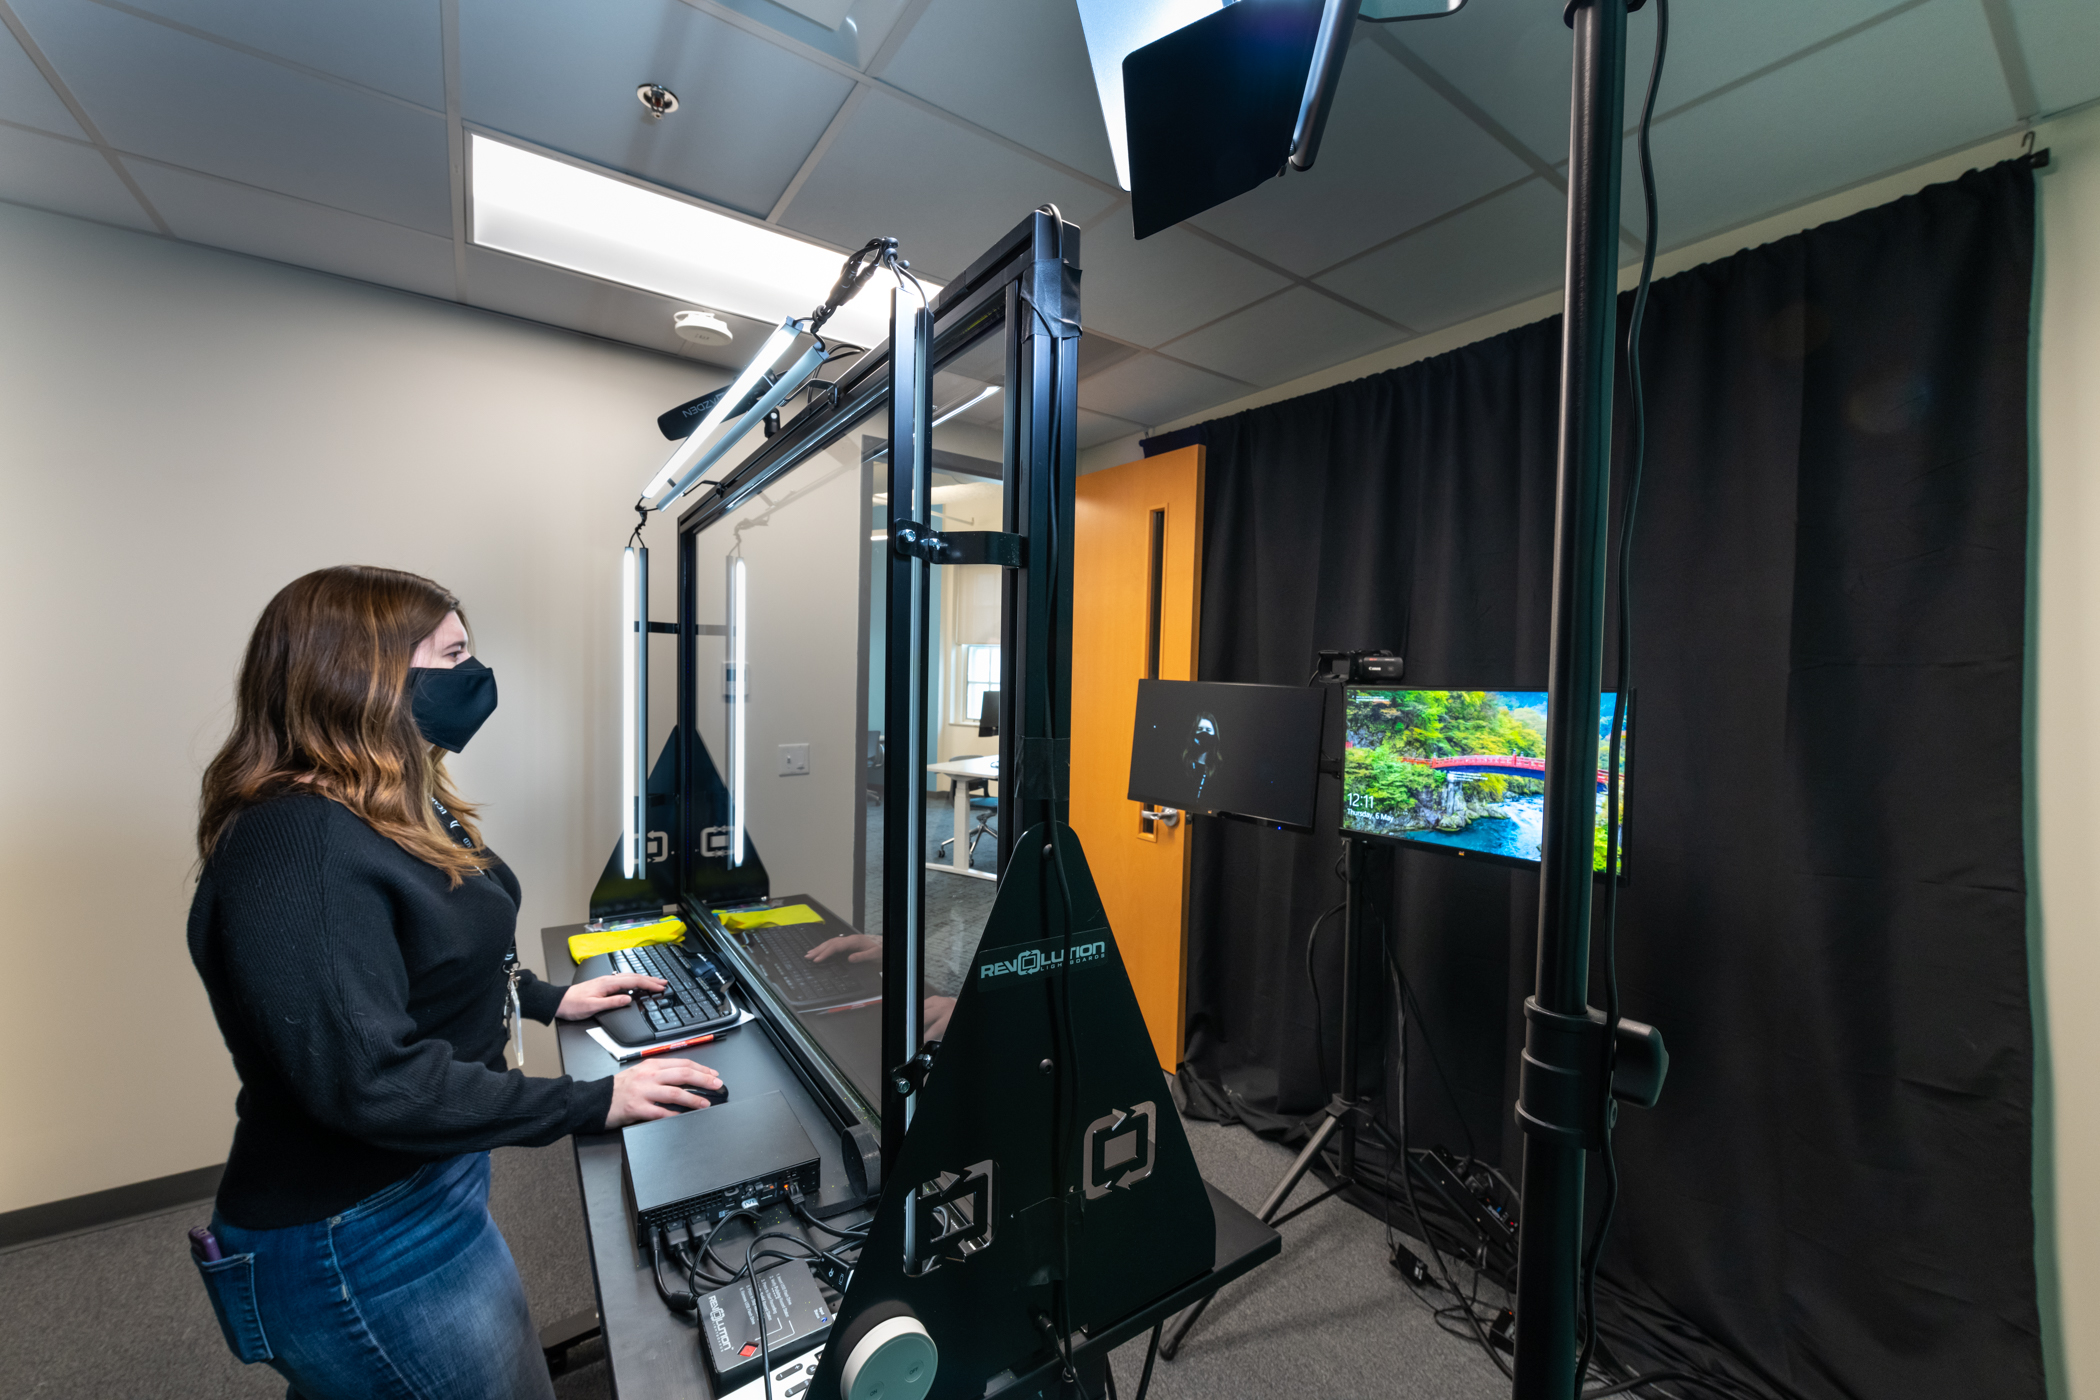
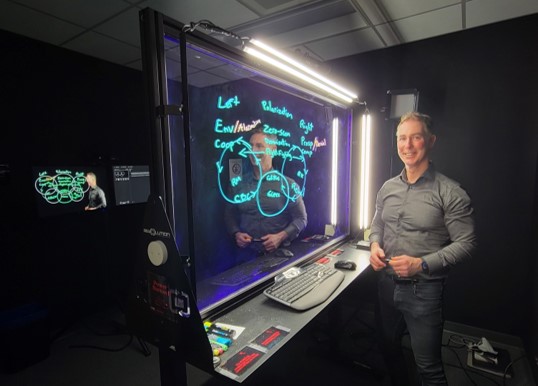
The Lightboard Studio is located in room 320C in the Research Commons. The Lightboard Studio is a video recording and streaming space that uses a 66" height adjustable lightboard - an illuminated, forward facing glass pane upon which you can write with erasable markers and annotate projected images in real time. The studio comes equipped with a 4K camera, microphone system, PC, adjustable lights, and dual 27" confidence monitor configuration. All you need to bring are your ideas, presentation materials, and a USB stick (though we will lend you one) if you plan to record .

Getting Started
- Turn Lightboard on by pressing the “ON” button on the side of lightboard, it is located on the large white circle (magnet to the board)
- A networked PC is provided should you require a computer. The power button is located underneath the board.
- Login with your UNB credentials to access the internet and presentation files.
- You may need to download Teams or Zoom the first time you login to the PC.
- Adjust light brightness: There are three “ON/OFF” knobs on the right side of the lightboard, two for the LED lights that illuminate you, and one for the black lights that illuminate the board.
- To record: Connect USB key to recording hardware, press the “RECORD” button and note instructions on the device.
- Ensure the PC and Lightboard are turned "OFF" prior to exiting
Presentation Design
Creating a Lightboard Presentation
You are welcome to use the Lightboard as is, for presentation or recordings, but you can also create presentations that will allow you to interact with images, text and videos while presenting.
PowerPoint
The simplest answer is usually the best! You do not have to learn a new software, but can use PowerPoint as your main presentation tool. Below are some tips to creating a great Lightboard presentation.
-
Black Background
- The Lightboard will only show you if there is a black background. Ensure all of your slides are set to black background and 16x9 aspect ratio
- Avoid using pre-made PowerPoint templates, as they do not always have plain black as a background option.
-
Leave room for YOU
- Remember, if you are using images and text, your audience still needs to be able to see YOU. Leave a space (generally on one side or the other) for yourself to stand comfortably.
- Avoid switching your body placement around too much, you do not want to be running around while presenting.
-
Notes
- While presenting, you can use the second monitor, or the side of the Lightboard for notes. Your audience will only see what is shown on the first monitor.
-
Images and Videos
- It is great to add images and videos to make your content more exciting! You can point to the image or video during the presentation for further engagement.
- You can invert certain images to create a black background, this will give the illusion that you are in front of the image, and allow you to gesture to specific parts of the image
- If the image is not black, you will disappear behind it.

Tips and Tricks
Things to Consider!
-
Outfit Choice
- Avoid wearing black (unless you are going for a "floating head" vibe)
- Extremely bright colours (like yellow) can make it difficult to make yourself stand out.
- It is recommended to wear dark blue, grey or red to make yourself "pop" the best
-
Keep it Short
- If you are recording, we recommending short 5min videos that can be cut together (Visit the Creative Cloud Cluster for editing tools!)
- Plan your talk so you know when and where you will be drawing on the lightboard. If you need to erase frequently, it will take time and is less appealing for your audience.
- If you are editing the videos, pause at the beginning and end to make it easier to edit later on.
- If you are recording multiple short videos, you do not need an intro and conclusion for each one, this will make it trickier to edit later on
-
Markers
- We have two types of markers, we recommend trying them out and deciding which you prefer before starting your presentation
- Try not to draw/write in your space, you do not want lines going through you.
- To reduce squeak, try not to press too hard on the marker when in use.
- Ensure that you wipe down the board once you are finished.
-
Display Settings
- If you are not using a PowerPoint or other presentation tool, but want to use the PC. You can right-click on the main screen, click "Personalize" and change the background to a solid black. This will allow you to see yourself without the need for creating a presentation.
- You can also adjust the scale/layout if you are having trouble reading the second monitor. Right-click on the main screen, click "Display Settings", scroll down to "Scale and Layout" and adjust the text size.

Last modified on February 24, 2022 11:29
Share


